Olive Herb Sourdough Bread
(Overnight, Beginner-Friendly)
A soft, savory sourdough loaf with olive oil, herb salt, and an overnight cold proof.
A bread that feels like home in two places
Some recipes slowly become part of your routine, almost without noticing.
This olive herb sourdough bread is one of those recipes for me. It has the slow rhythm of sourdough baking, but the flavor feels a little more Mediterranean — soft, savory, and full of herbs.
Living in Korea, I cook Korean food often, but I still find myself coming back to the flavors I grew up with. Olive oil, herbs, warm bread on the table… those small details always remind me of home.
And maybe that is what I love most about this loaf. It feels simple enough for everyday breakfast, but special enough to serve with soup, pasta, or a cozy family dinner.
Why you’ll love this olive herb sourdough bread
This bread is a little softer than a classic artisan loaf because of the olive oil. The olive-herb salt gives it a savory, aromatic flavor without needing a long list of extra ingredients.
It’s also very flexible. You can use a ready-made olive-herb salt mix like I do, or use regular salt and add your own dried herbs.
A note about the olive-herb salt
Olive-herb salt mixes can be very different depending on the brand. Some are very salty, while others are more herb-forward.
For my loaf, I use:
15g olive-herb salt mix
5g regular salt
If you don’t have olive-herb salt, use 10g regular salt total for 500g flour, then add dried herbs separately if you like.
Baker’s schedule
This is a slow, three-day rhythm, but most of the time is hands-off.
Day 1: Feed the starter
Day 2: Mix dough, stretch and fold, shape, cold proof
Day 3: Bake
In colder months, my starter develops slowly at around 21°C. In summer, everything moves faster, so I adjust the timing.
Ingredients
100g active sourdough starter
450g bread flour
50g whole wheat flour
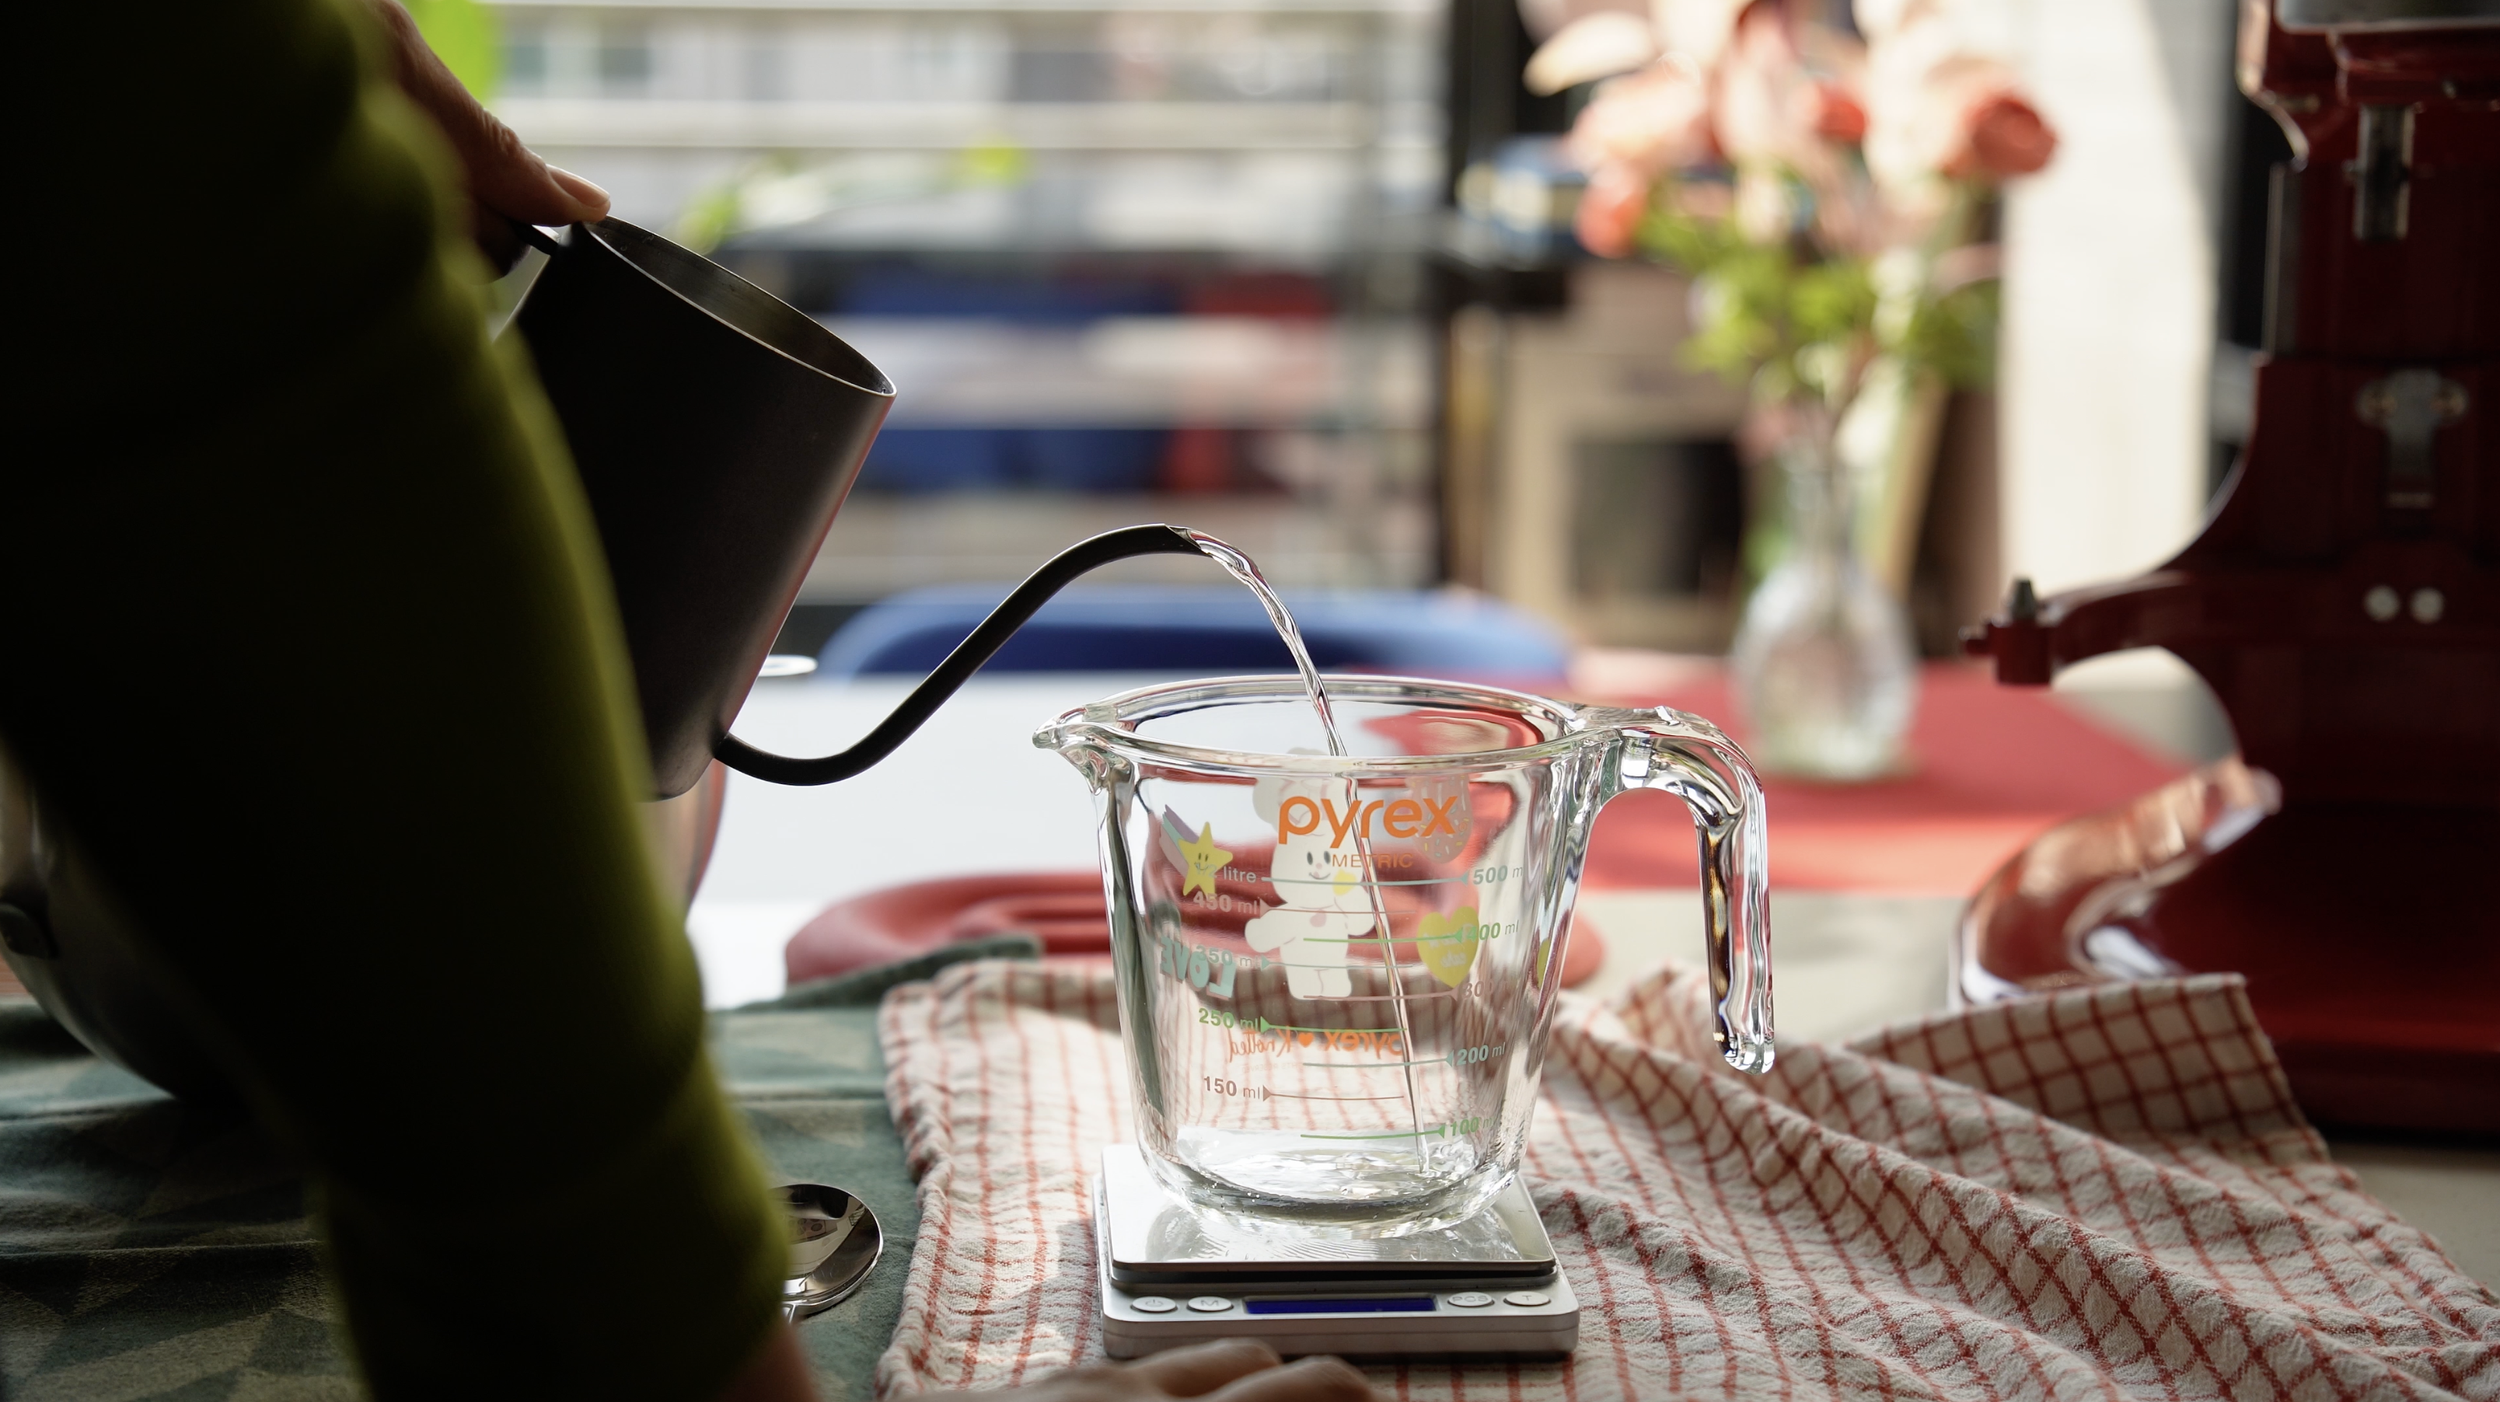
340g water
15g olive-herb salt mix
5g salt
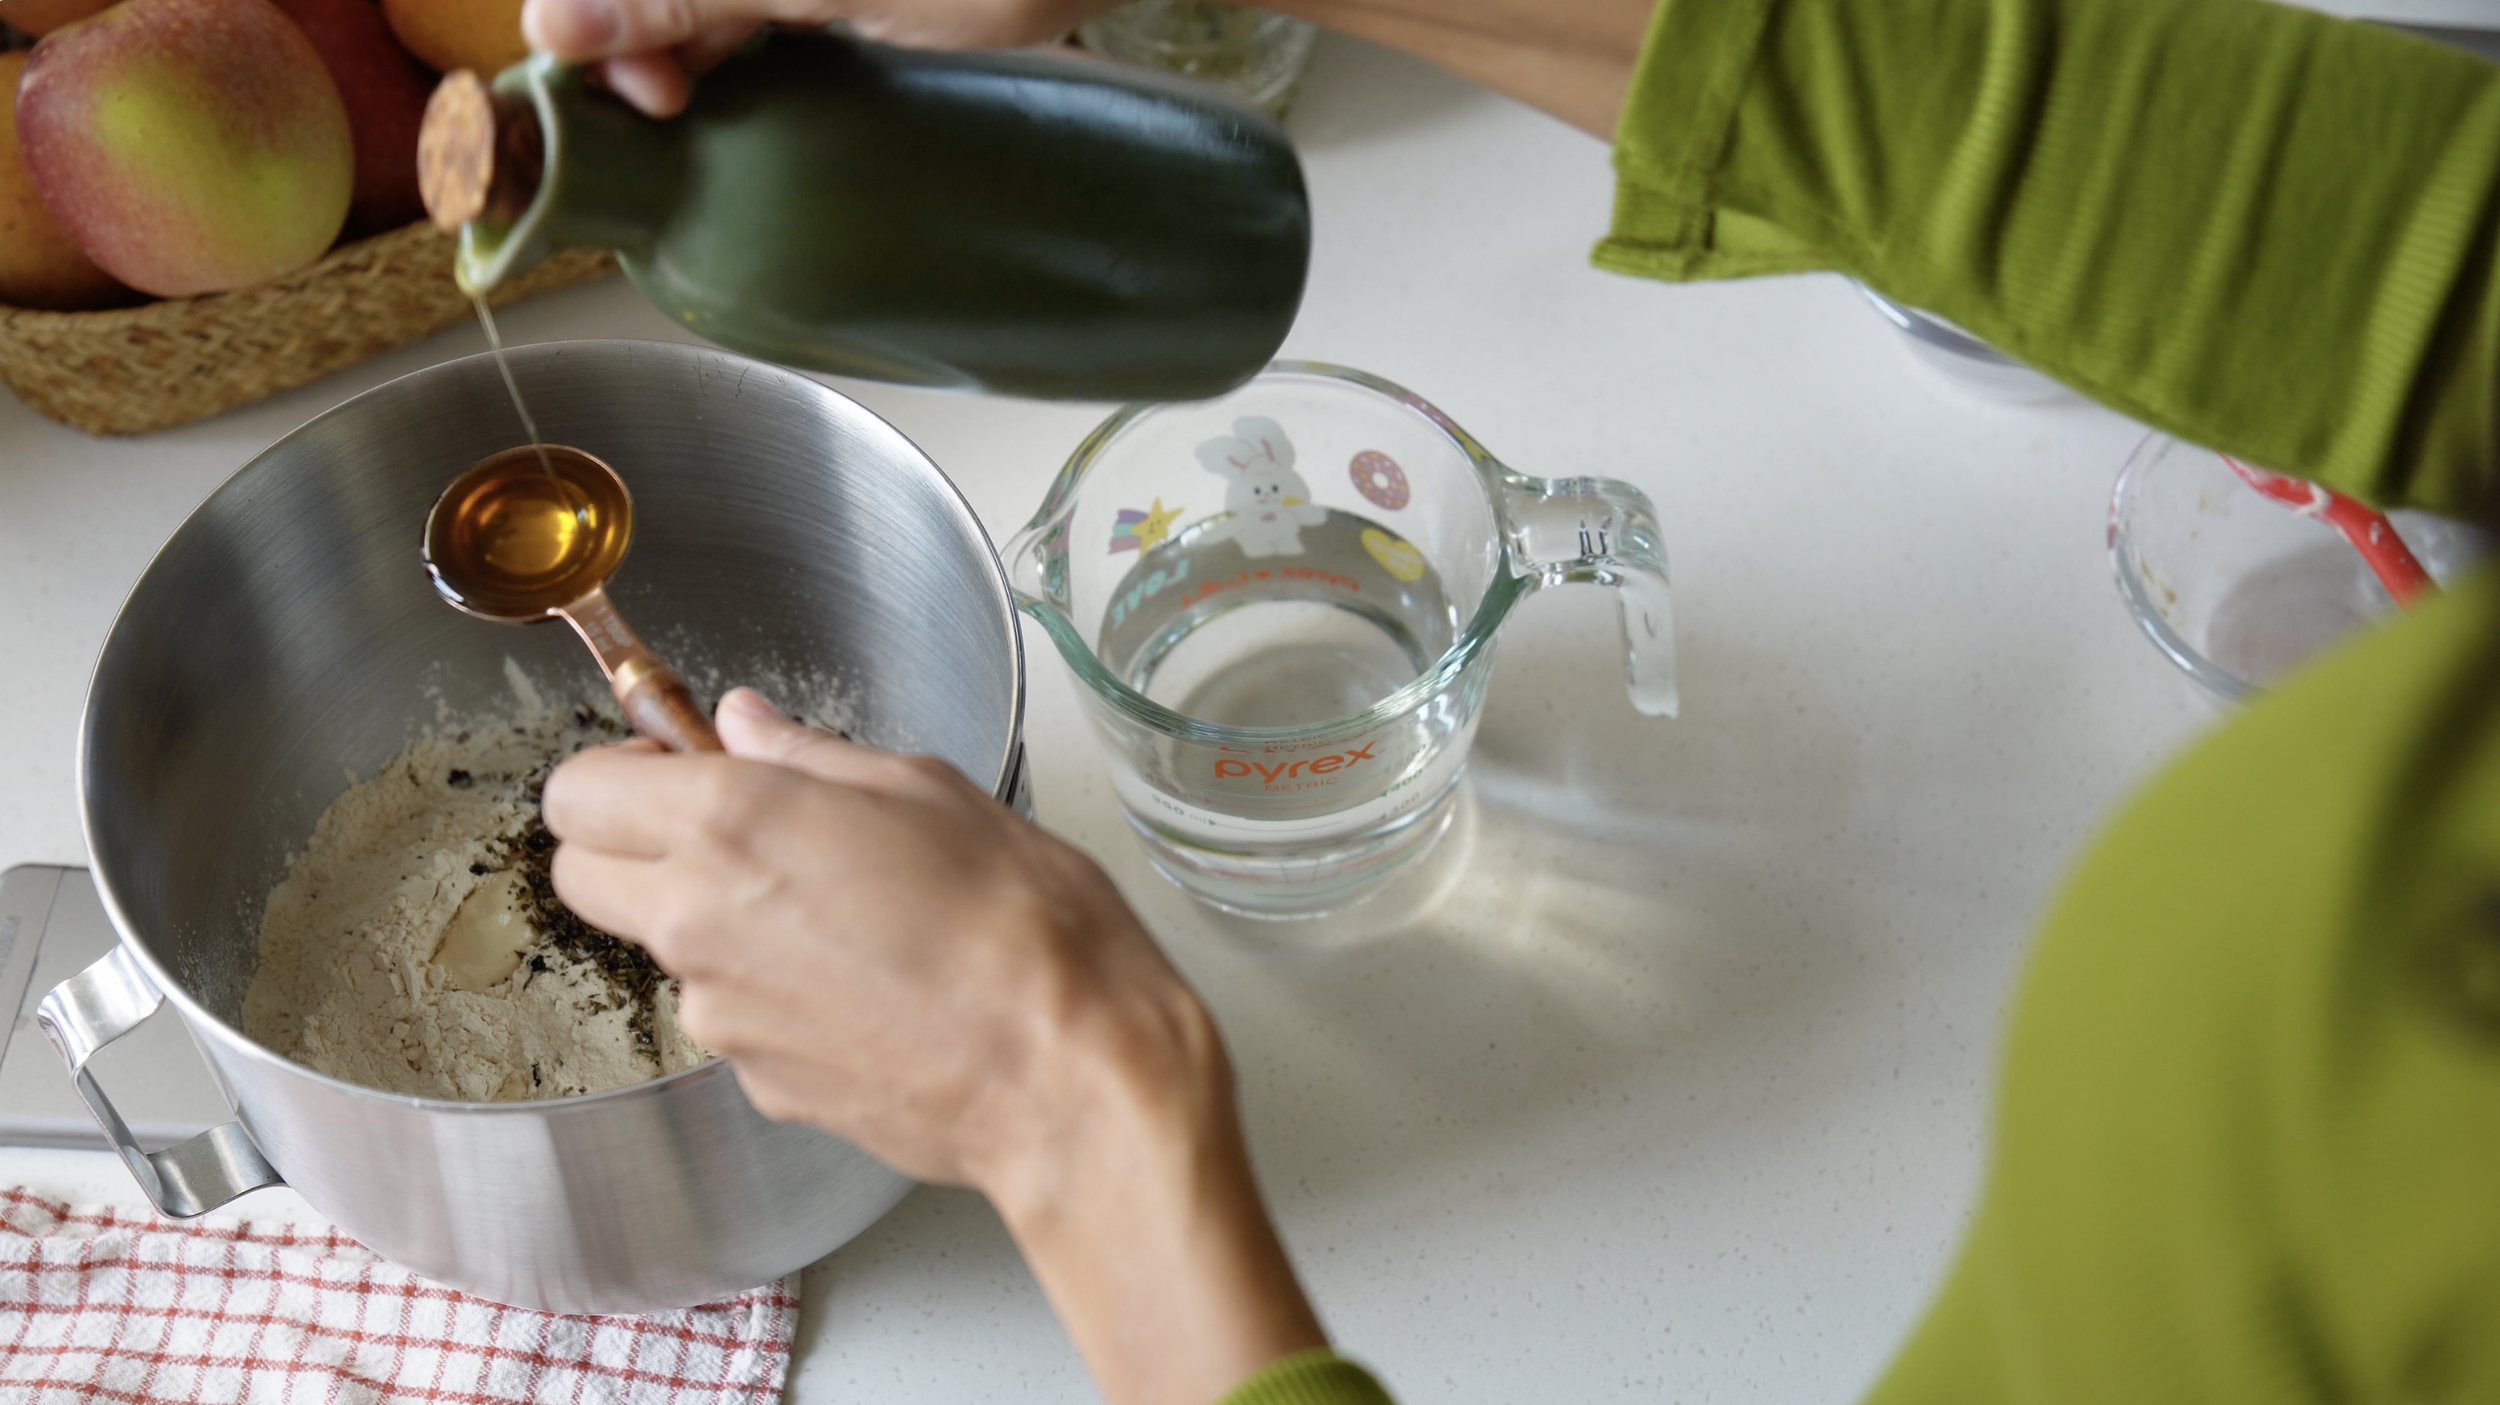
1 tbsp olive oil
Step-by-step instructions
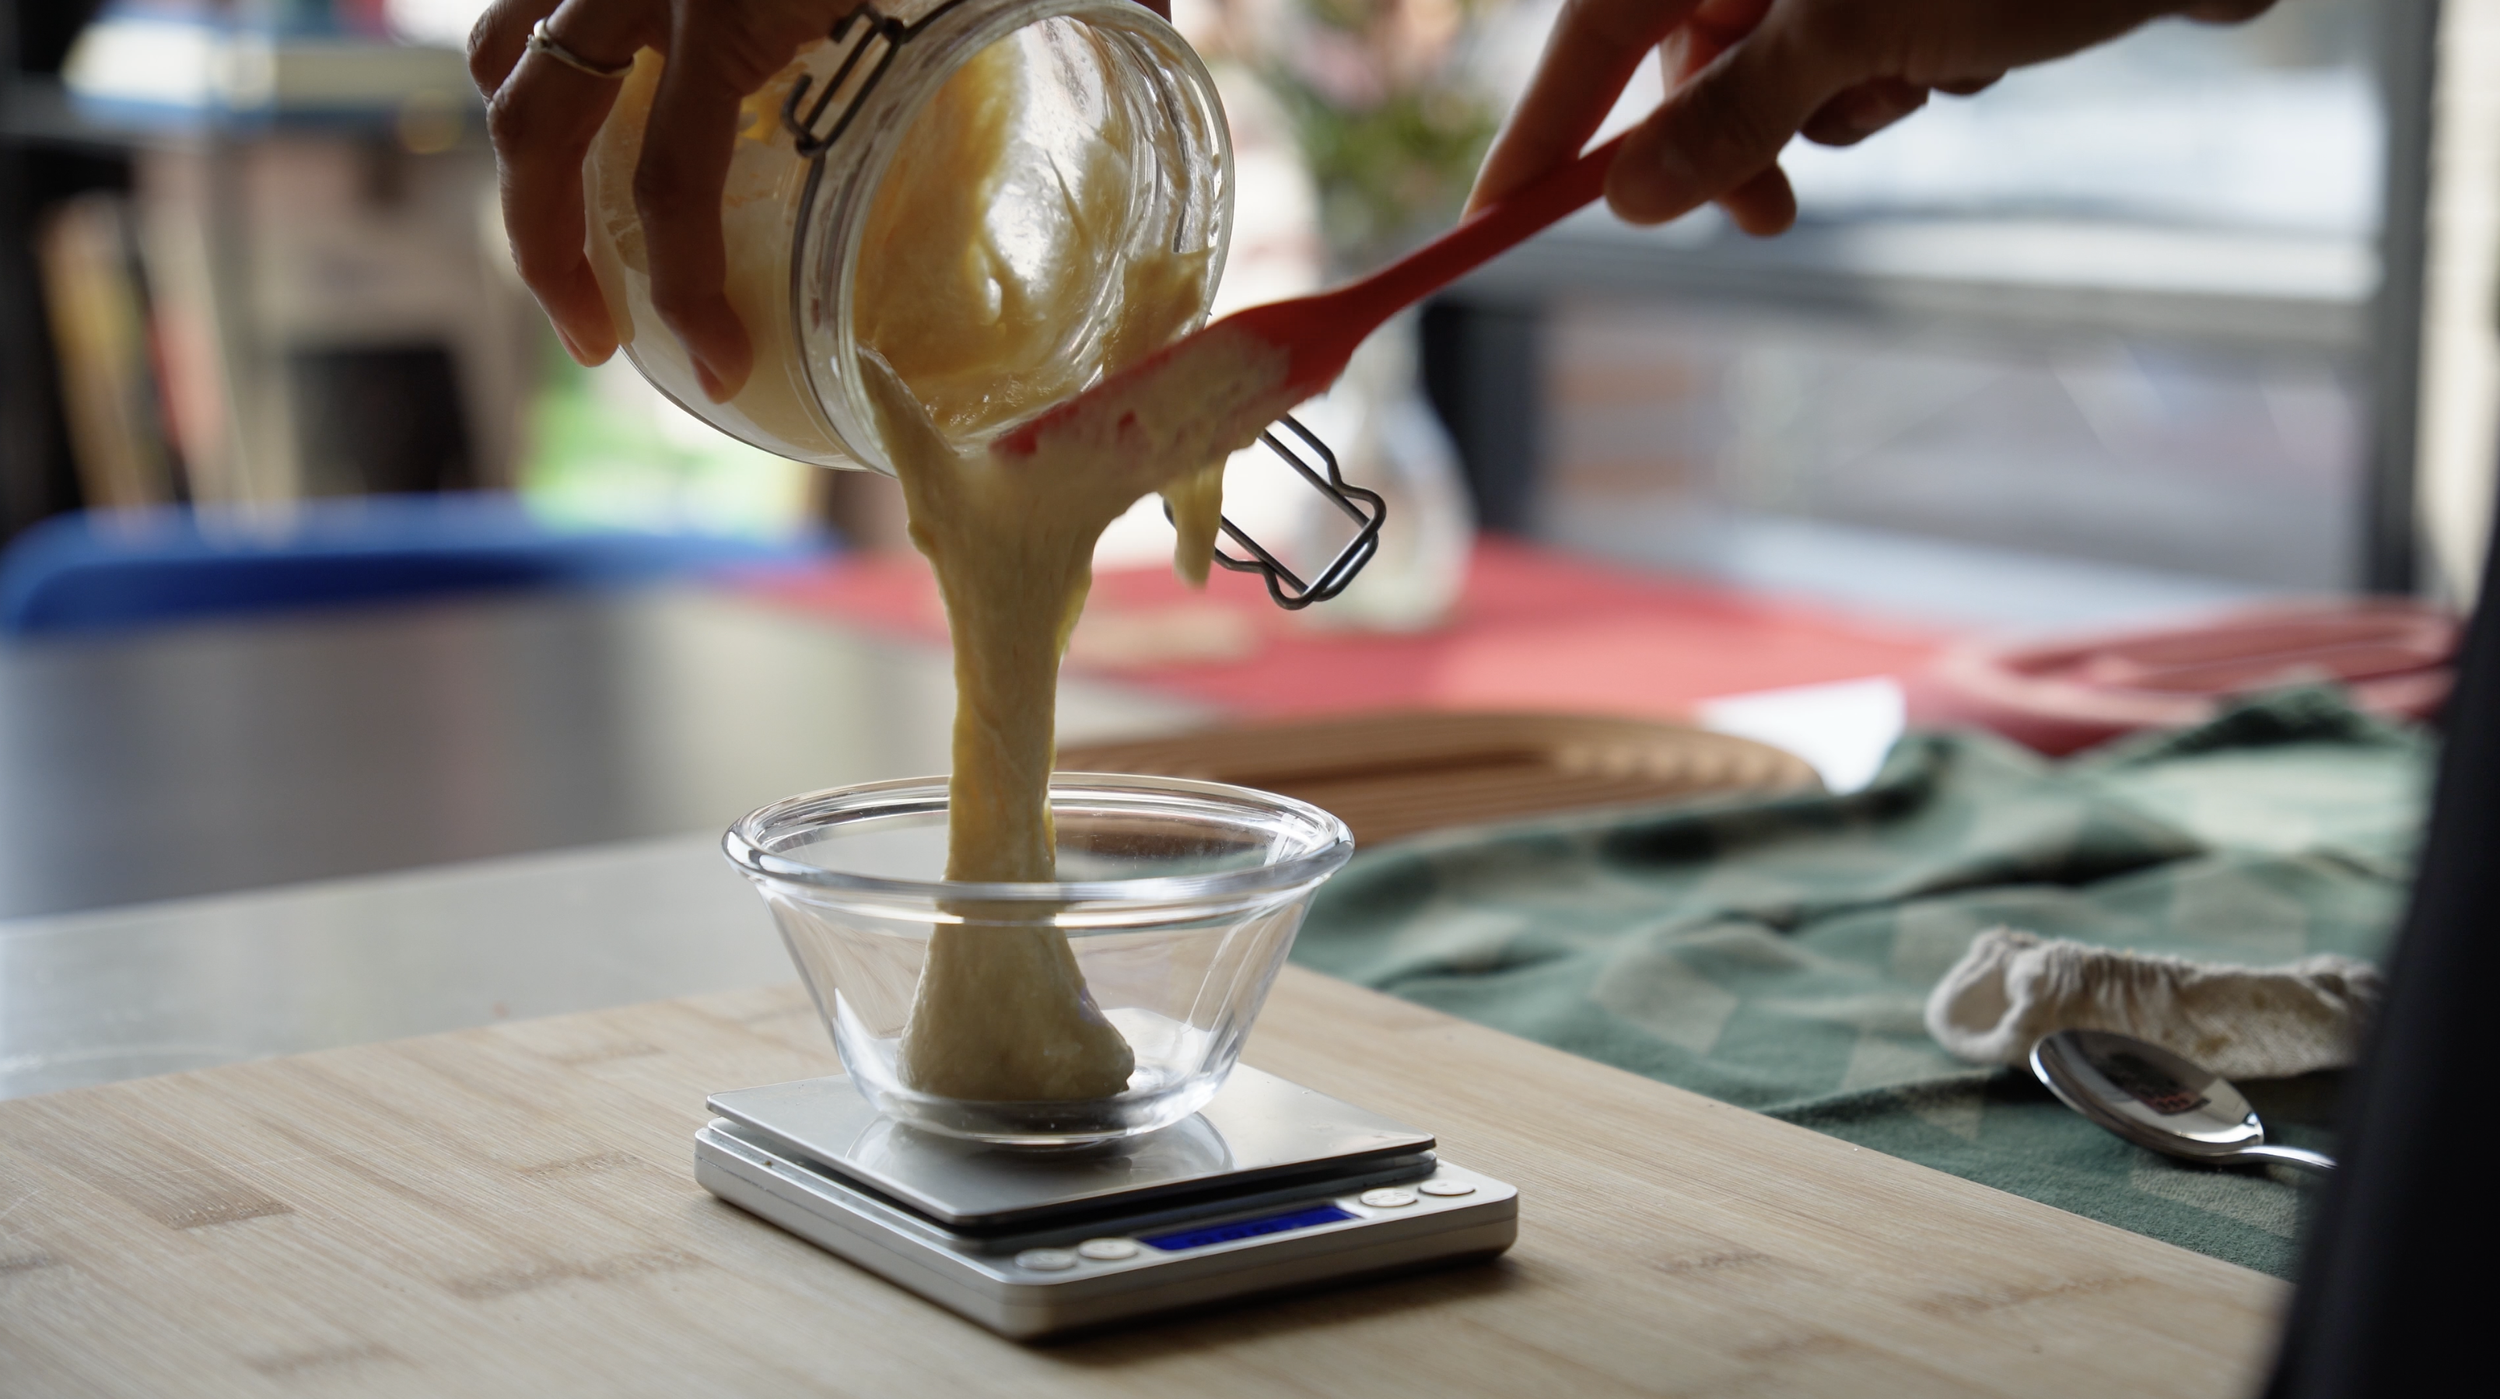
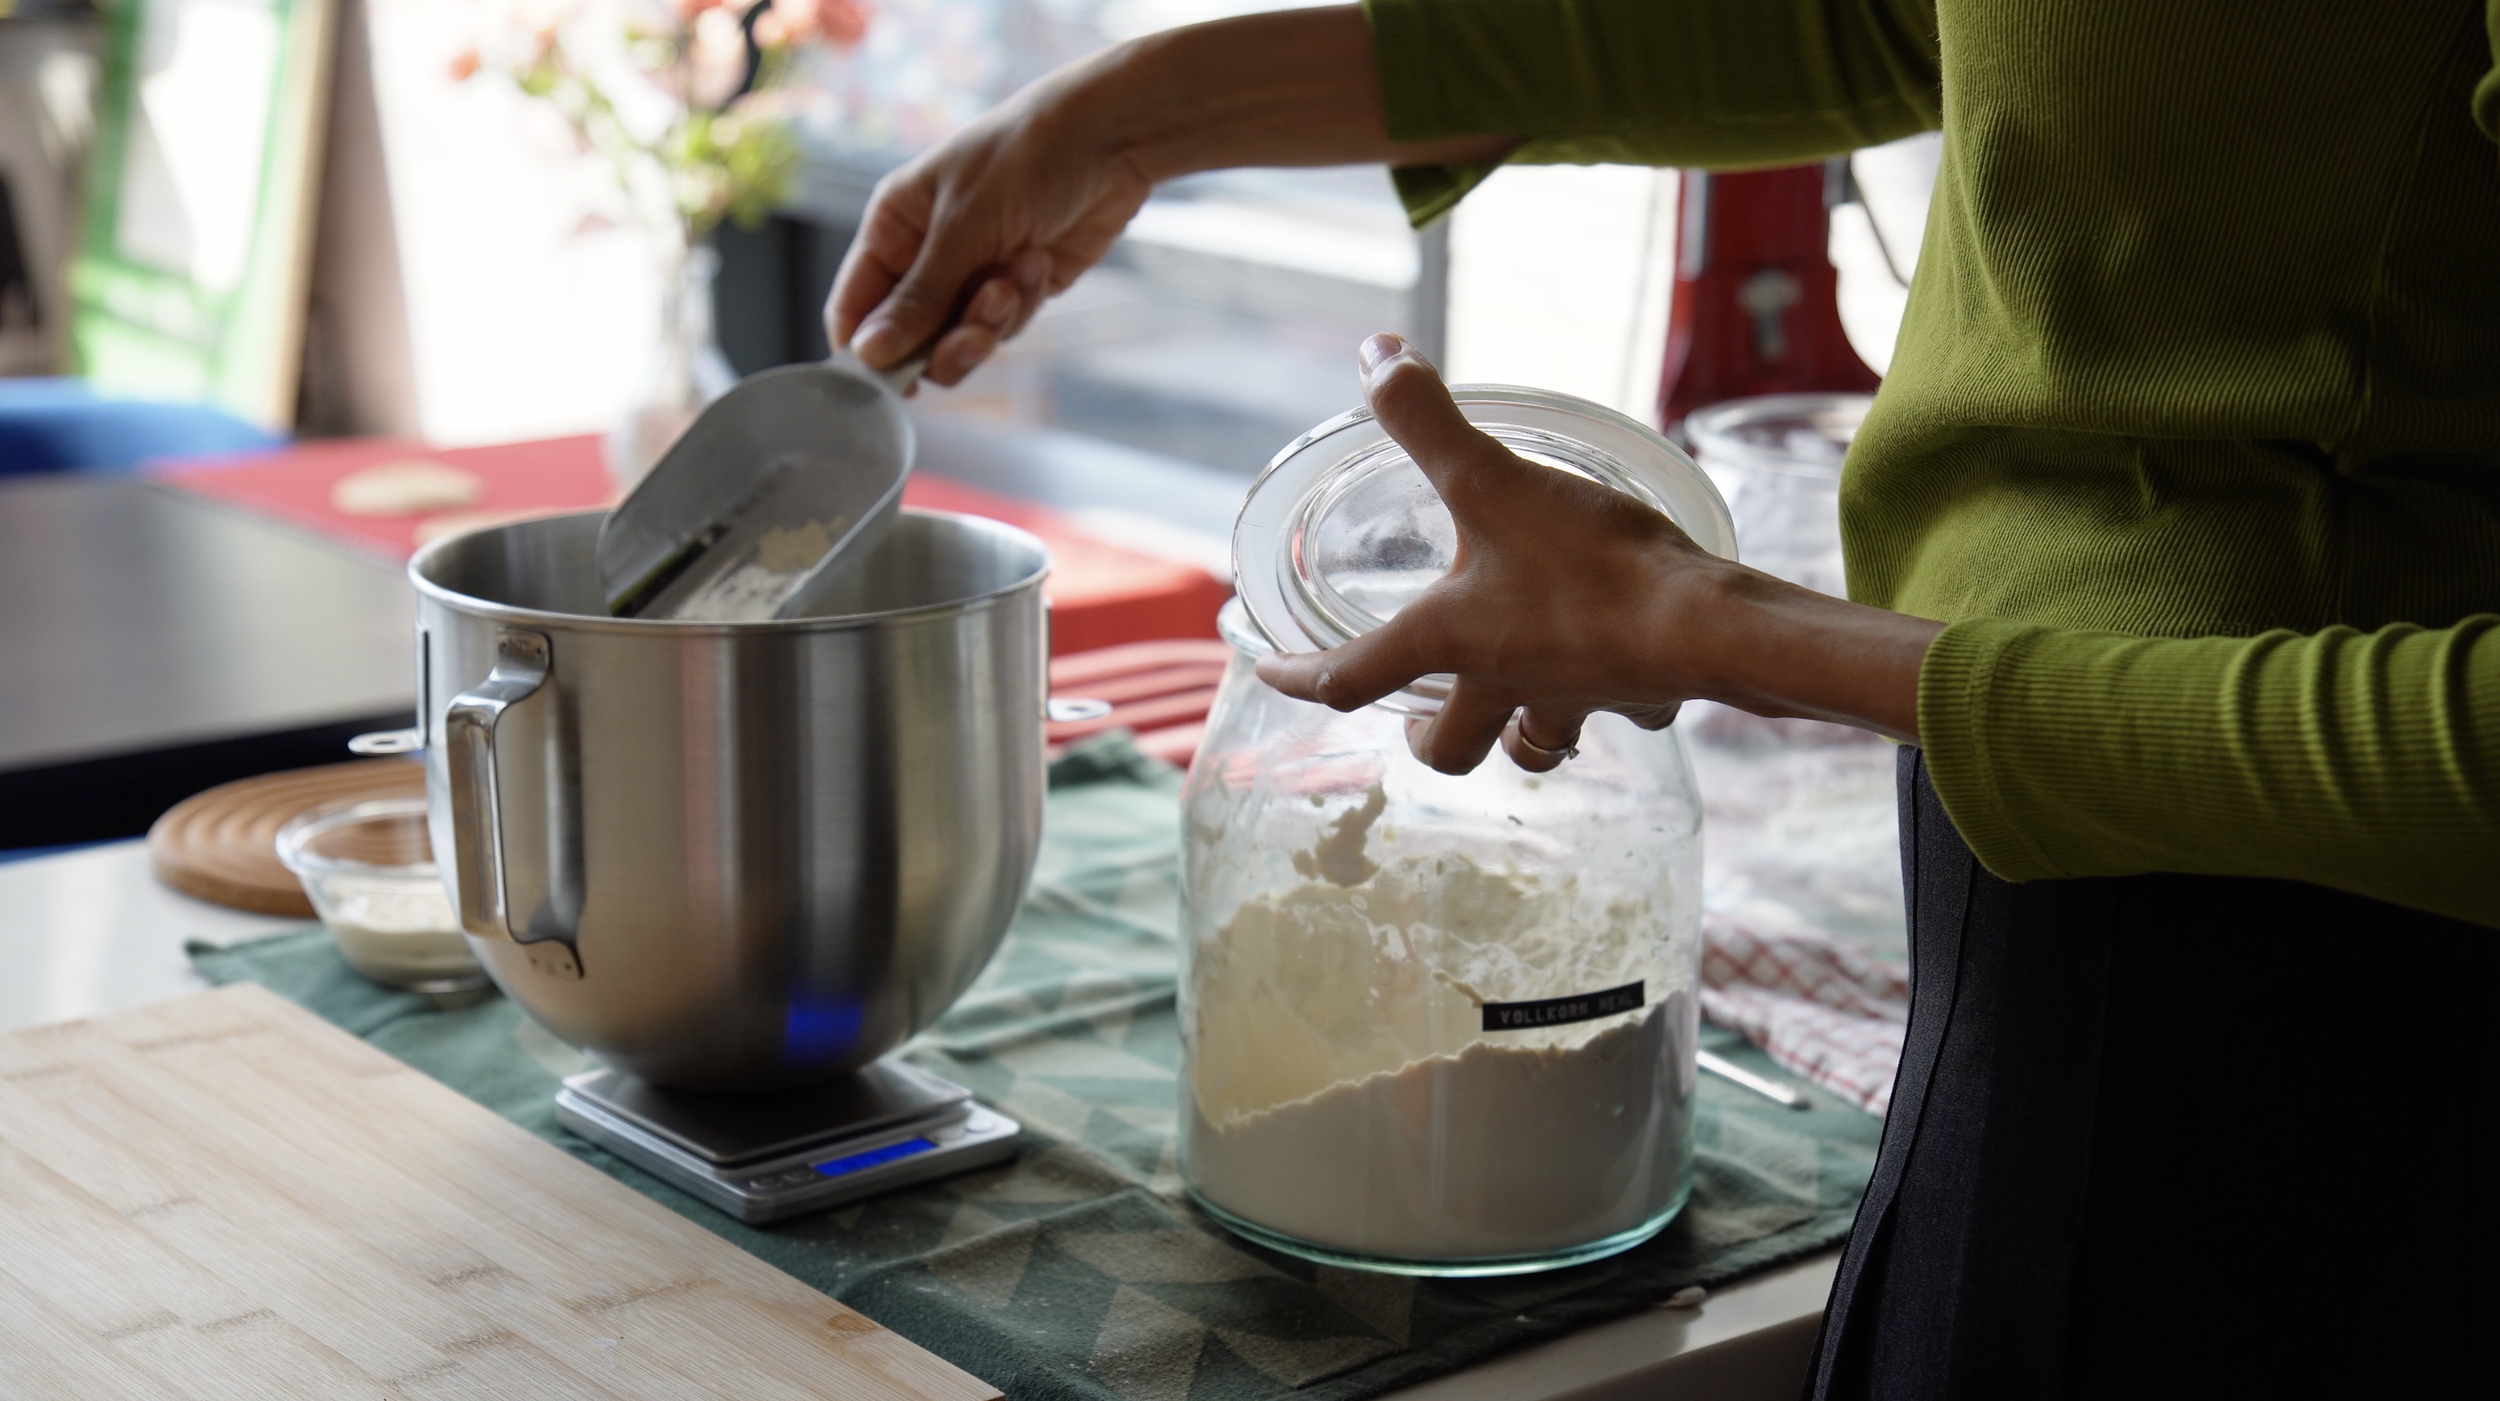
1. Feed your starter
Take your starter out of the fridge and let it warm up for about 1 hour.
In a clean jar, mix:
50g starter
25g bread flour
25g whole wheat flour
55g water
Let it rise until active and bubbly.
At around 21°C, I usually let it develop slowly until the next day. In summer, 8–10 hours overnight may be enough.
2. Mix the dough
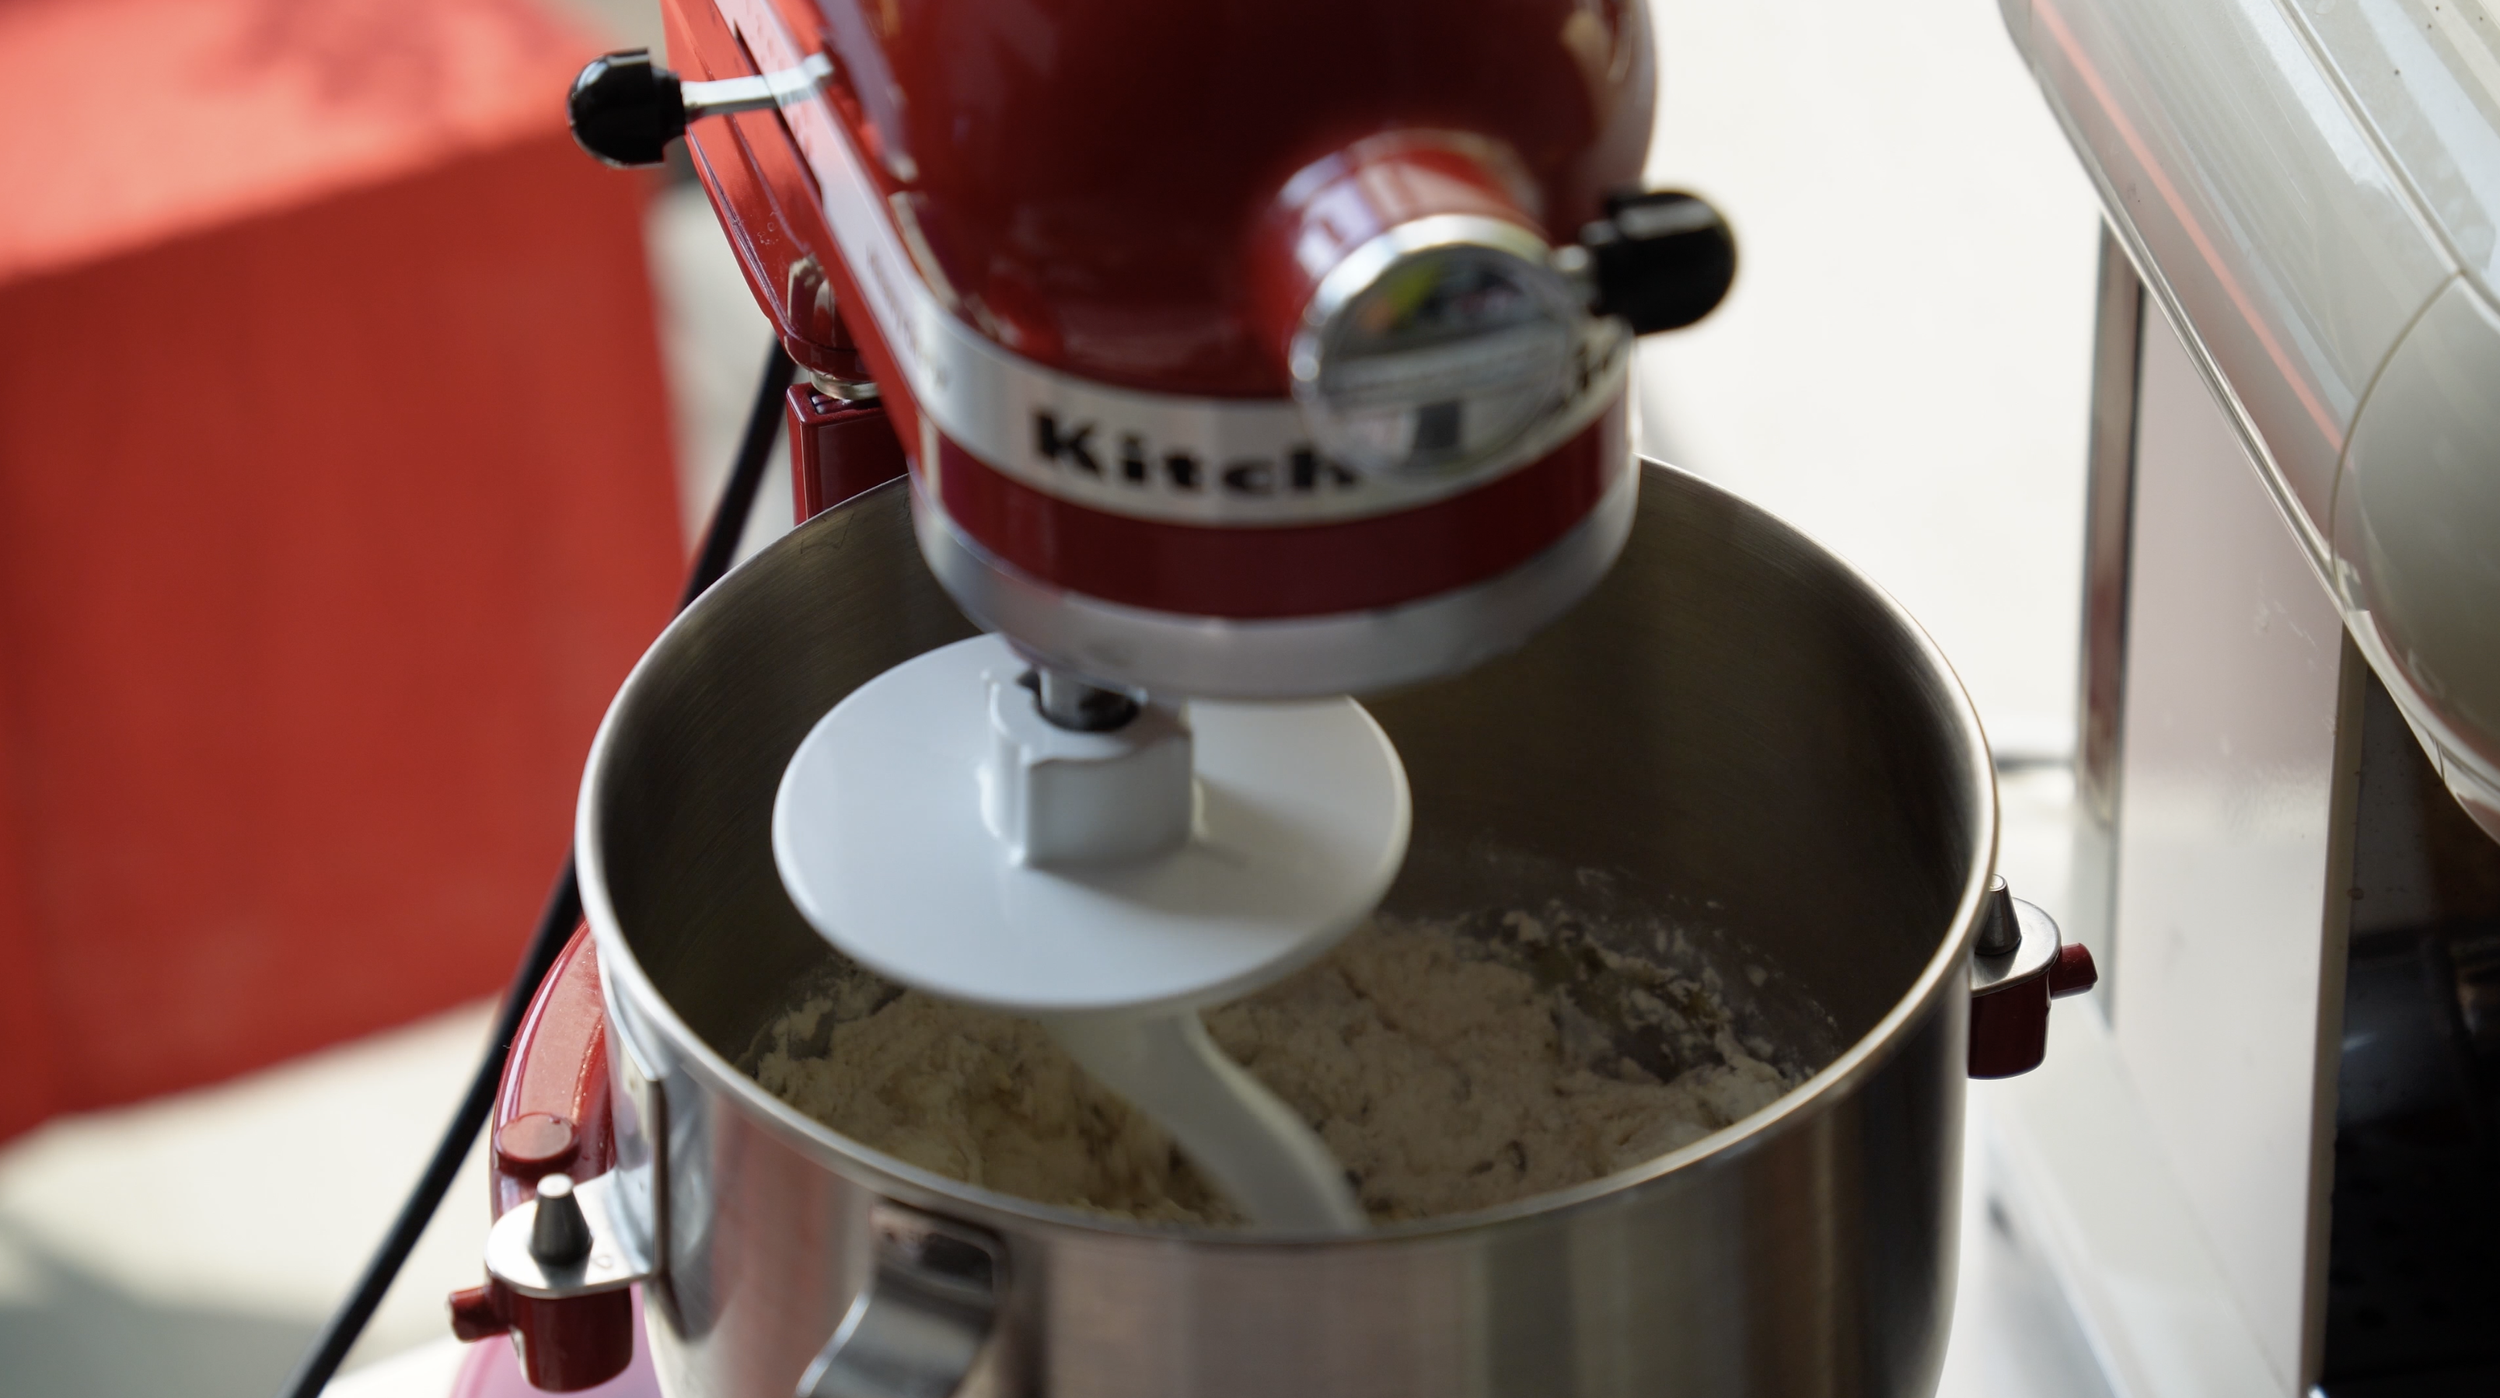
The next day, add the starter, flour, water, olive-herb salt, salt, and olive oil to the bowl of a stand mixer.
Mix until the dough becomes smooth and fully combined.
I usually skip the autolyse step for this loaf and mix everything together at once. It keeps the process simple, and the bread still turns out beautifully.

3. First rest
Transfer the dough to a glass bowl or jar and cover it with foil, plastic wrap, or an airtight lid.
Let it rest for 30 minutes.
This gives the flour time to hydrate and makes the dough easier to handle before the stretch and folds.
4. Stretch and folds
Do 3 sets of stretch and folds, every 30 minutes.
After the third set, let the dough rest for about 2 hours, or until it looks airy and alive.
The dough does not need to double. For me, this shorter rest actually gives a better loaf than waiting too long.
5. Feed the remaining starter
After making the dough, don’t forget to feed the remaining starter.
When I know I’m not baking the next day, I like to feed:
30g starter
15g bread flour
15g whole wheat flour
33g water
This gives me enough starter for the next feeding without too much discard.
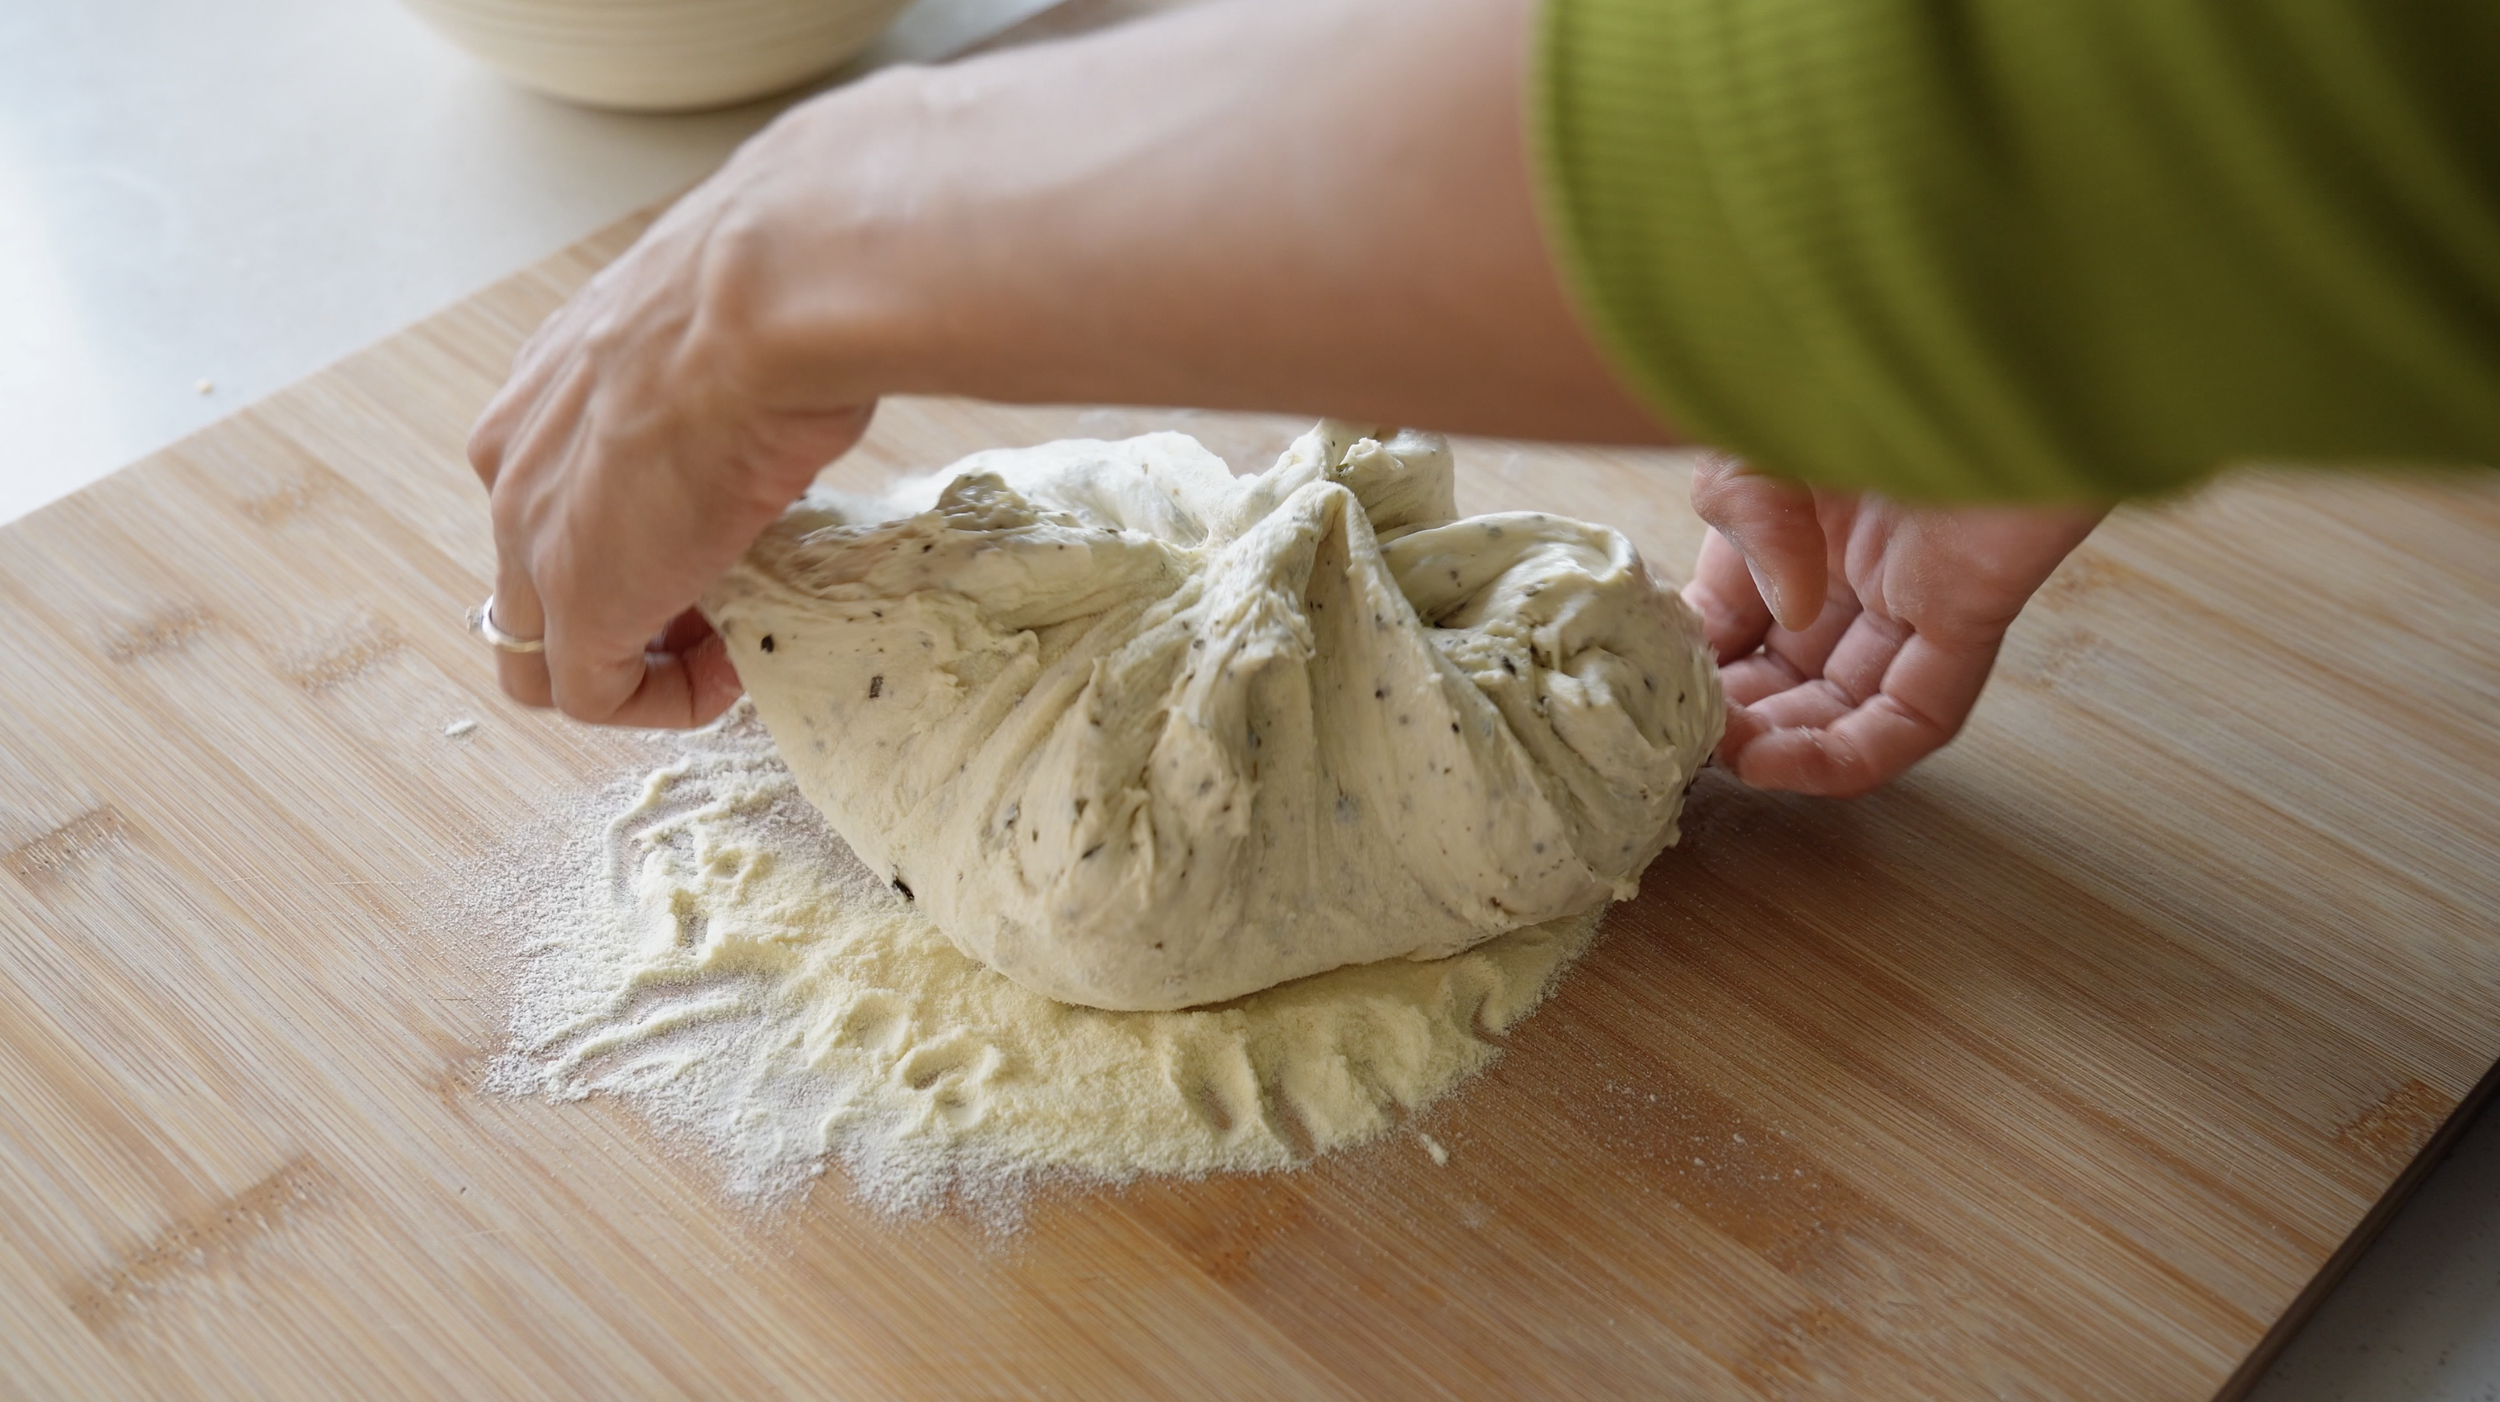
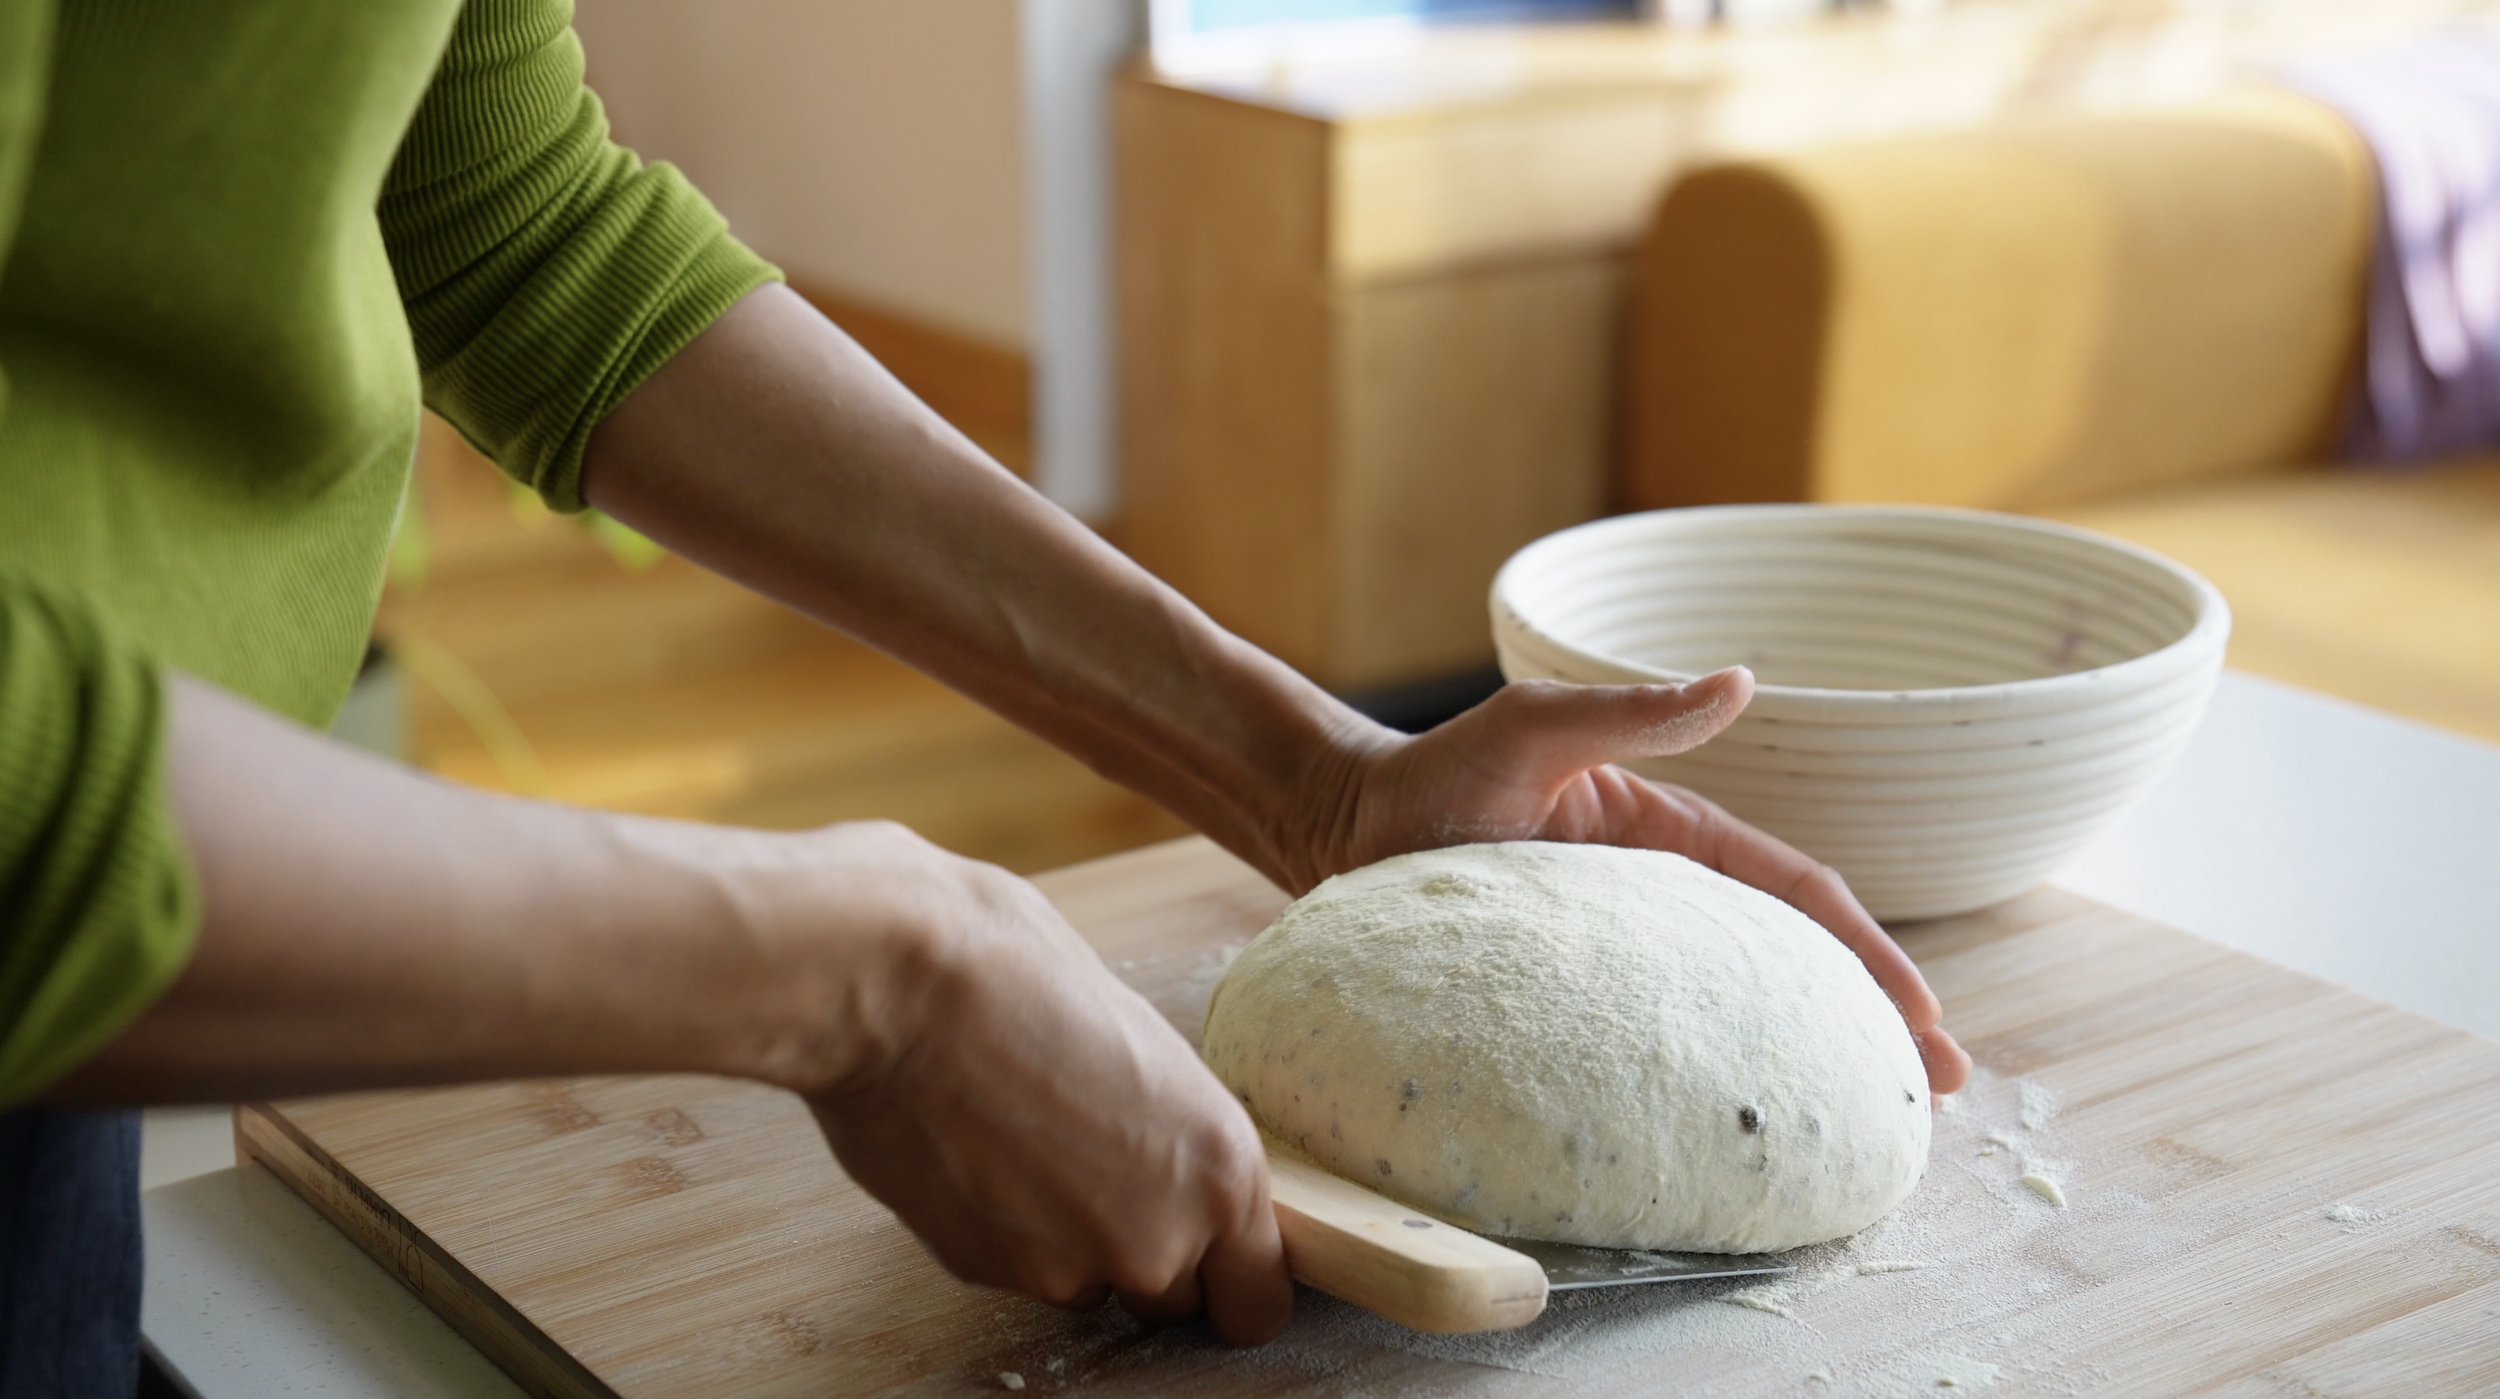
6. Shape the dough
Dust your surface with semolina or rice flour.
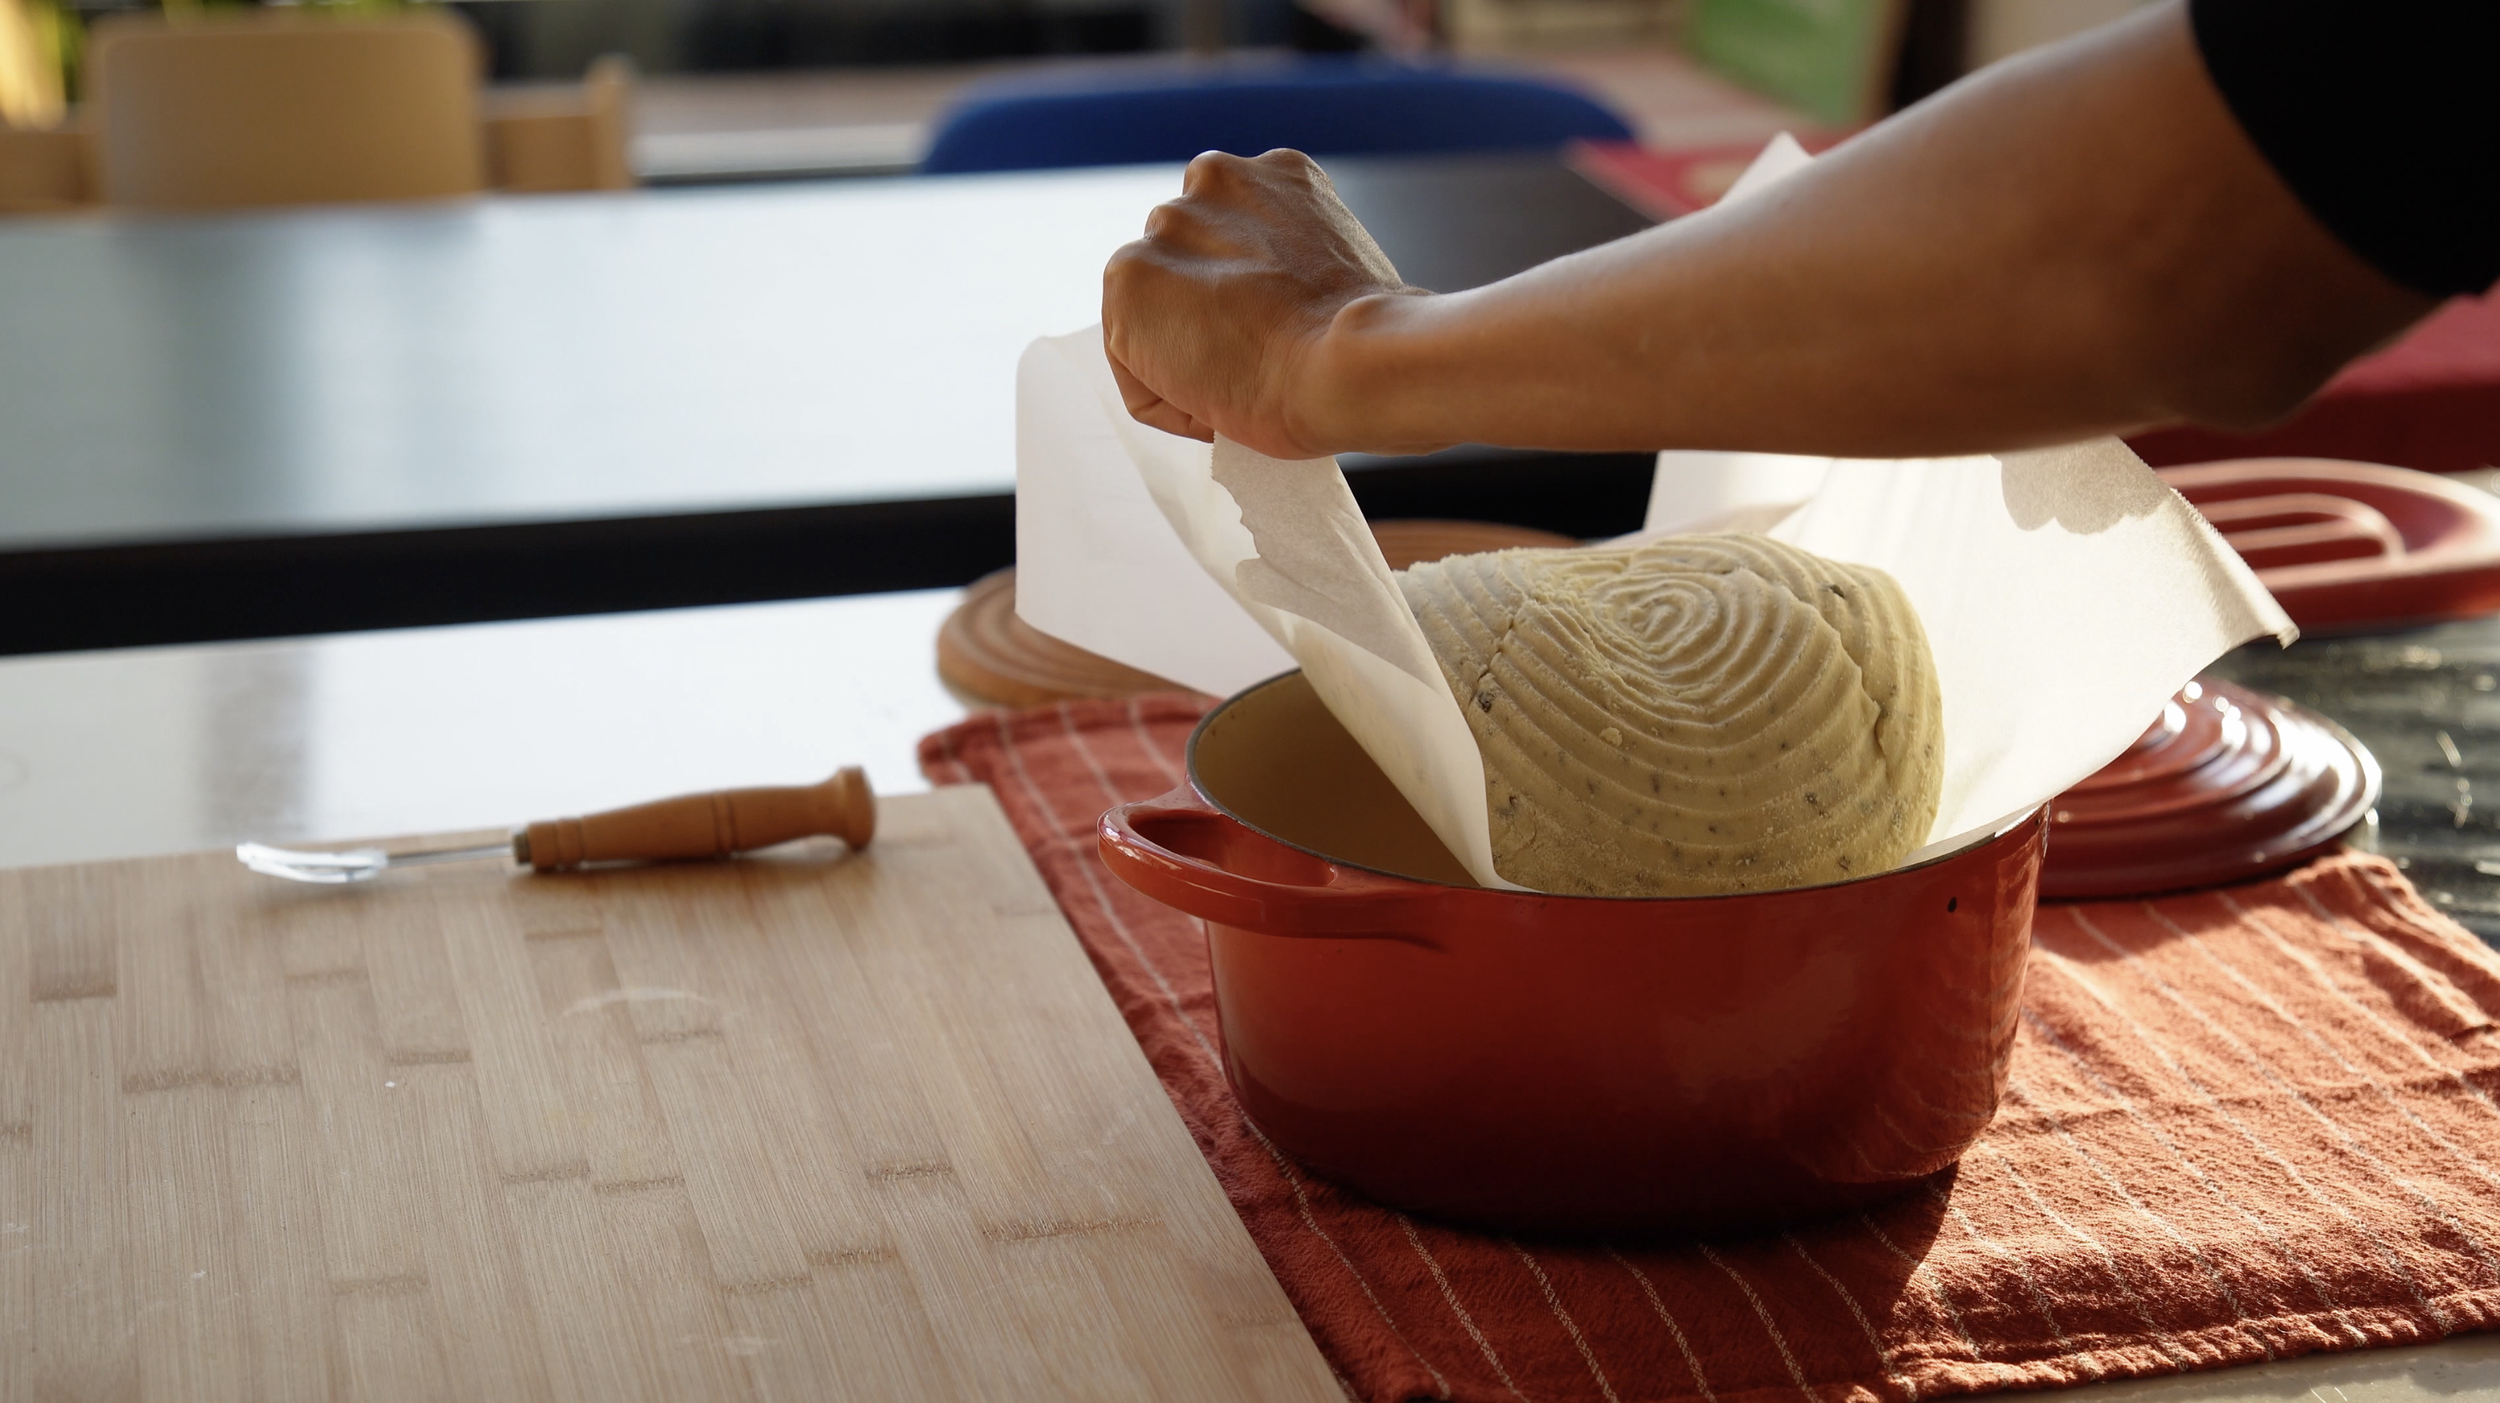
Gently turn the dough onto the floured surface. Pinch the ends together, flip it seam-side down, and shape it into a tight boule.
Place the dough seam-side up into a floured banneton.
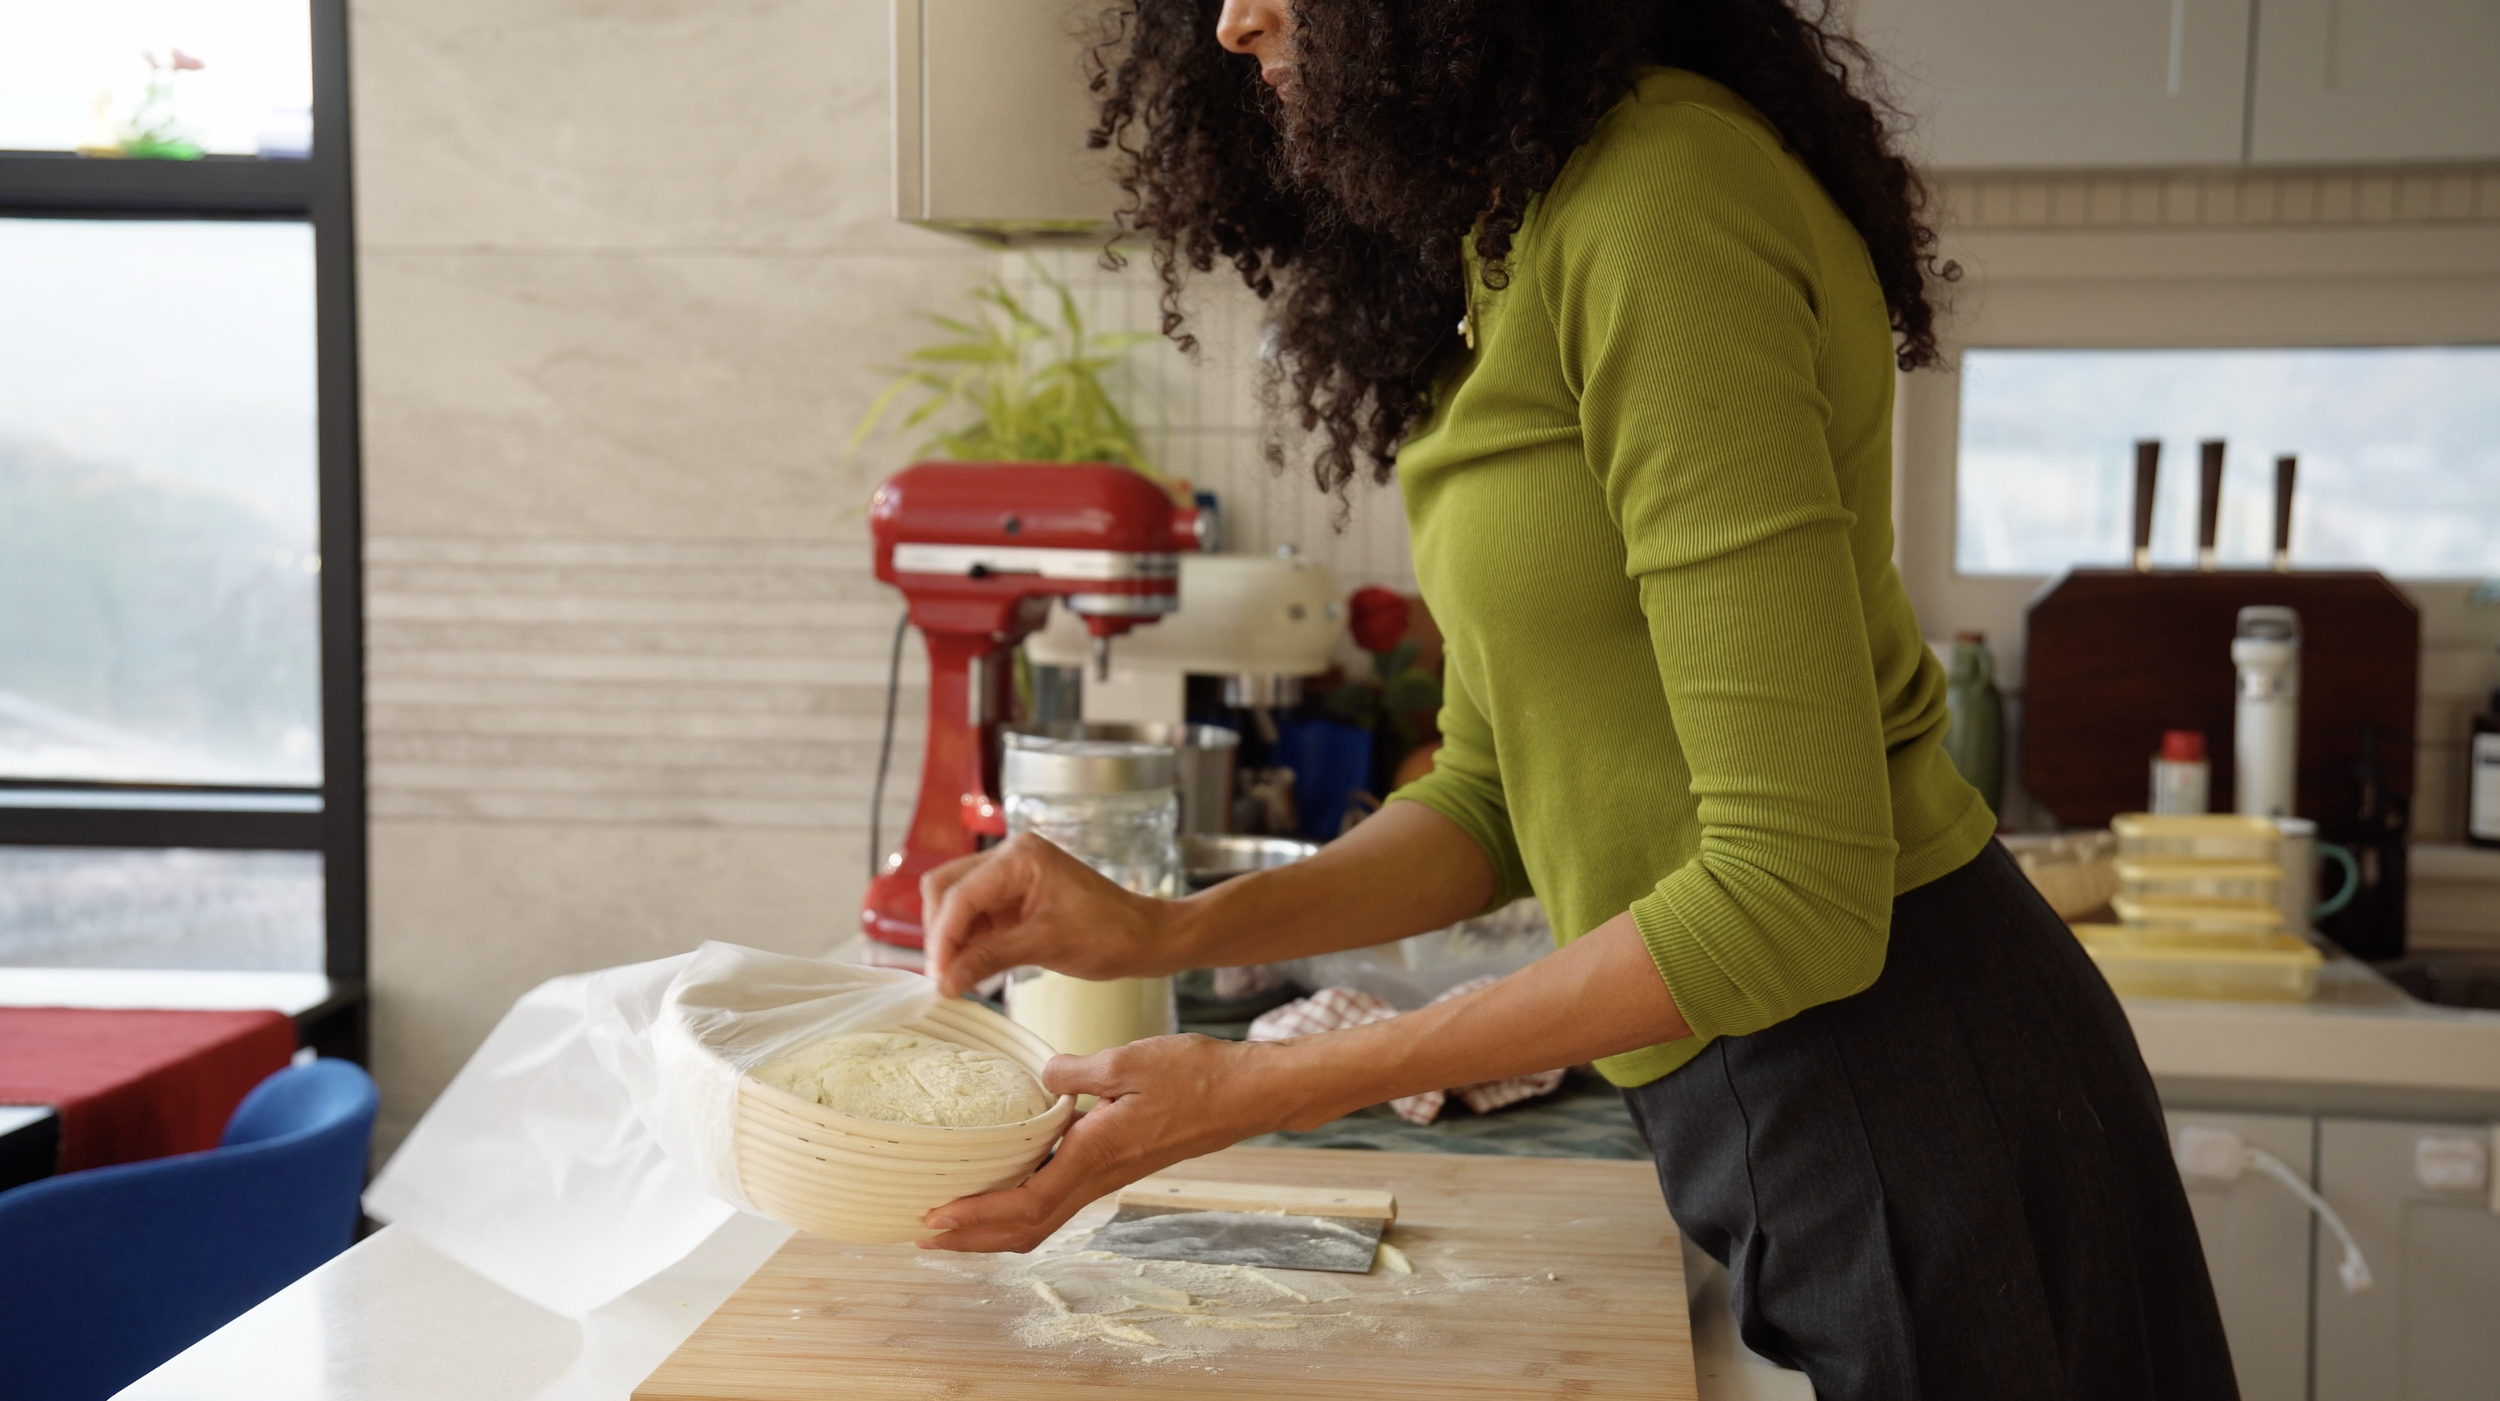
7. Cold proof overnight
Place the banneton inside a plastic bag and refrigerate overnight.
This slows fermentation, deepens the flavor, and makes the dough easier to score the next day.
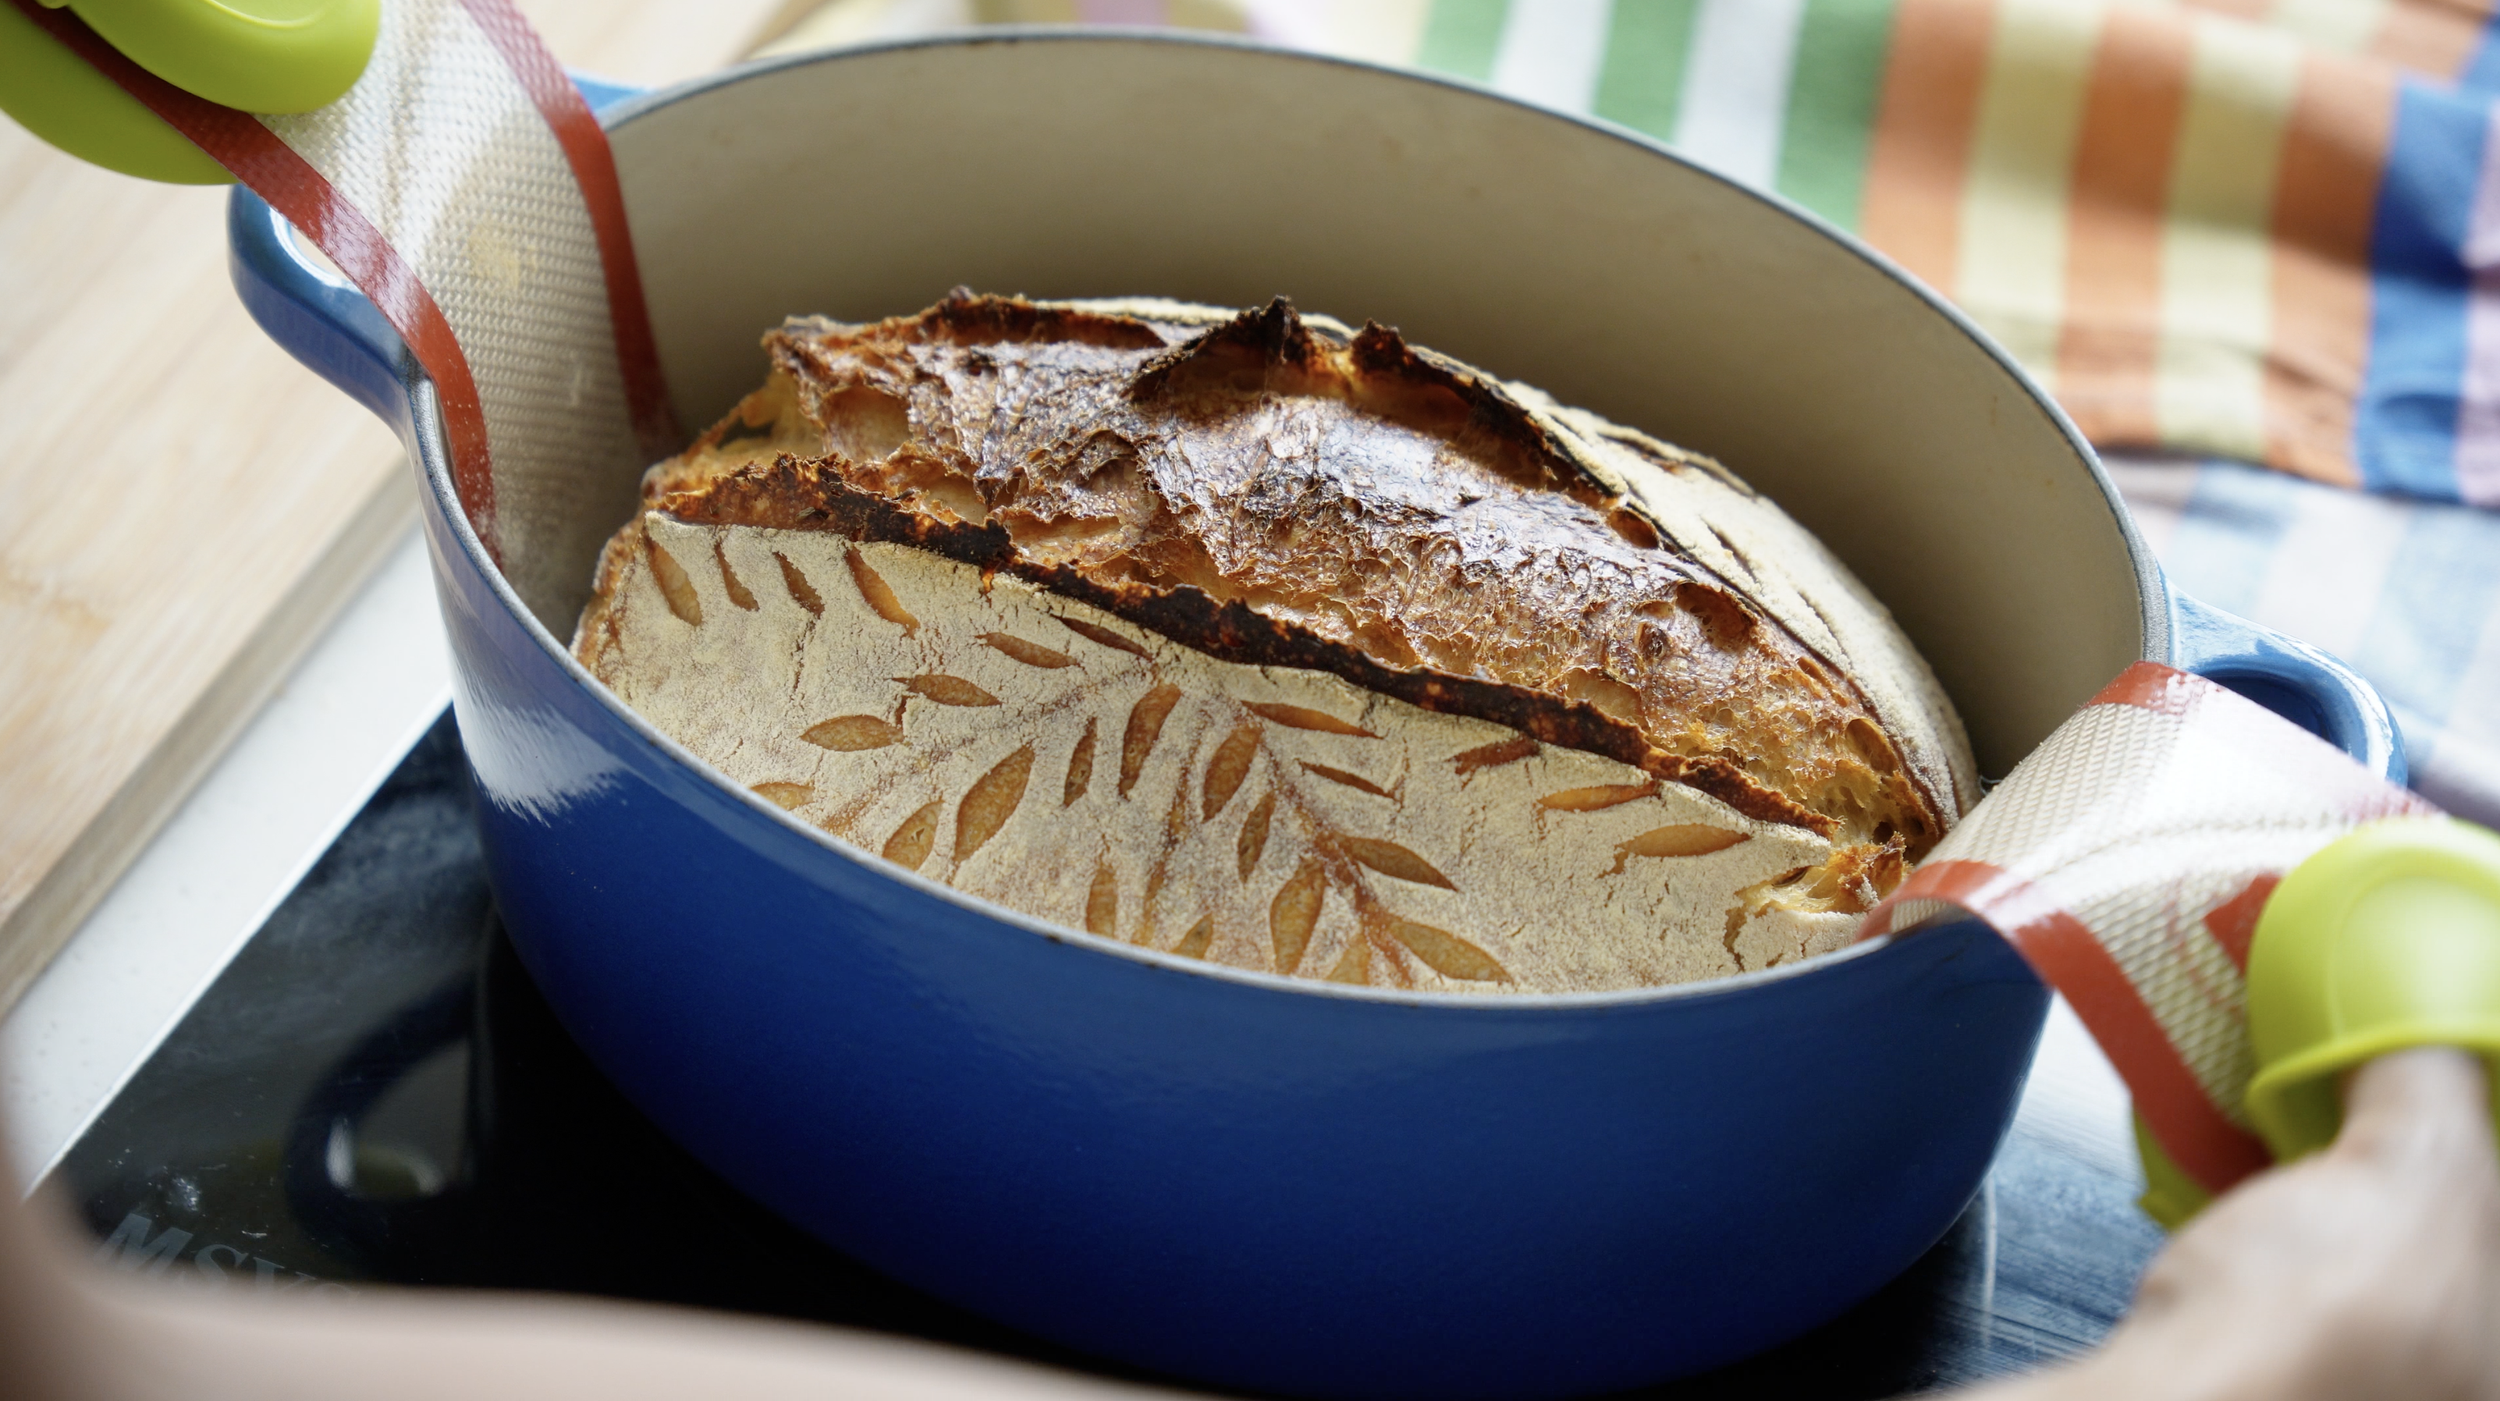
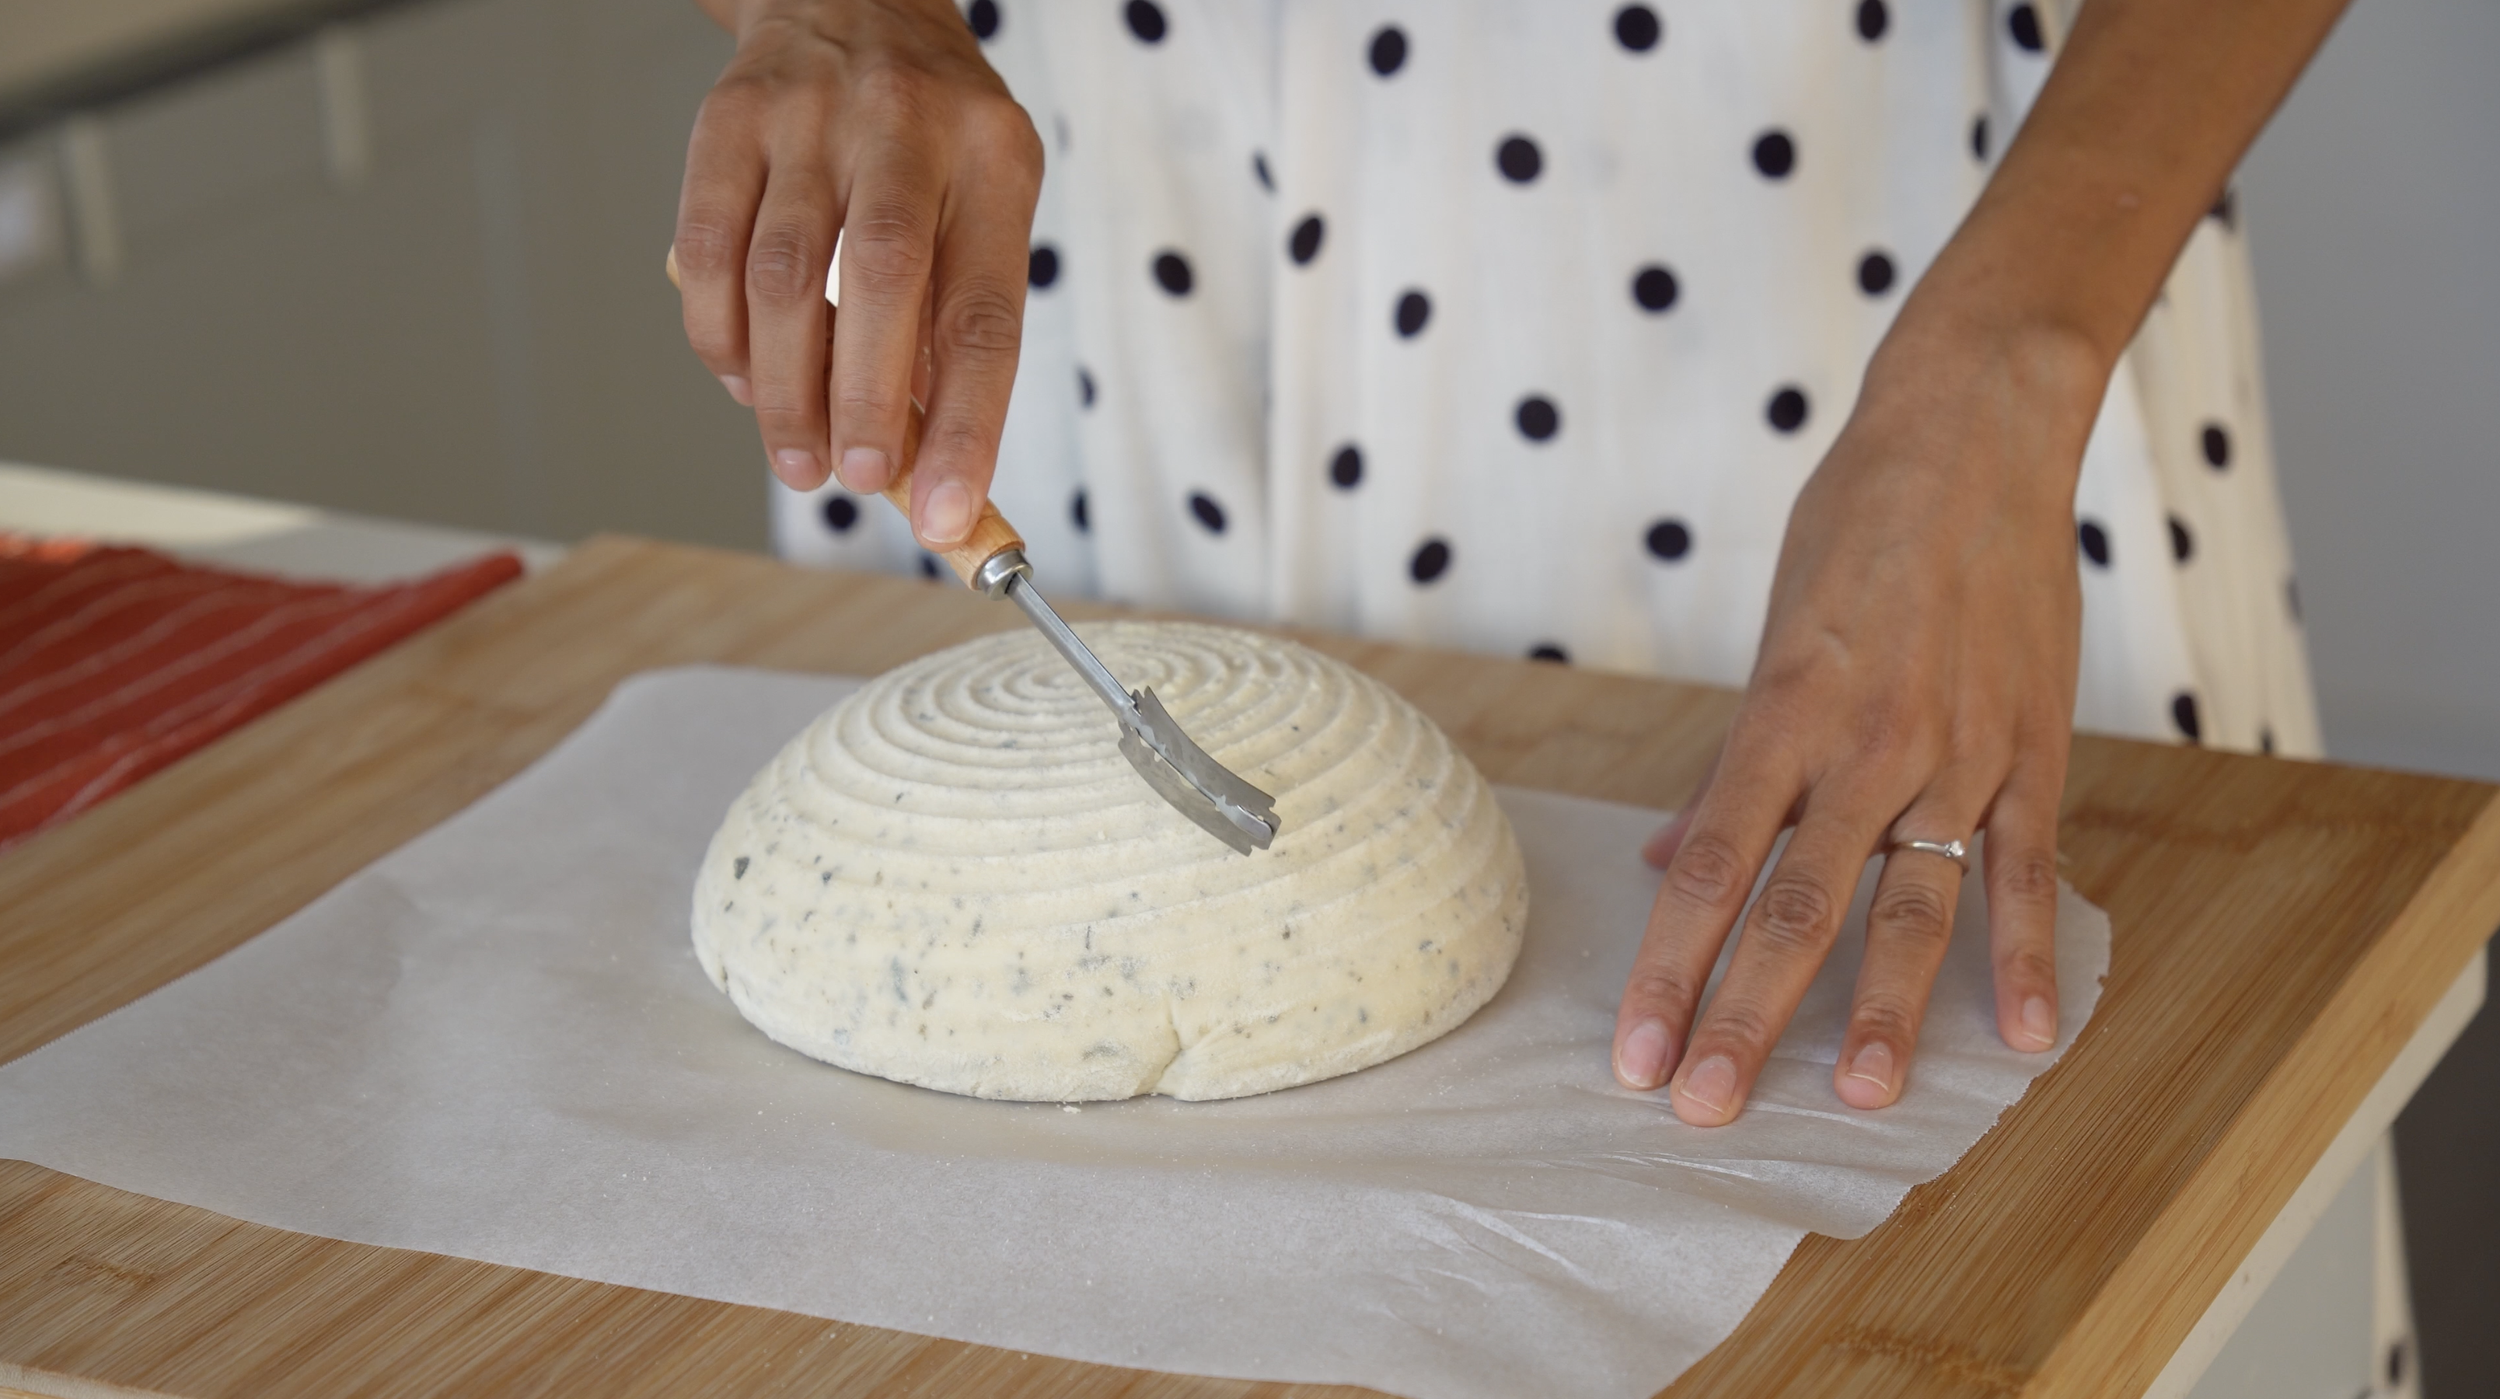
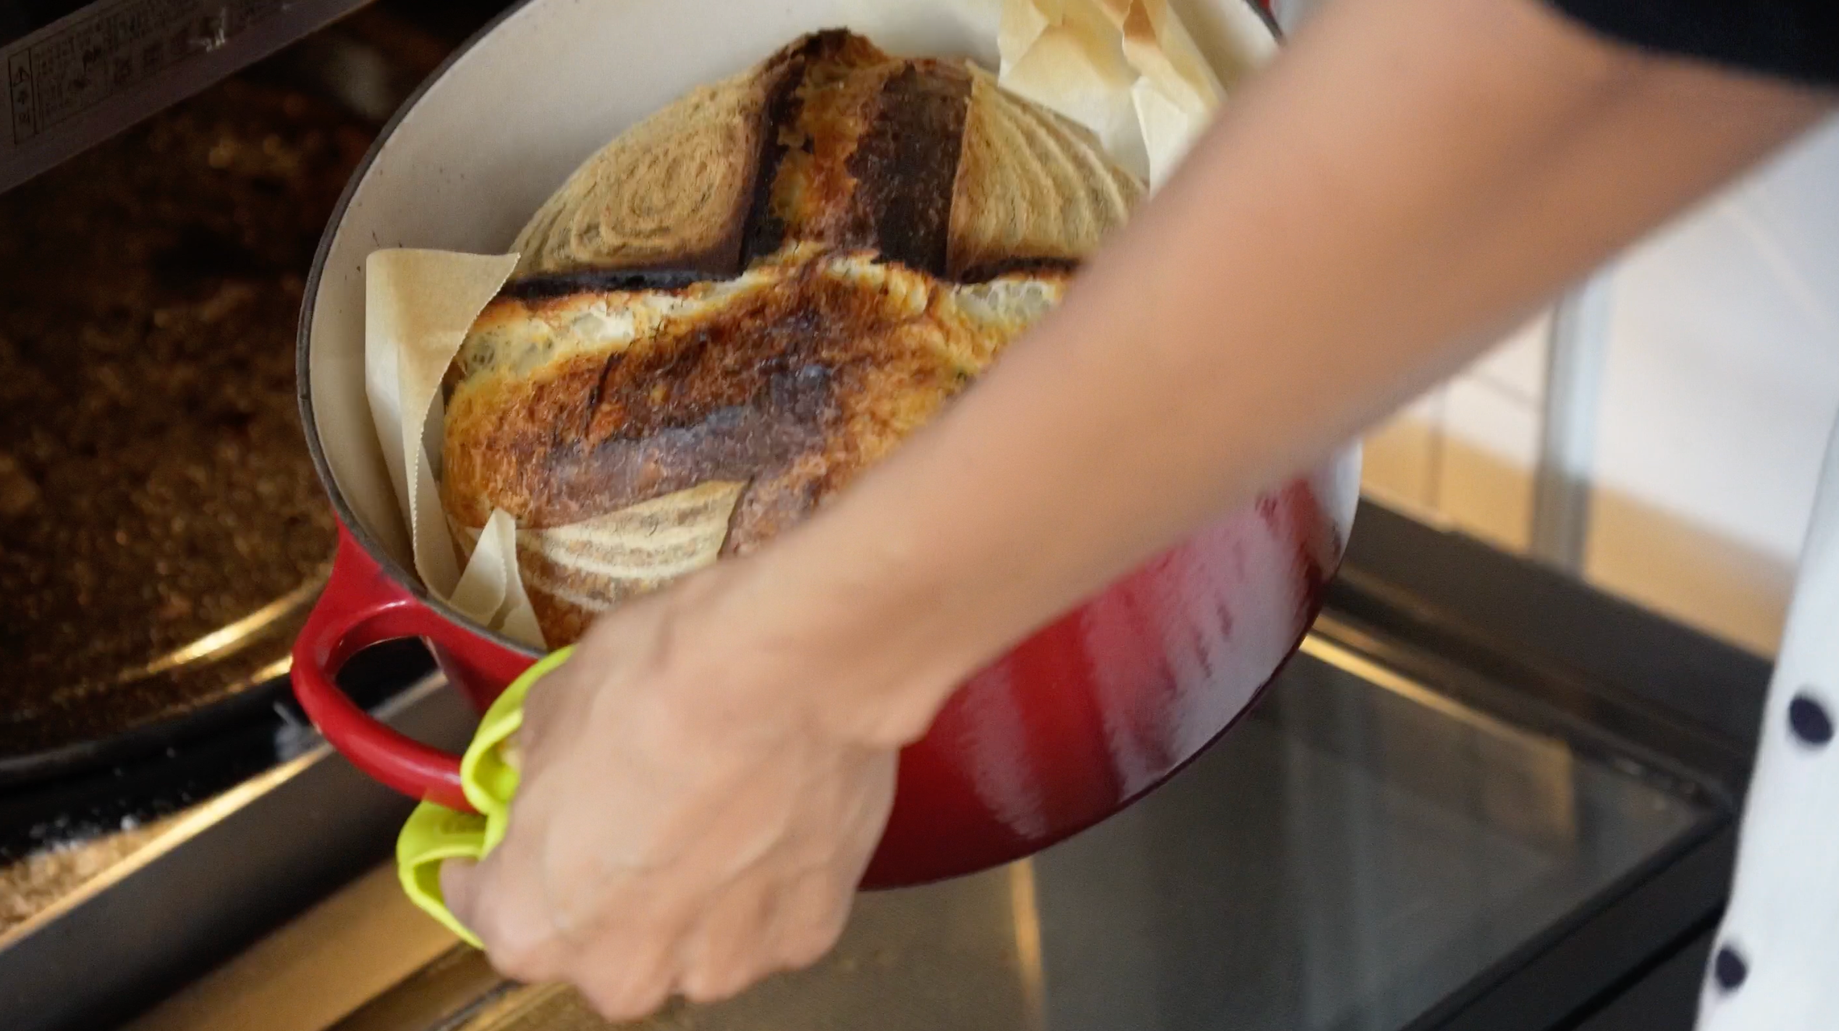
8. Bake
The next day, preheat the oven to 250°C.
I know many sourdough recipes preheat the Dutch oven too, but I usually don’t — and it still turns out well.
Score the loaf, place it inside the Dutch oven, and cover.
Bake:
250°C with lid: 30 minutes
220°C without lid: 20 minutes
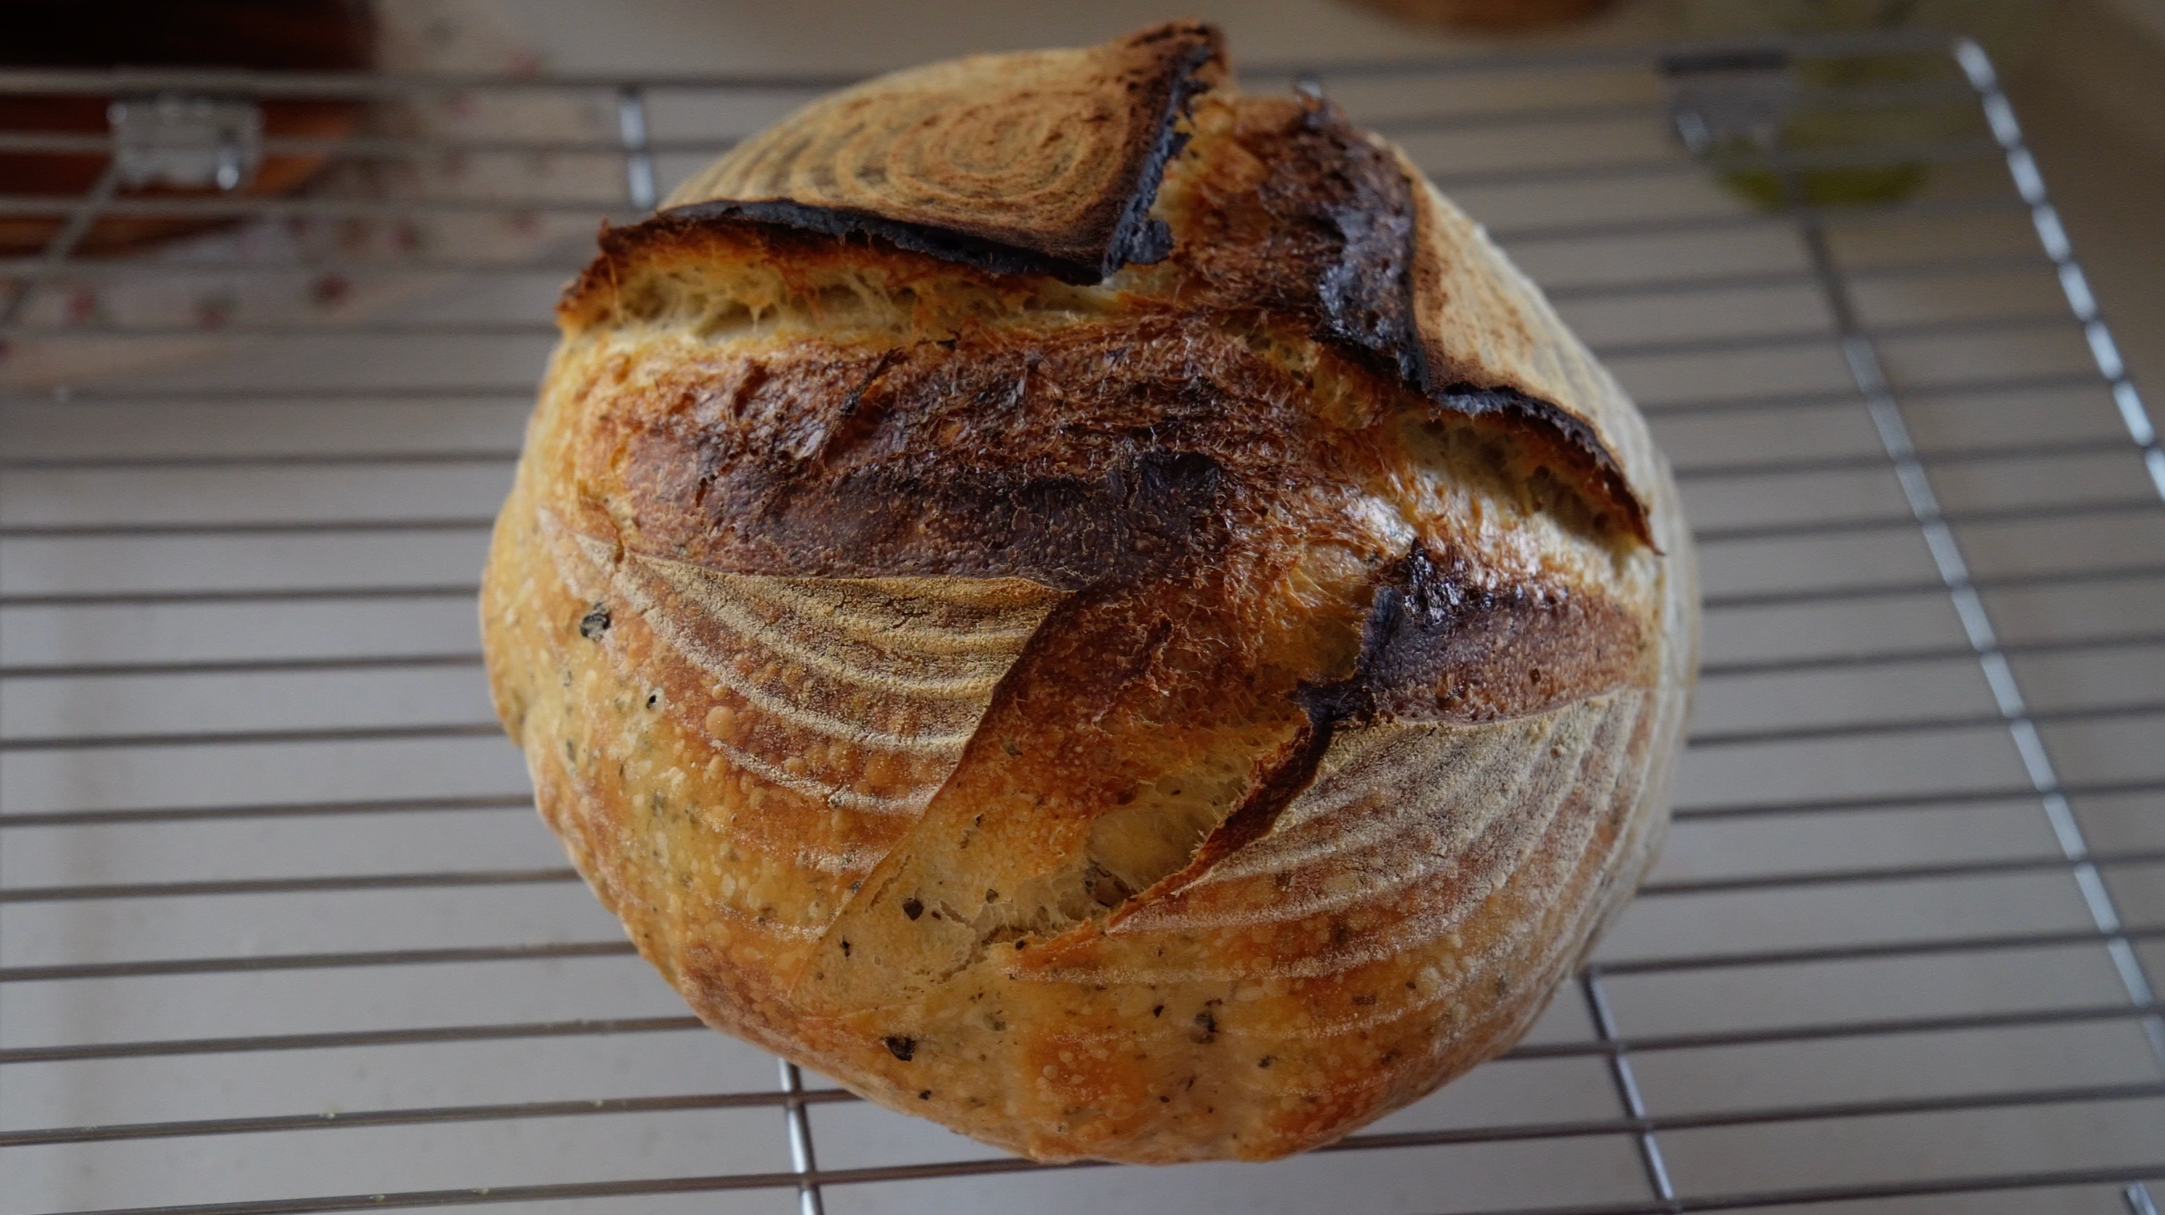
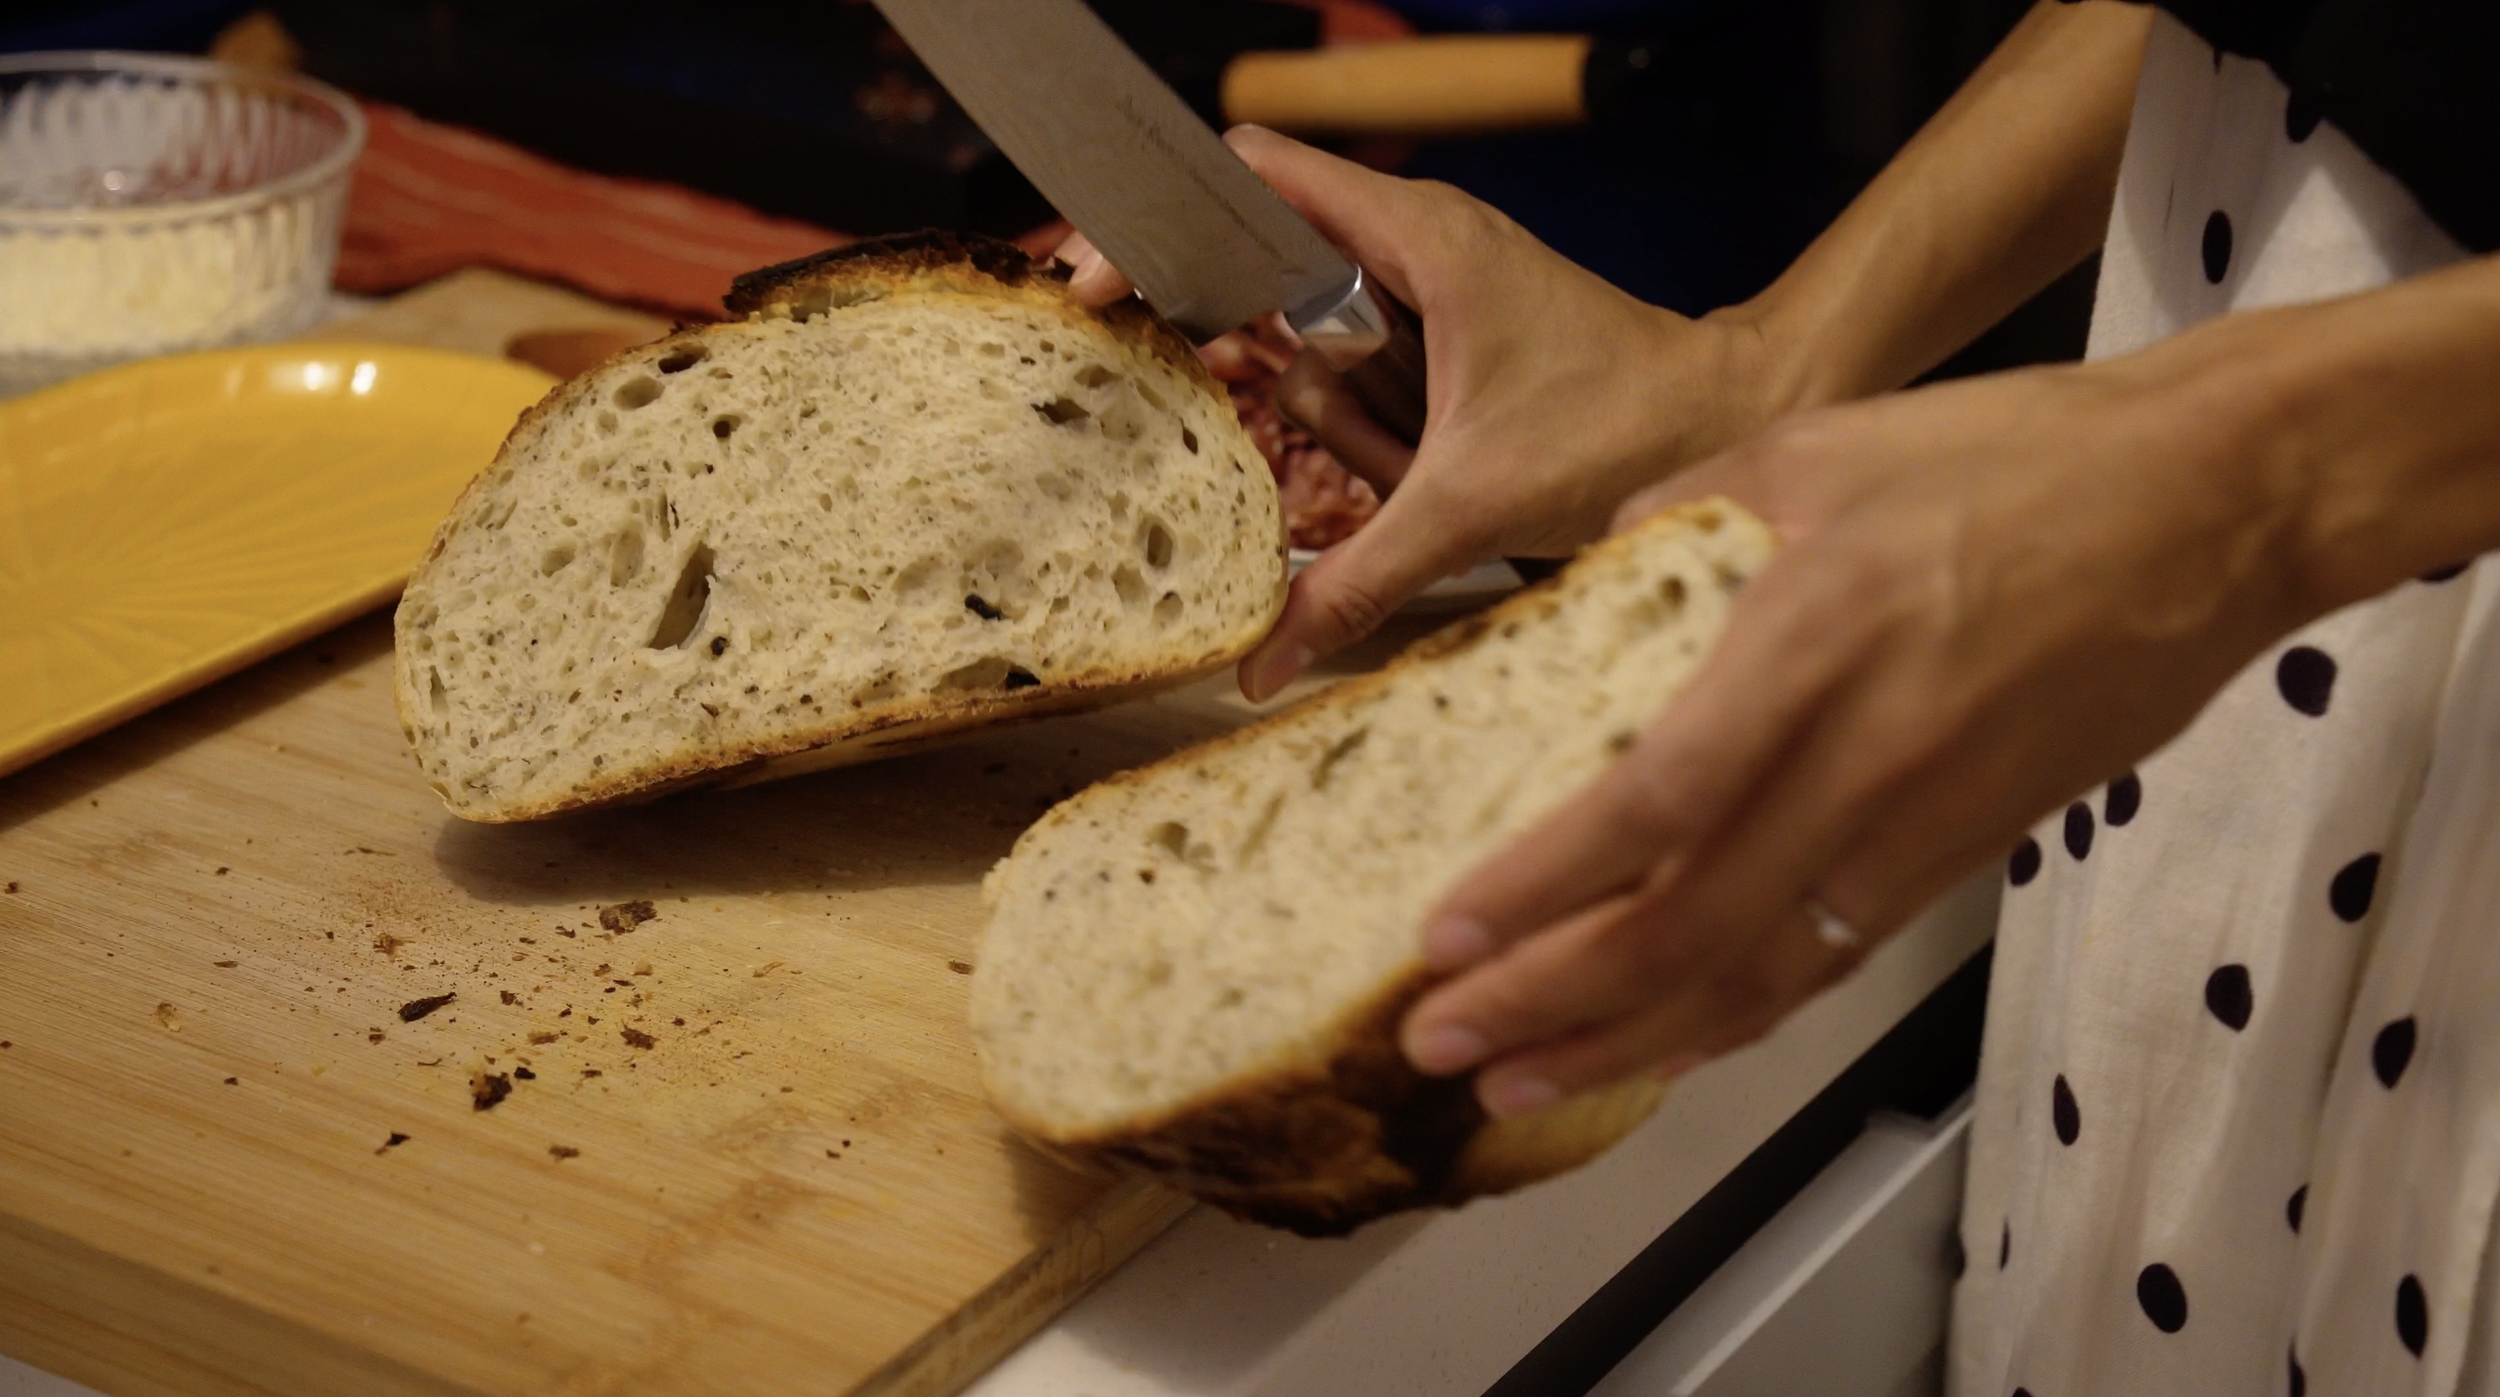
9. Cool before slicing
Let the bread cool for at least 1 hour before slicing.
This is important. If you slice too early, the crumb can turn gummy because the inside is still setting.
Storage & freezing
Store the bread in an airtight container at room temperature for up to 3 days.
For longer storage, slice the bread and freeze it.
To reheat:
1 slice: microwave for about 30 seconds
3 slices: microwave for about 1 minute
The texture becomes soft again, very close to freshly baked.
Troubleshooting
-
That’s normal with sourdough. Use lightly wet hands and avoid adding too much extra flour.
-
It may have overproofed, or the shaping may not have been tight enough.
-
Your starter may not have been active enough, or the dough may have needed a little more fermentation time.
-
Your olive-herb salt mix may be saltier than mine. Next time, reduce the regular salt or use less herb salt.
Share & feedback
If you try this recipe, I’d love to see it ♡
You can share and tag me on Instagram @_aisha_ba_so I can see your bread.
And if you have a moment, feel free to come back here to leave a comment or rating — it really helps others and means a lot to me.

Olive Herb Sourdough Bread
A soft and flavorful olive herb sourdough bread made with olive oil and an overnight fermentation. This beginner-friendly recipe fits easily into a slow daily routine.
Ingredients
- 100 g active sourdough starter
- 450 g bread flour
- 50 g whole wheat flour
- 340 g water
- 15 g olive-herb salt mix
- 5 g salt
- 1 tbsp olive oil
- If not using olive-herb salt: Use 10 g salt total and add dried herbs separately if desired.
Instructions
- Feed your starter and let it become active and bubbly. This can take 8–24 hours depending on temperature.
- In a stand mixer or bowl, combine:
- starter
- water
- flours
- olive-herb salt
- additional salt
- olive oil
- Mix until smooth and fully combined.
- Transfer to a bowl, cover, and let rest for 30 minutes.
- Perform 3 sets of stretch and folds every 30 minutes.
- Let the dough rest until it looks slightly airy and relaxed.
- Turn onto a lightly floured surface (rice flour or semolina recommended).
- Shape into a tight boule and transfer to a floured banneton.
- Cover and refrigerate for 12–16 hours.
- Preheat oven to 250°C.
- Bake with lid → 30 minutes
- Remove lid, reduce to 220°C → bake 20 minutes
- Let cool for at least 1 hour before slicing.
- Dough may feel slightly sticky — this is normal
- Salt level depends on your olive-herb mix
- Olive oil makes the crumb slightly softer than a classic loaf
- Store in an airtight container for up to 3 days
- Slice and freeze for longer storage
- To reheat:
- 1 slice → ~30 seconds microwave
- 3 slices → ~1 minute

Hi, I’m Aisha
I’m an Italian living in Korea, sharing my everyday life as a homemaker, mother, and creator.
Here you’ll find simple sourdough recipes, slow cooking, and small routines that fit into a real day — not a perfect one.
Baking bread has become one of those quiet moments I always come back to.
Something simple, but grounding.
If you’re here, I hope you feel inspired to slow down a little and enjoy the process.