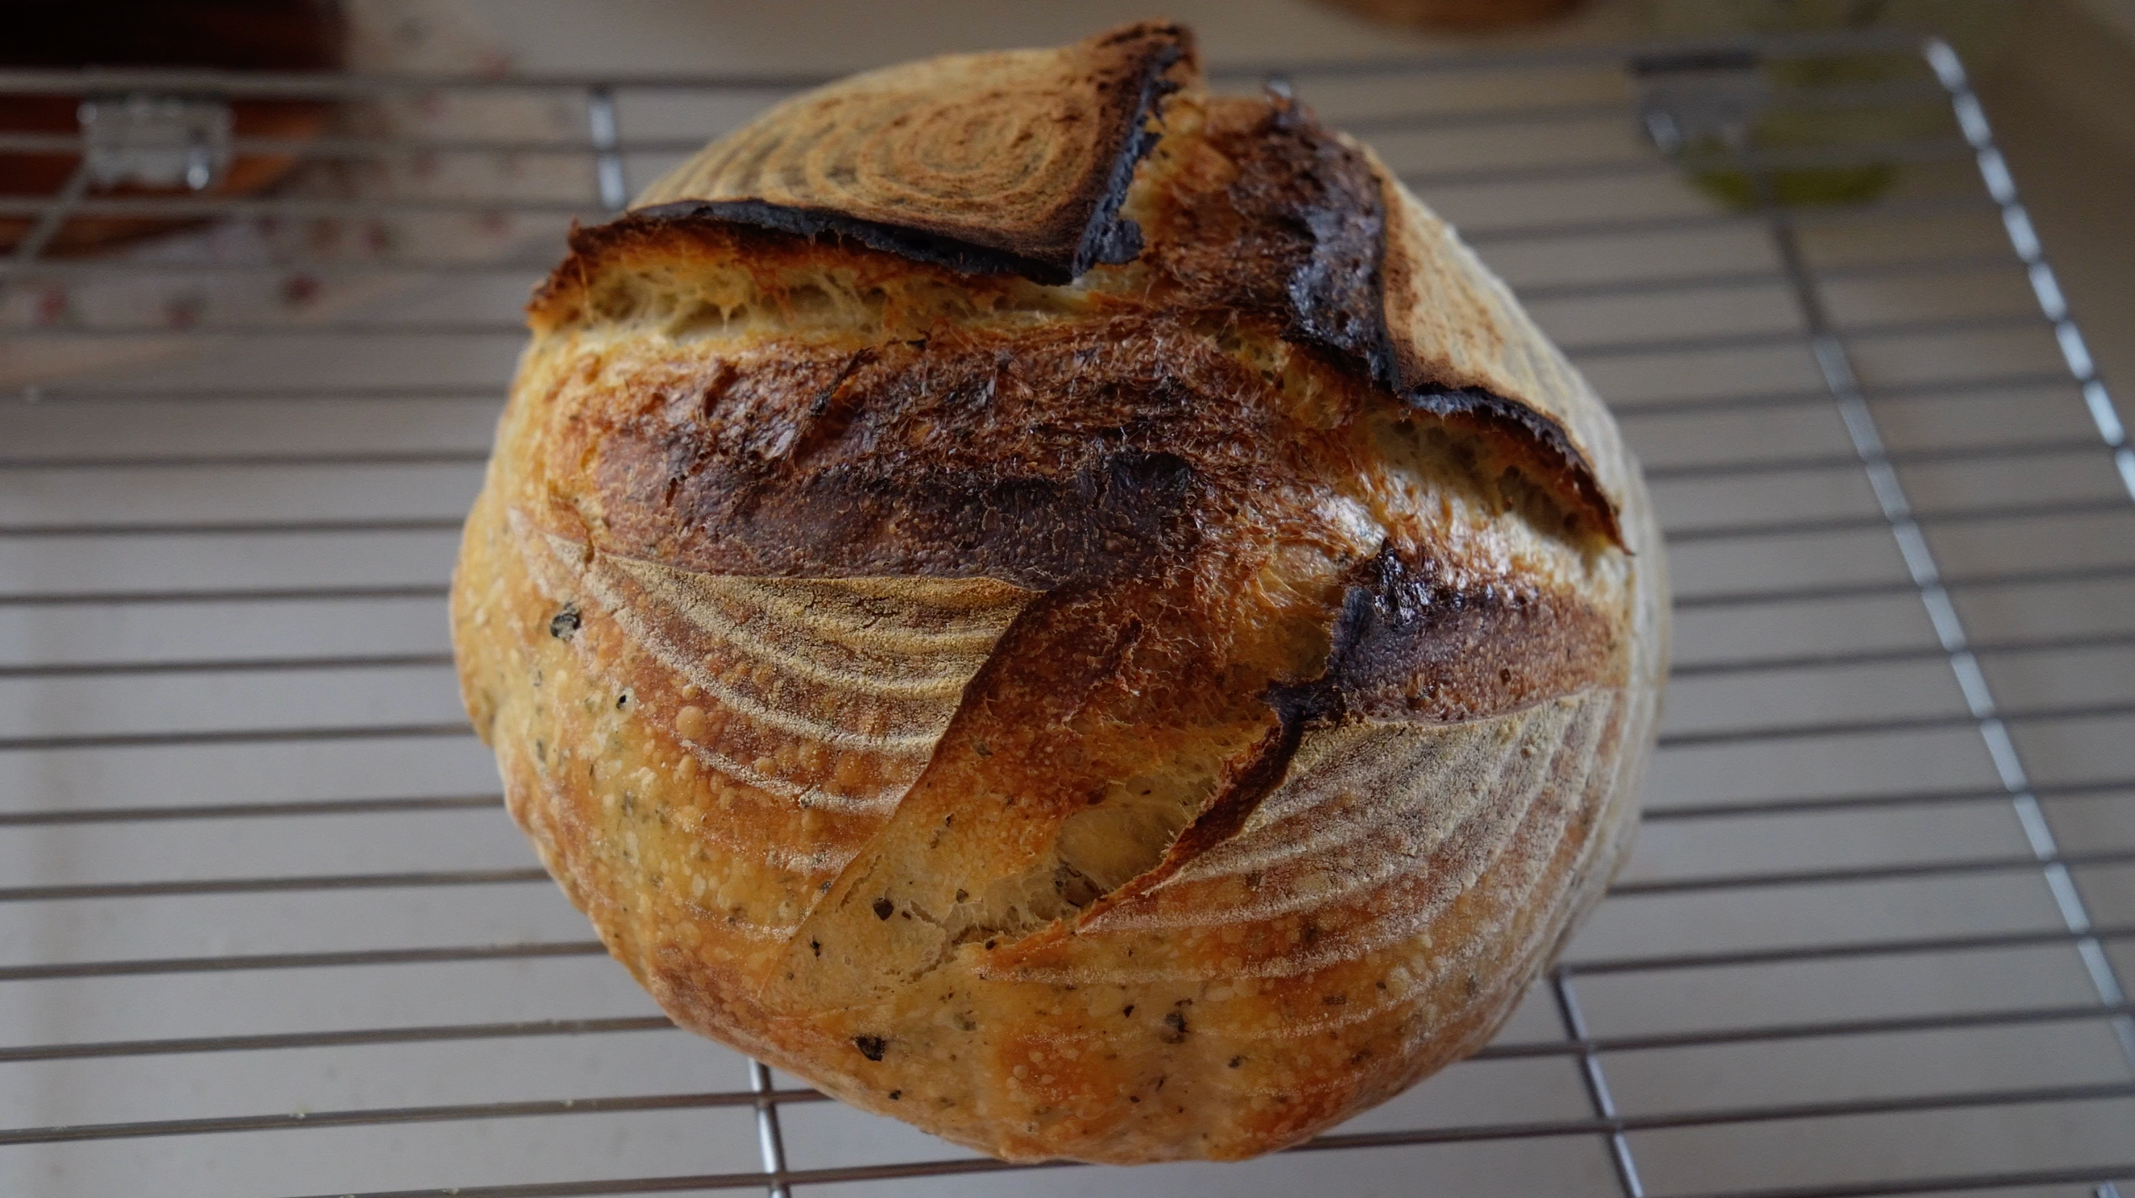
Easy Artisan Sourdough Bread
(Overnight, Beginner-Friendly)
A simple, reliable sourdough bread with whole wheat, a crispy crust, and a soft, balanced crumb — designed to fit into real life.
A bread I always come back to
There are recipes you try once…
and then there are the ones that quietly become part of your routine.
This is mine.
It’s the bread I make when I don’t want to overthink things —
when I just want something that works.
It fits into a normal day, even with kids, even with a full schedule.
Mix, rest, shape, and bake the next day.
Sometimes I add a small amount of Caraway seeds.
It reminds me of breads from my hometown in South Tyrol, like Vinschgerl — slightly rustic, aromatic, and comforting. It’s optional, but it gives the bread a deeper, more familiar flavor for me.
Why this sourdough recipe works
This recipe is intentionally simple, but balanced:
Whole wheat adds flavor without making the bread heavy
Hydration is high enough for a soft crumb, but still manageable
The overnight proof builds flavor while making the process easier
It’s a loaf that doesn’t depend on perfect timing —
and that’s exactly why it works so well long-term.
My real-life baking rhythm
This is how it usually fits into my day:
Late morning / midday → mix the dough
Afternoon → stretch & folds
Evening → shape + fridge
Next day → bake
No stress, no rushing — just small steps throughout the day.
Ingredients
100g active sourdough starter
300g whole wheat flour
200g bread flour
10g salt
360g water
(optional) 5–7g caraway seeds
Equipment
Razor or sharp knife
Step-by-step (with explanation)
1. Mix the dough
In your stand mixer bowl, combine:
whole wheat flour
bread flour
salt
(optional) caraway seeds
In a separate bowl:
mix starter + water until mostly dissolved
Add everything together and mix on low speed (level 2)
→ just until combined
You’re not kneading here — just bringing everything together. Gluten will develop later during rest and folds.

2. First rest (30 minutes)
Transfer to a glass bowl, cover airtight, and let rest.
This rest (autolyse-style) allows the flour to fully hydrate, making the dough easier to handle and improving structure without extra work.
3. Stretch & folds (3 sets)
Every 30 minutes, perform one set:
pull → fold → rotate → repeat
This replaces kneading. It gently builds gluten strength while keeping the dough airy.
4. Bulk fermentation (about 1.5 hours at 22°C)
Let the dough rest after the last fold.
Look for:
slight puffiness
smoother surface
relaxed structure
This is where fermentation builds structure and flavor. Too short → dense bread. Too long → weak dough.
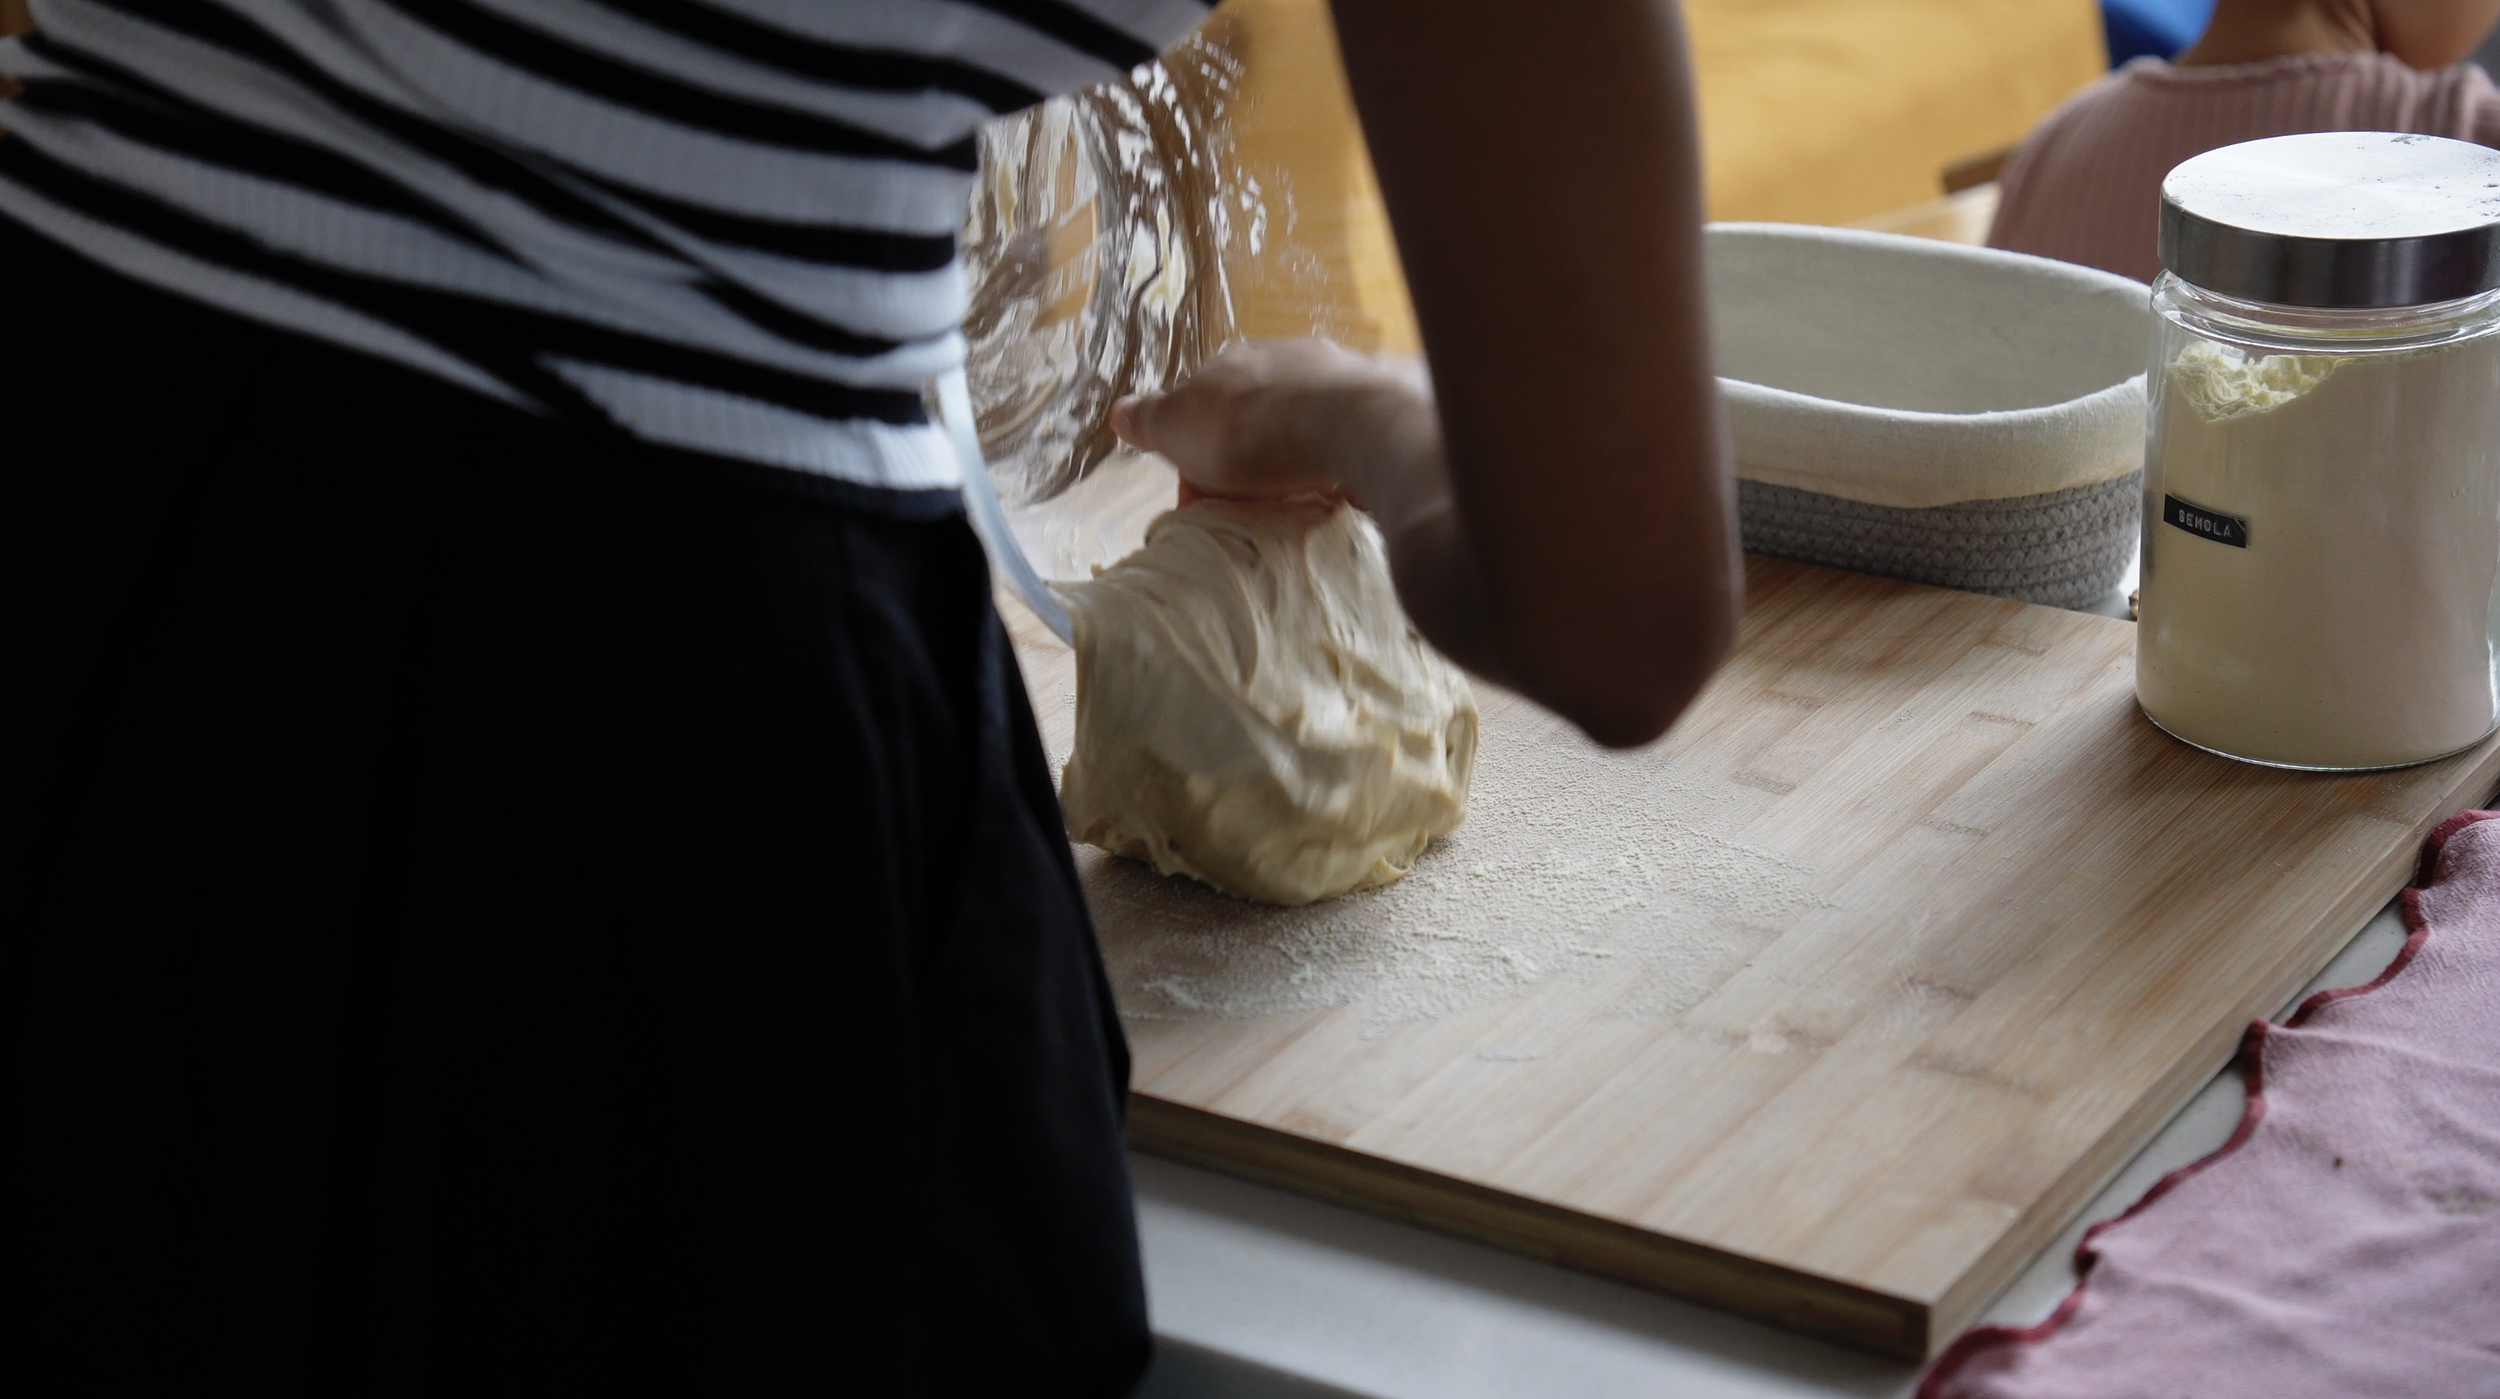
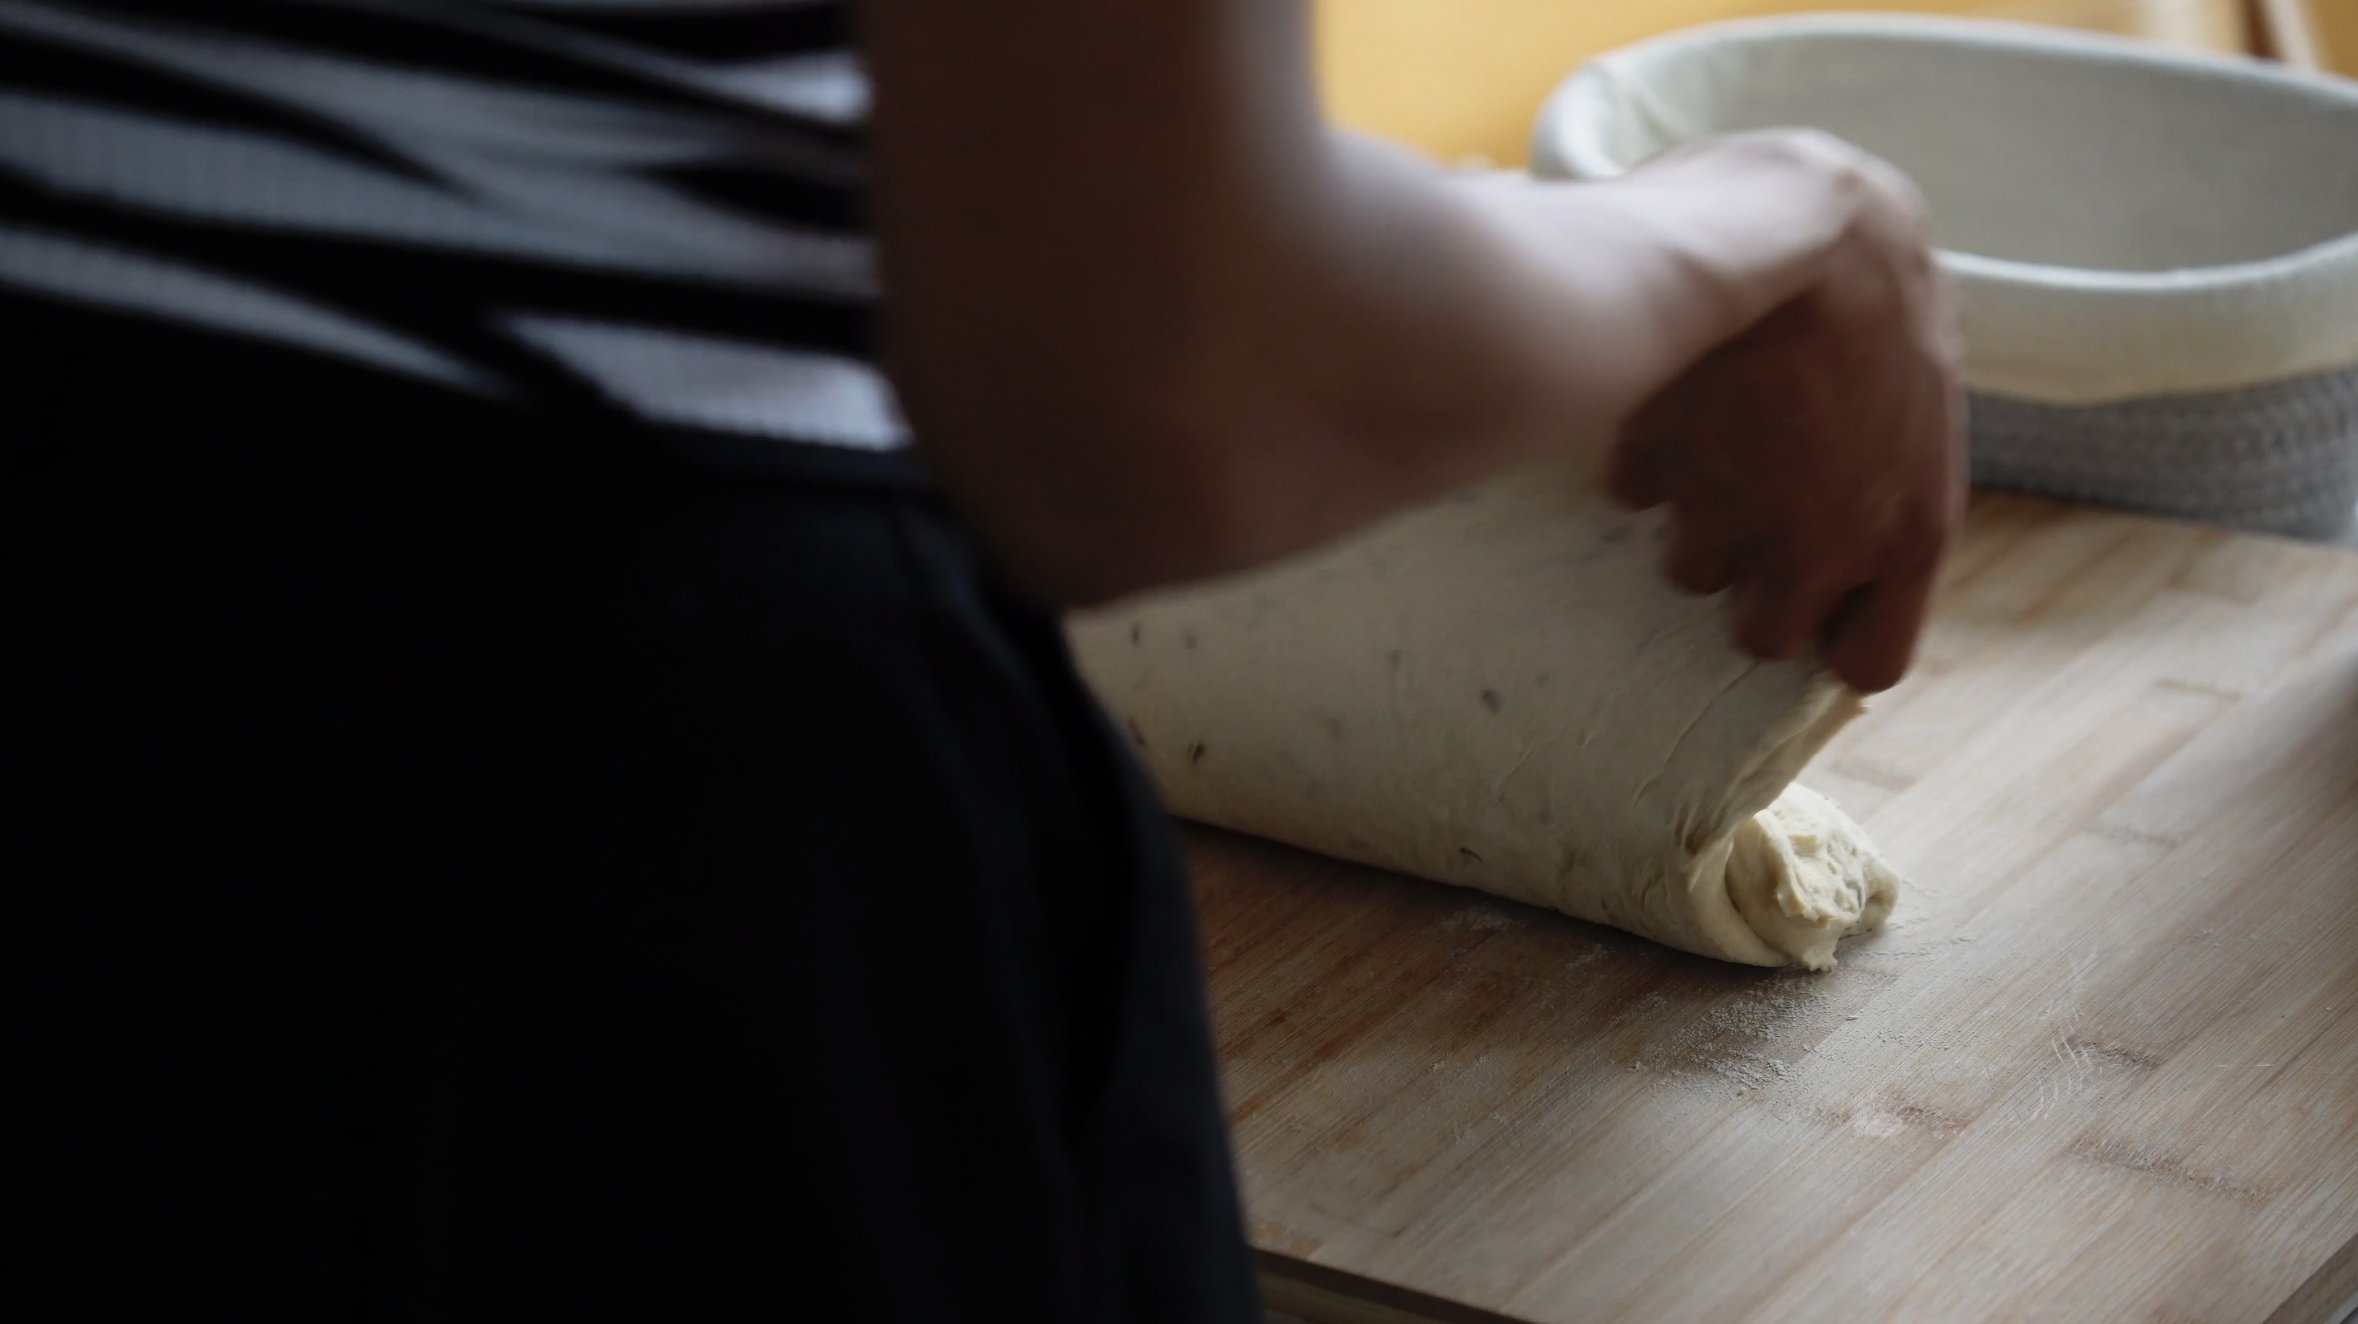
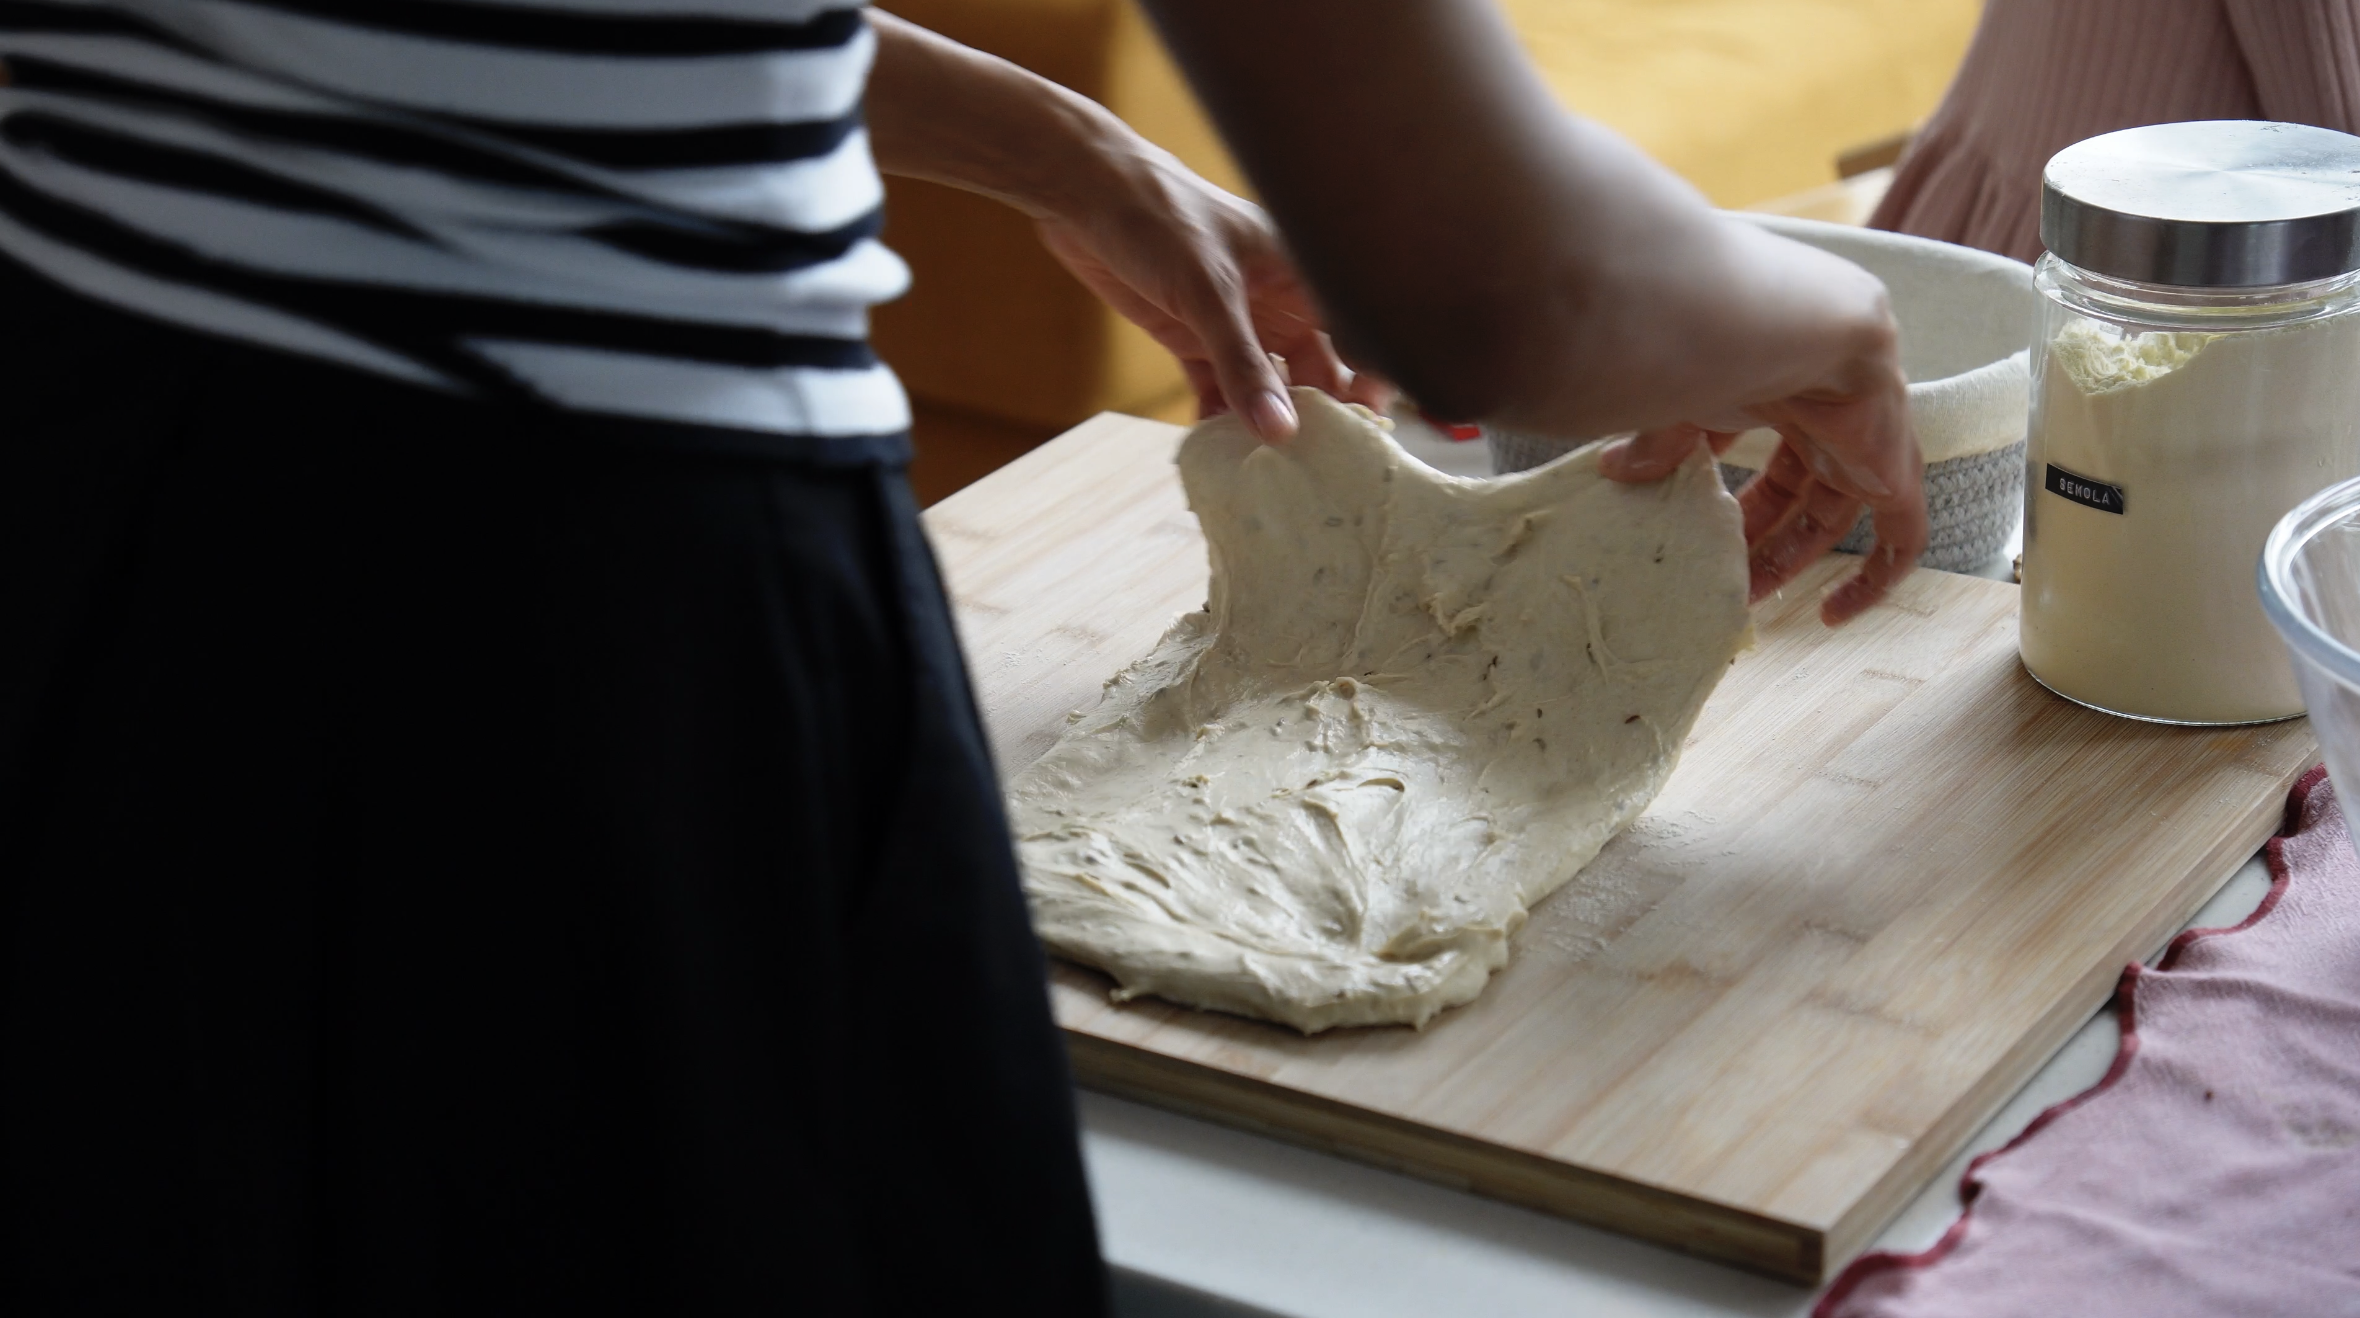
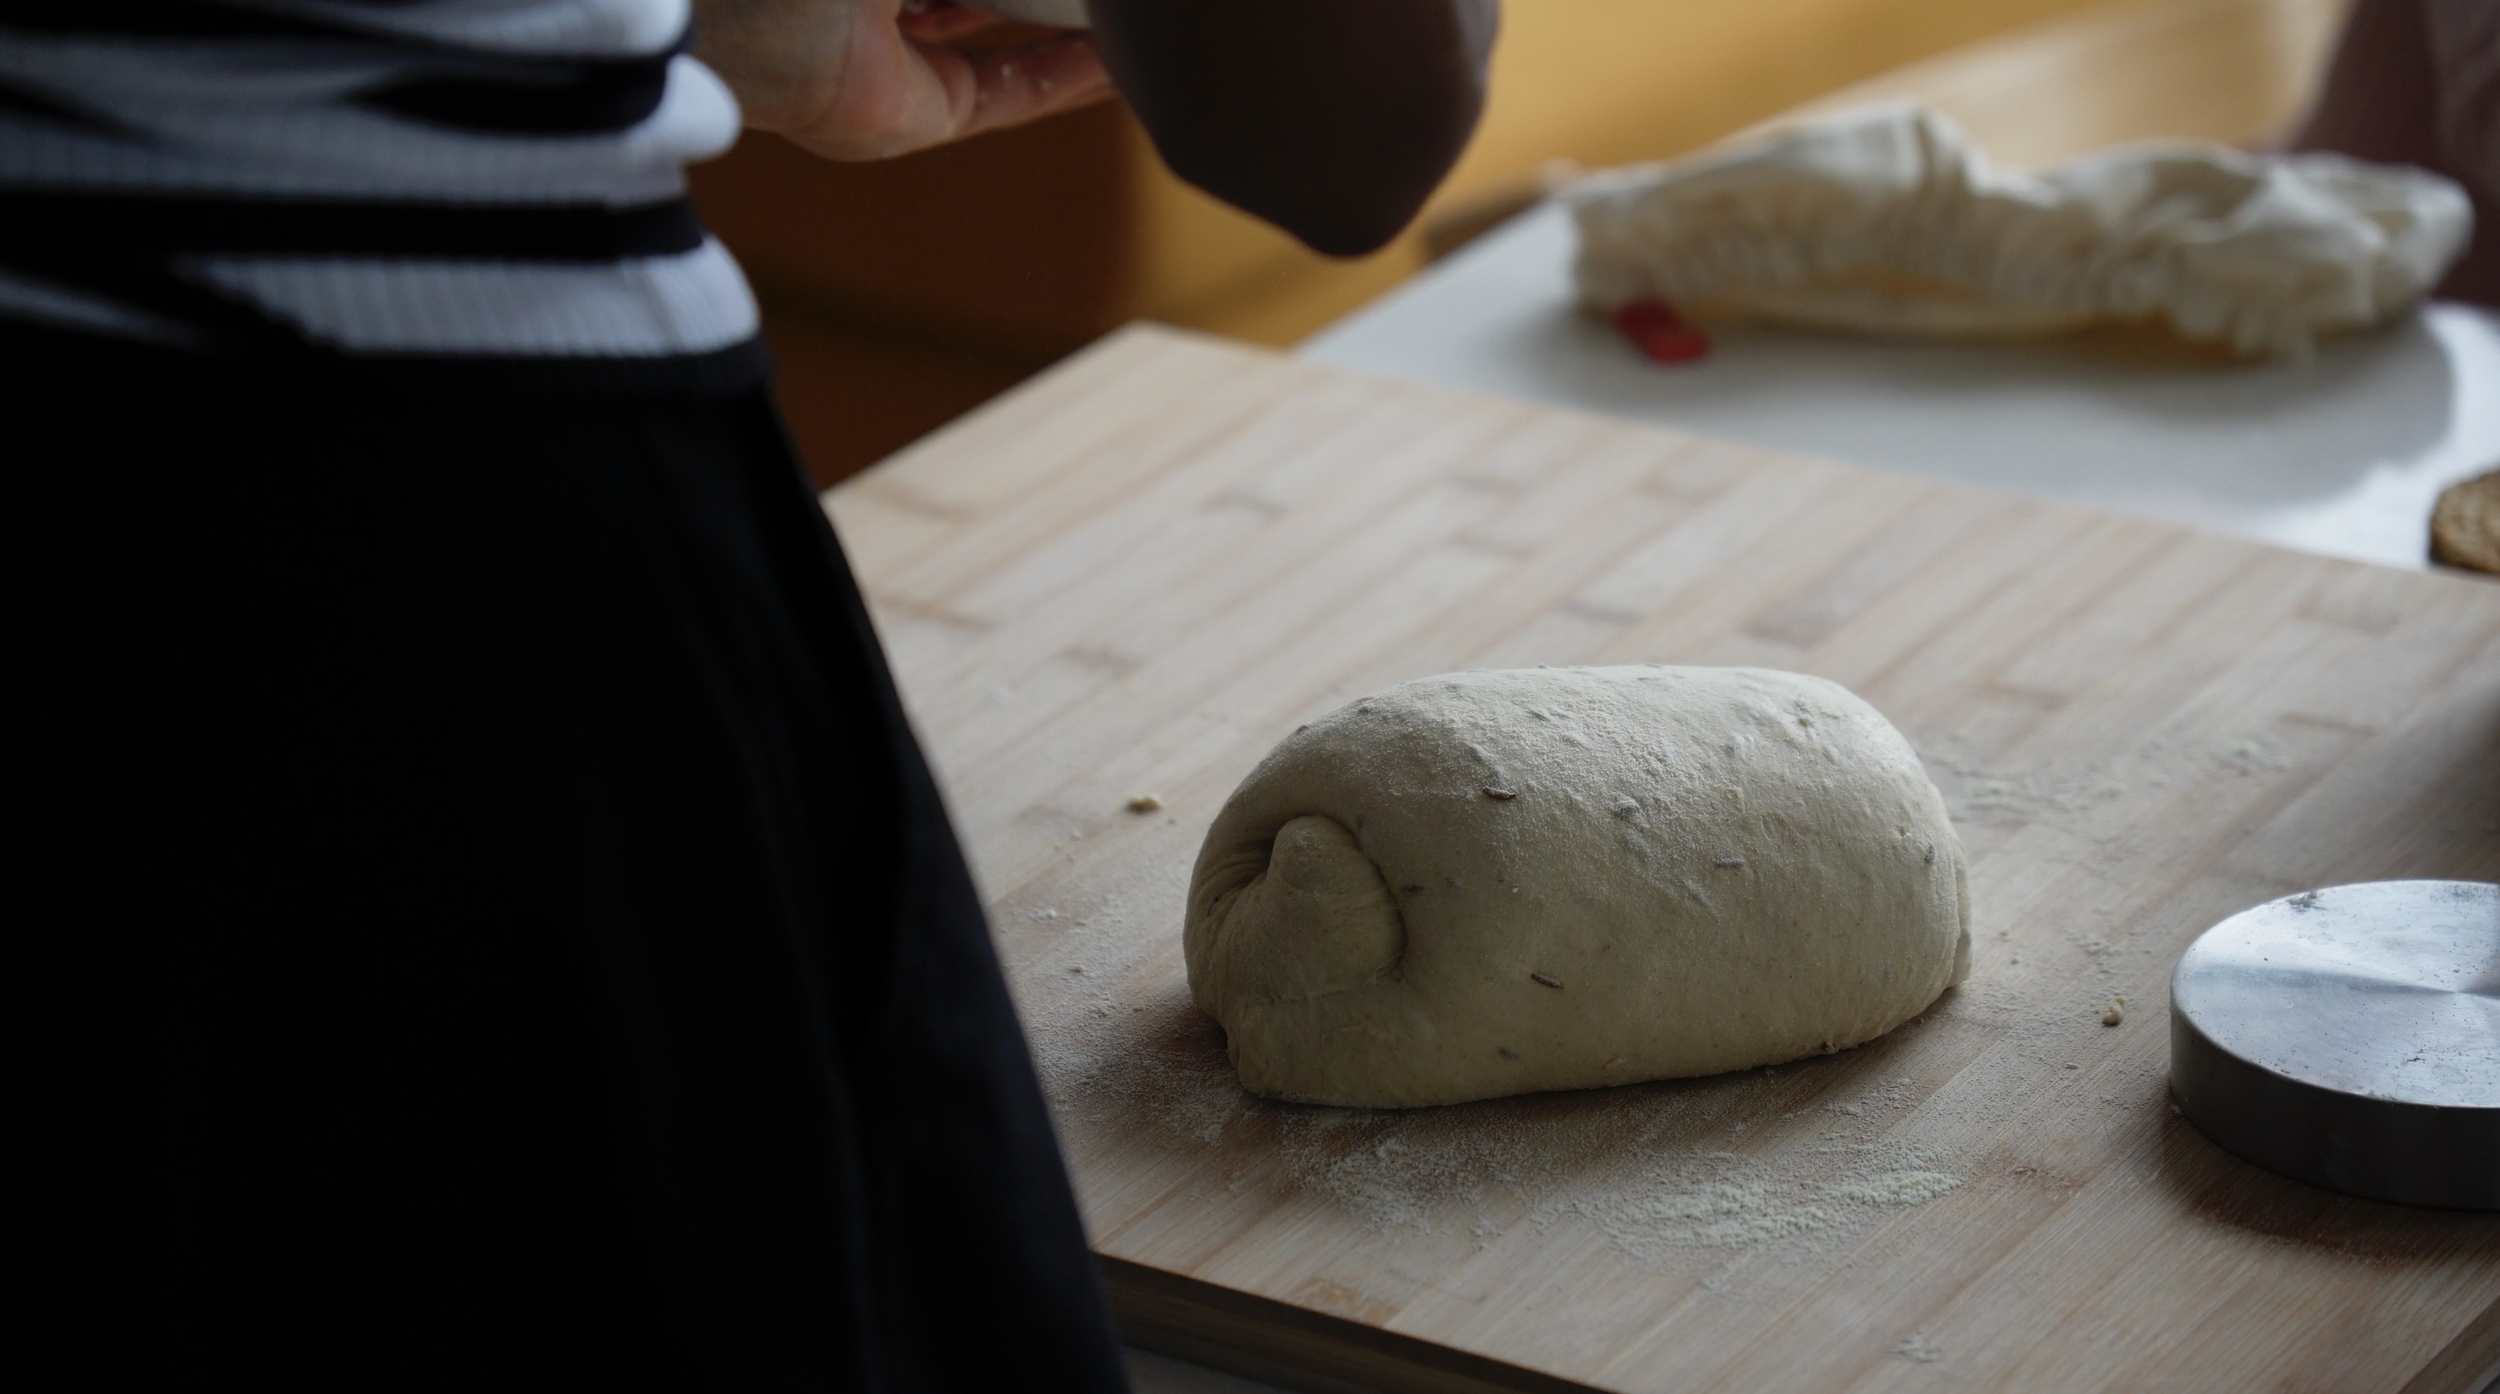
5. Shaping
Lightly flour your surface with:
rice flour or semolina
Gently:
stretch into a rectangle
fold top to center
fold bottom over
roll from the short side
You’re creating surface tension — this helps the bread hold its shape during baking.
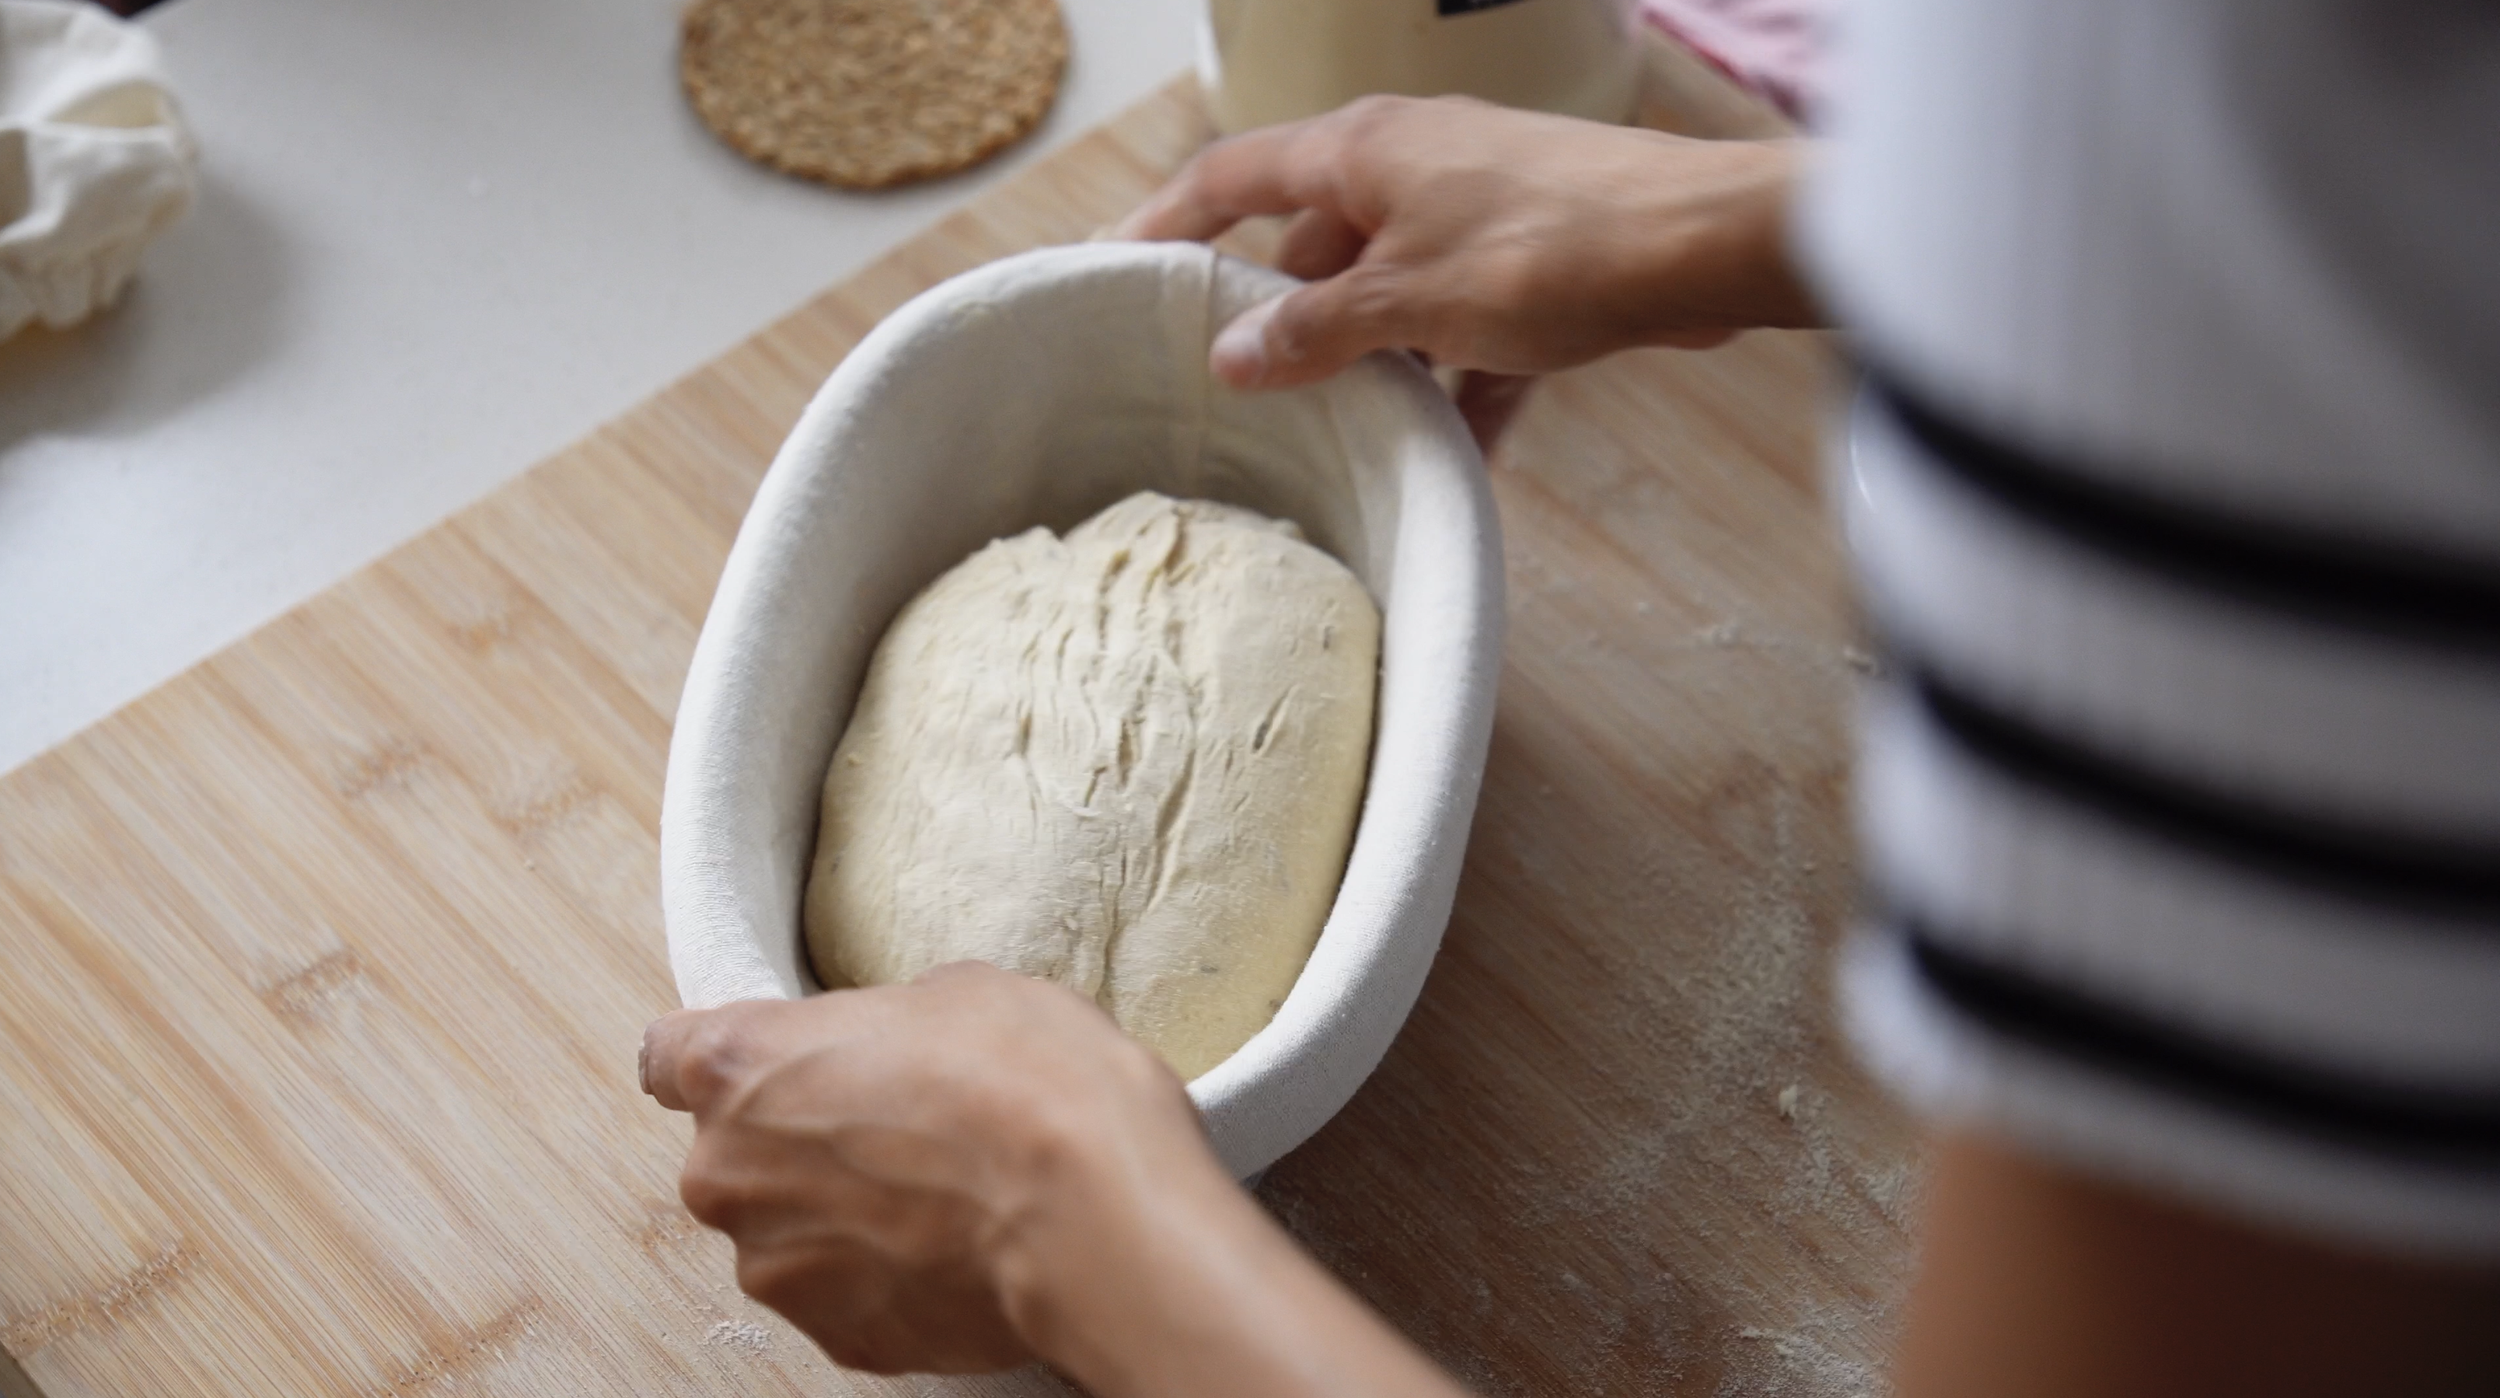
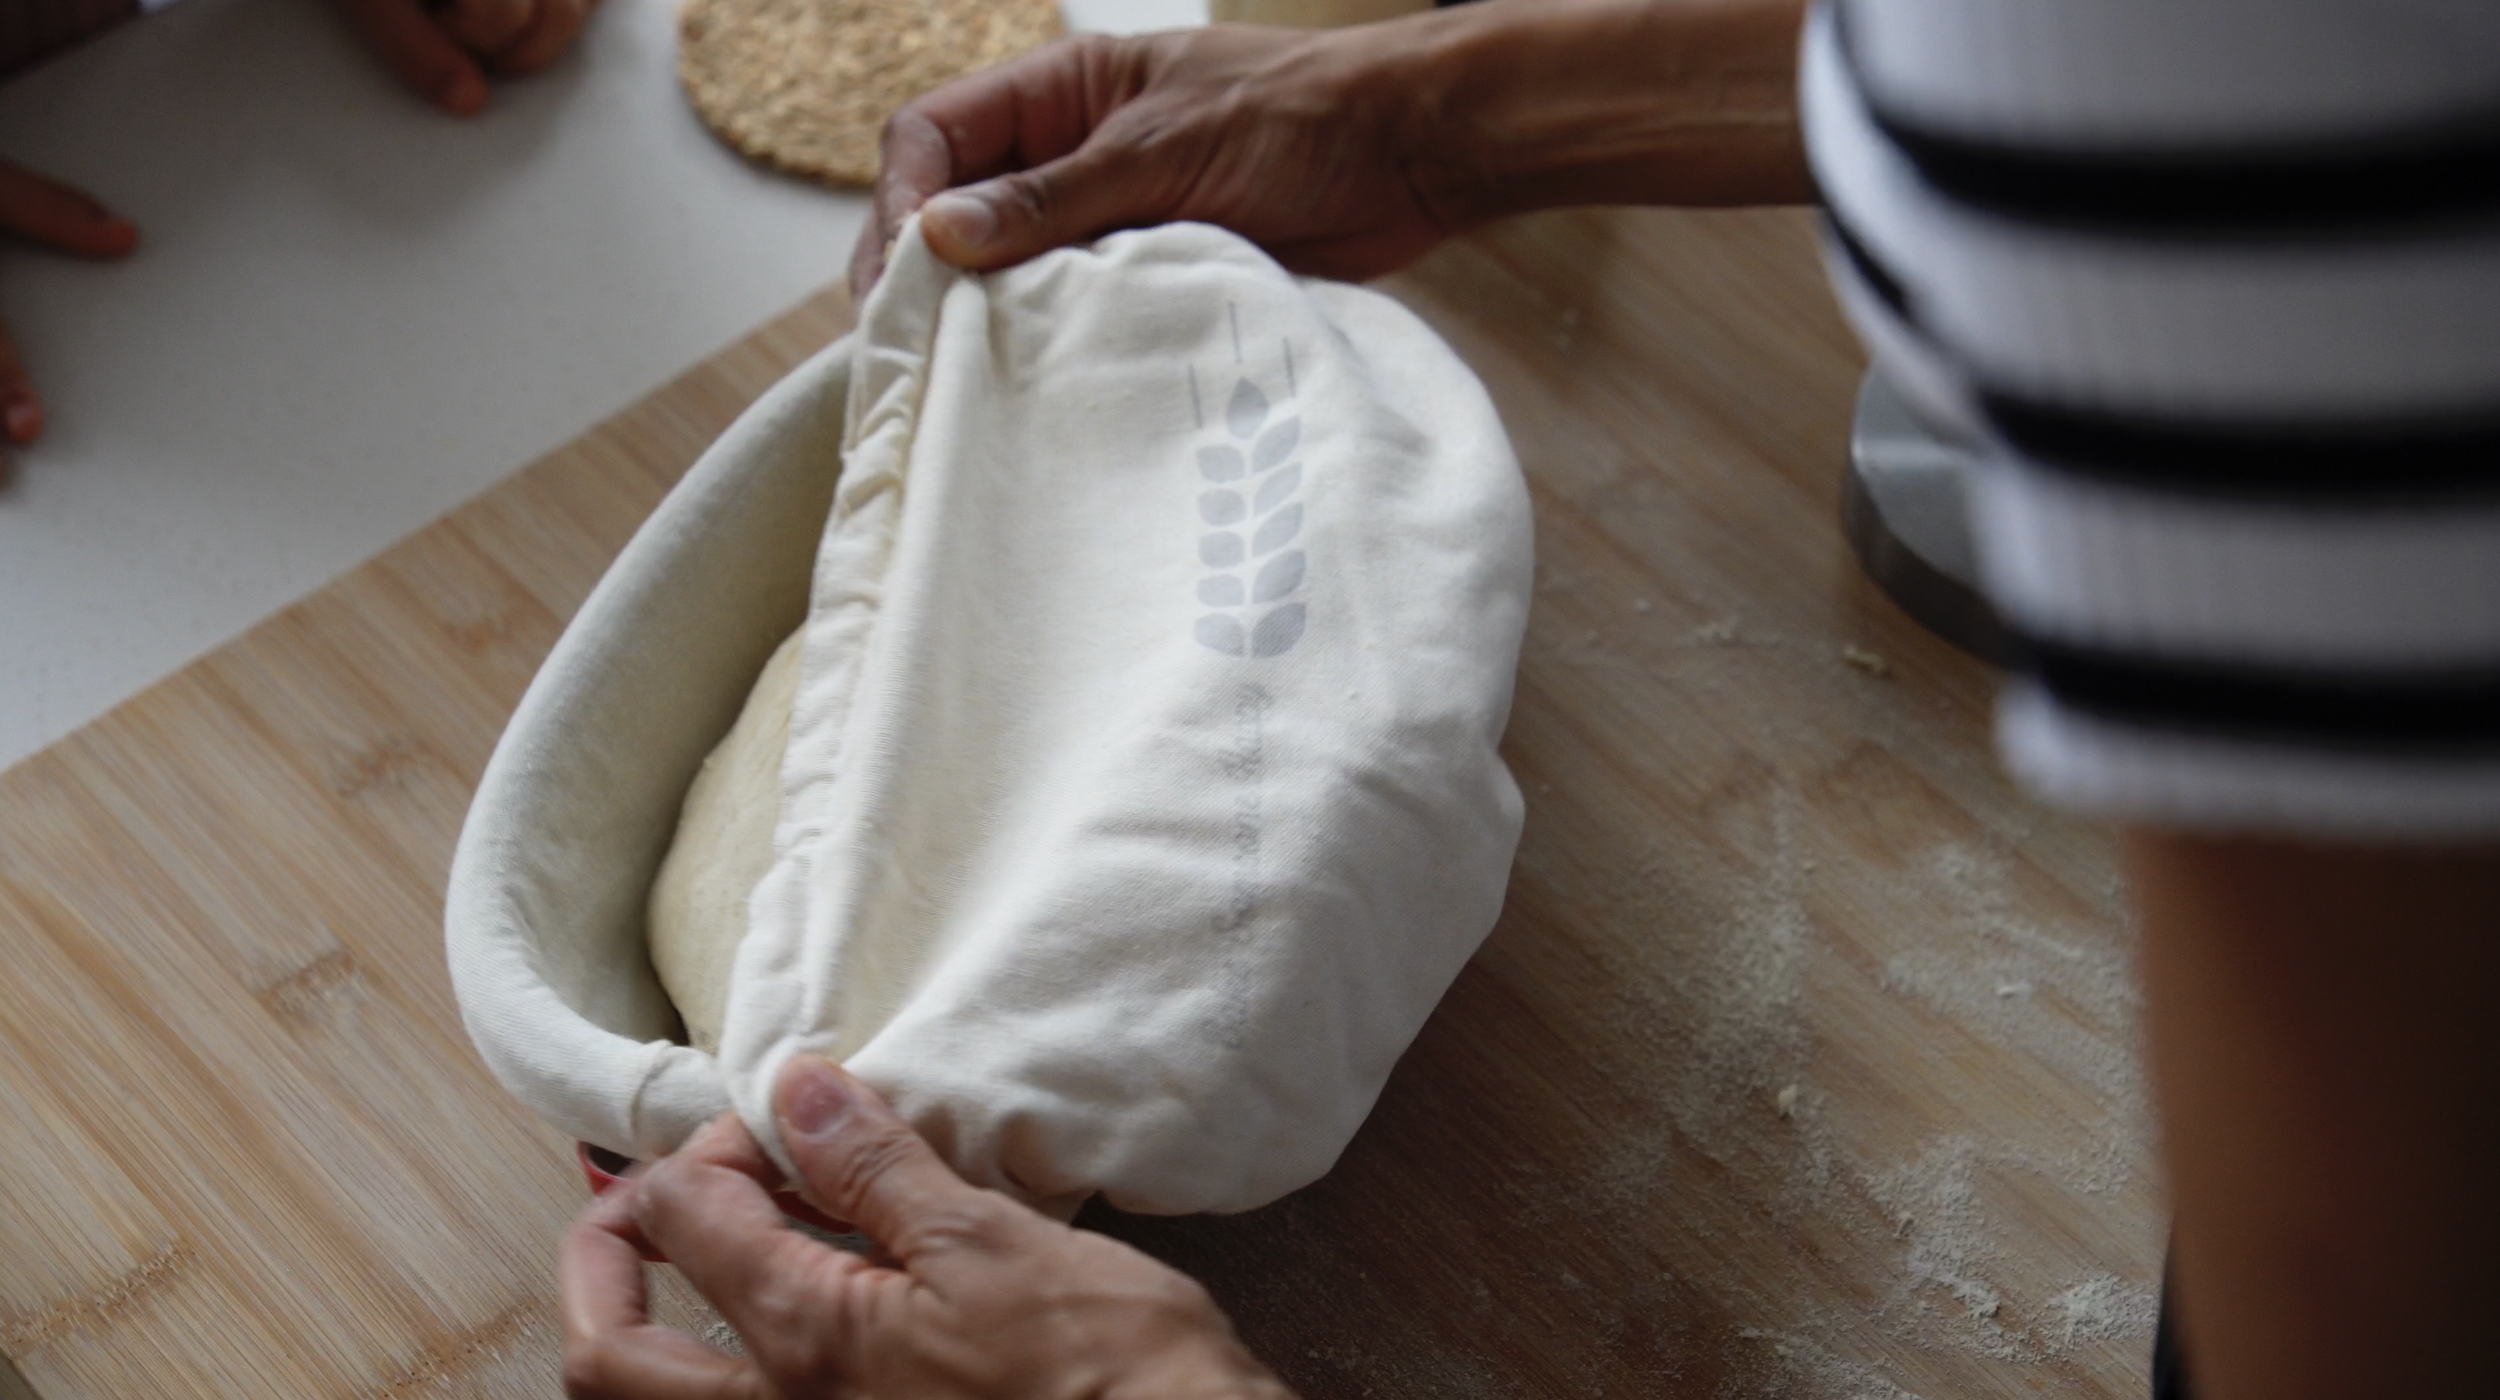
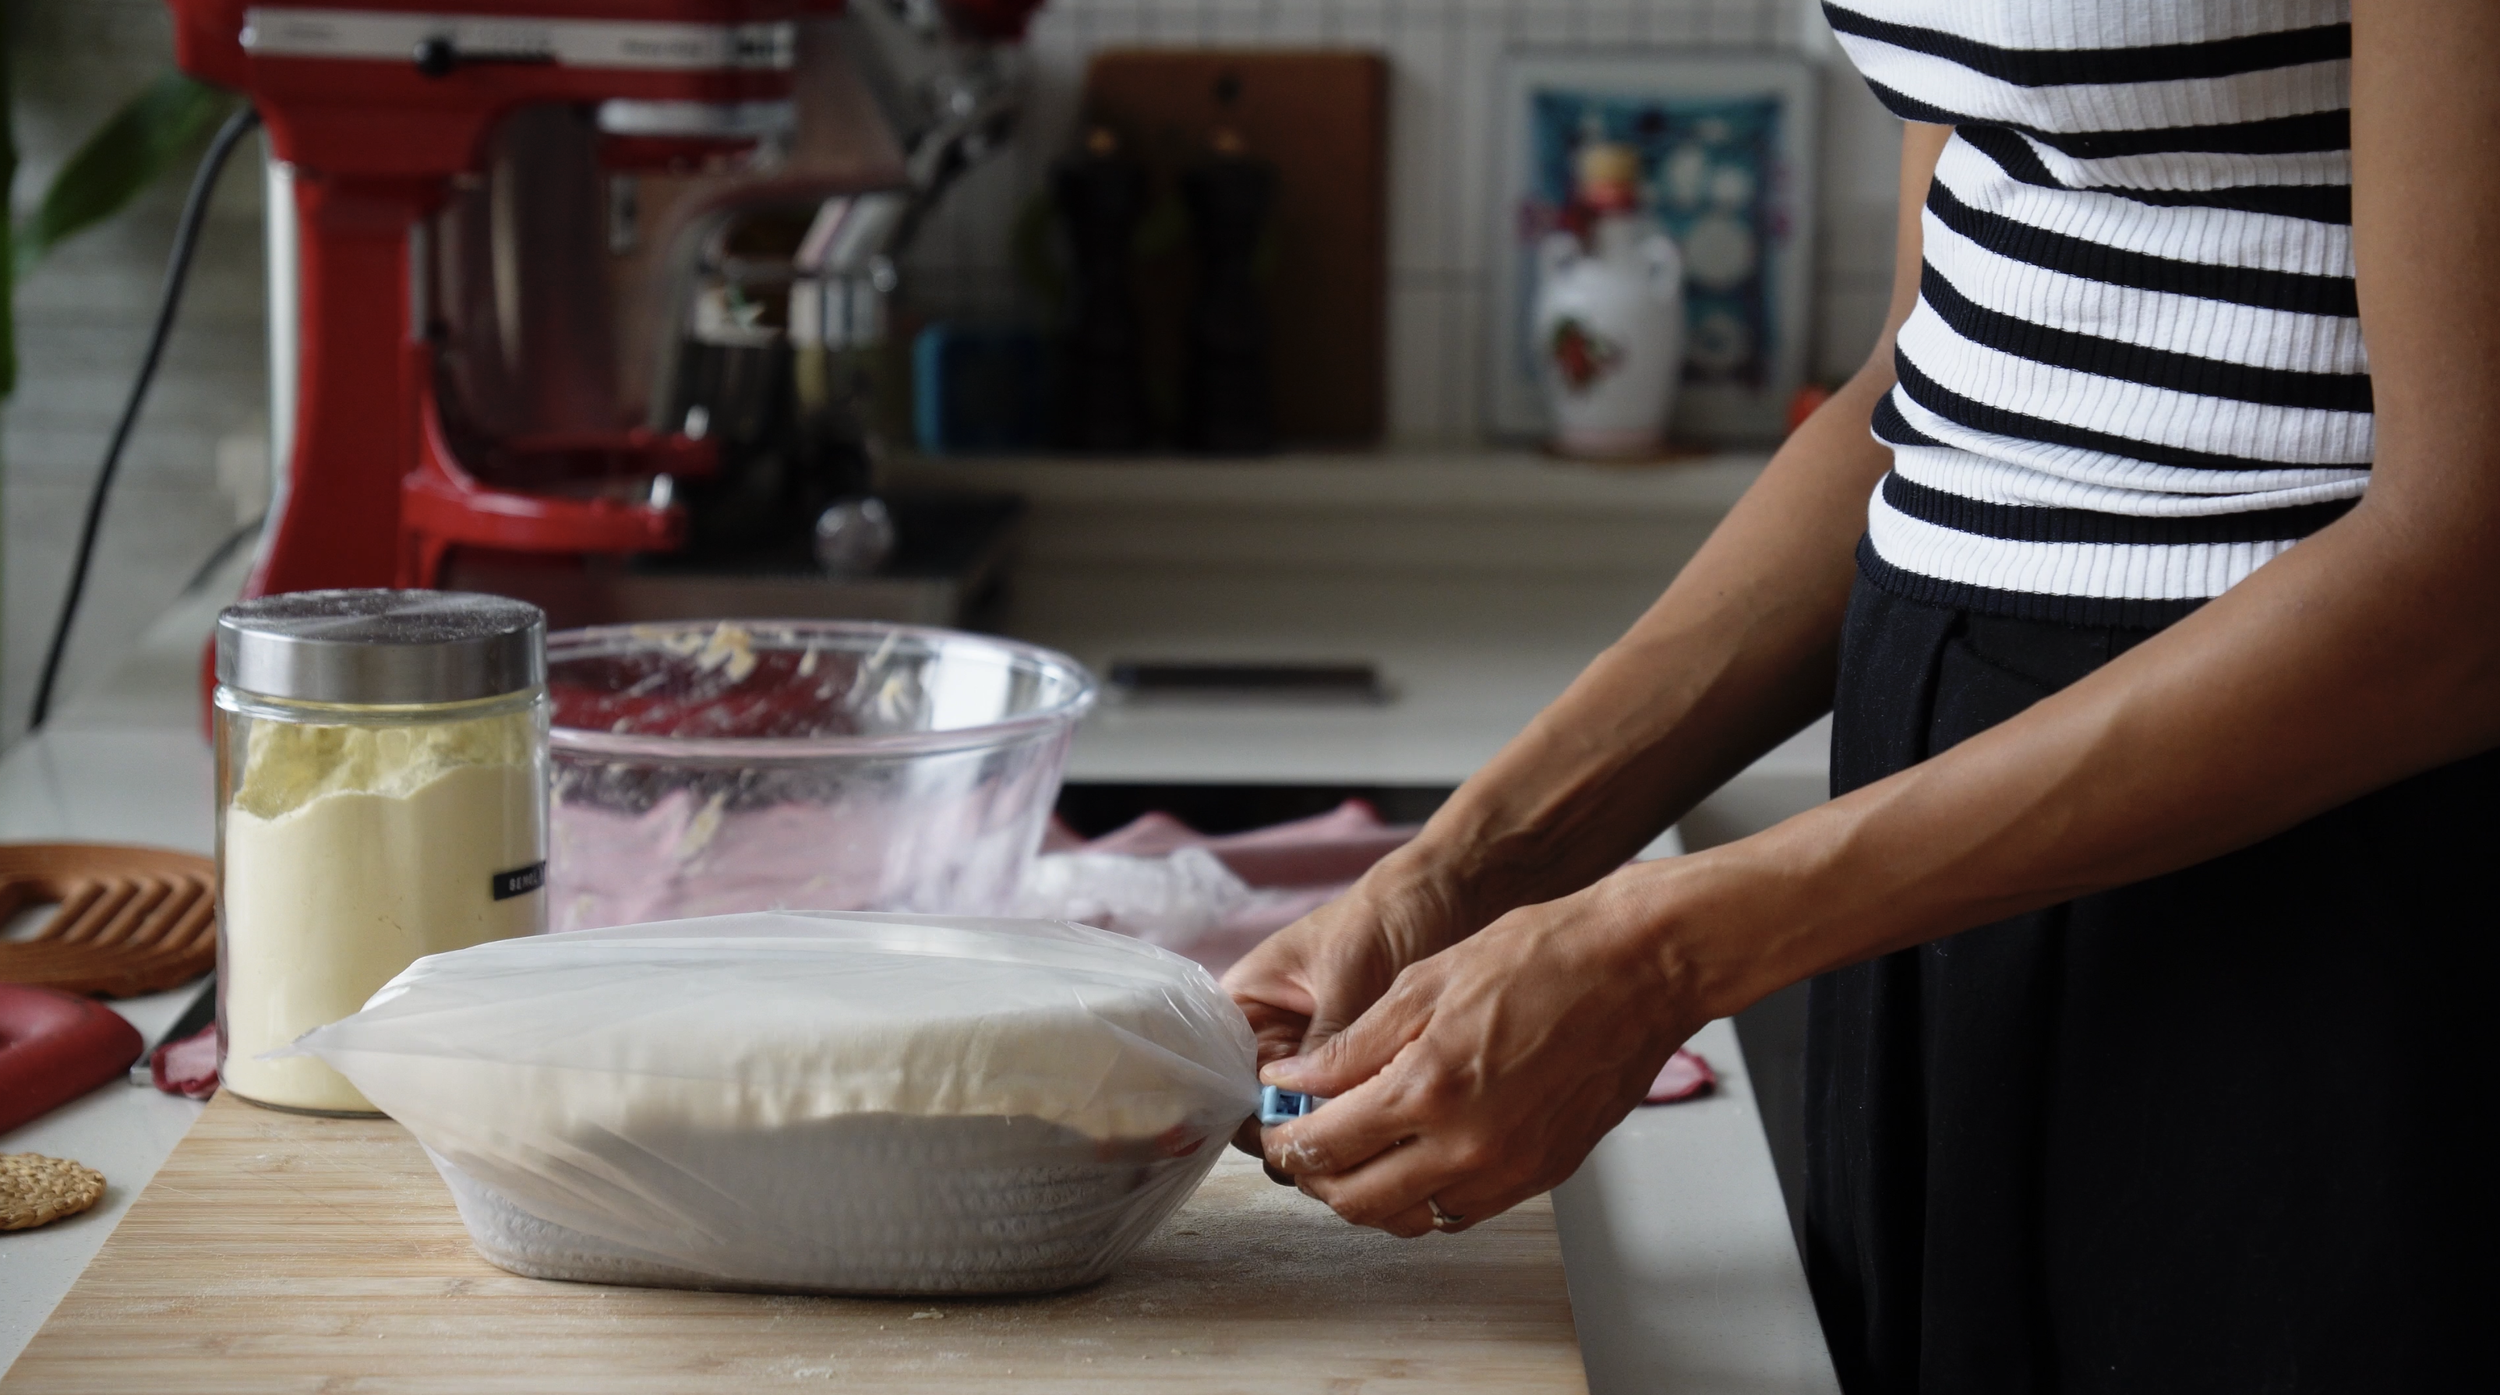
6. Cold proof (overnight)
Transfer to proofing basket → cover → refrigerate 12–16 hours
Why this matters:
slows fermentation
improves flavor
makes scoring easier
fits into your schedule
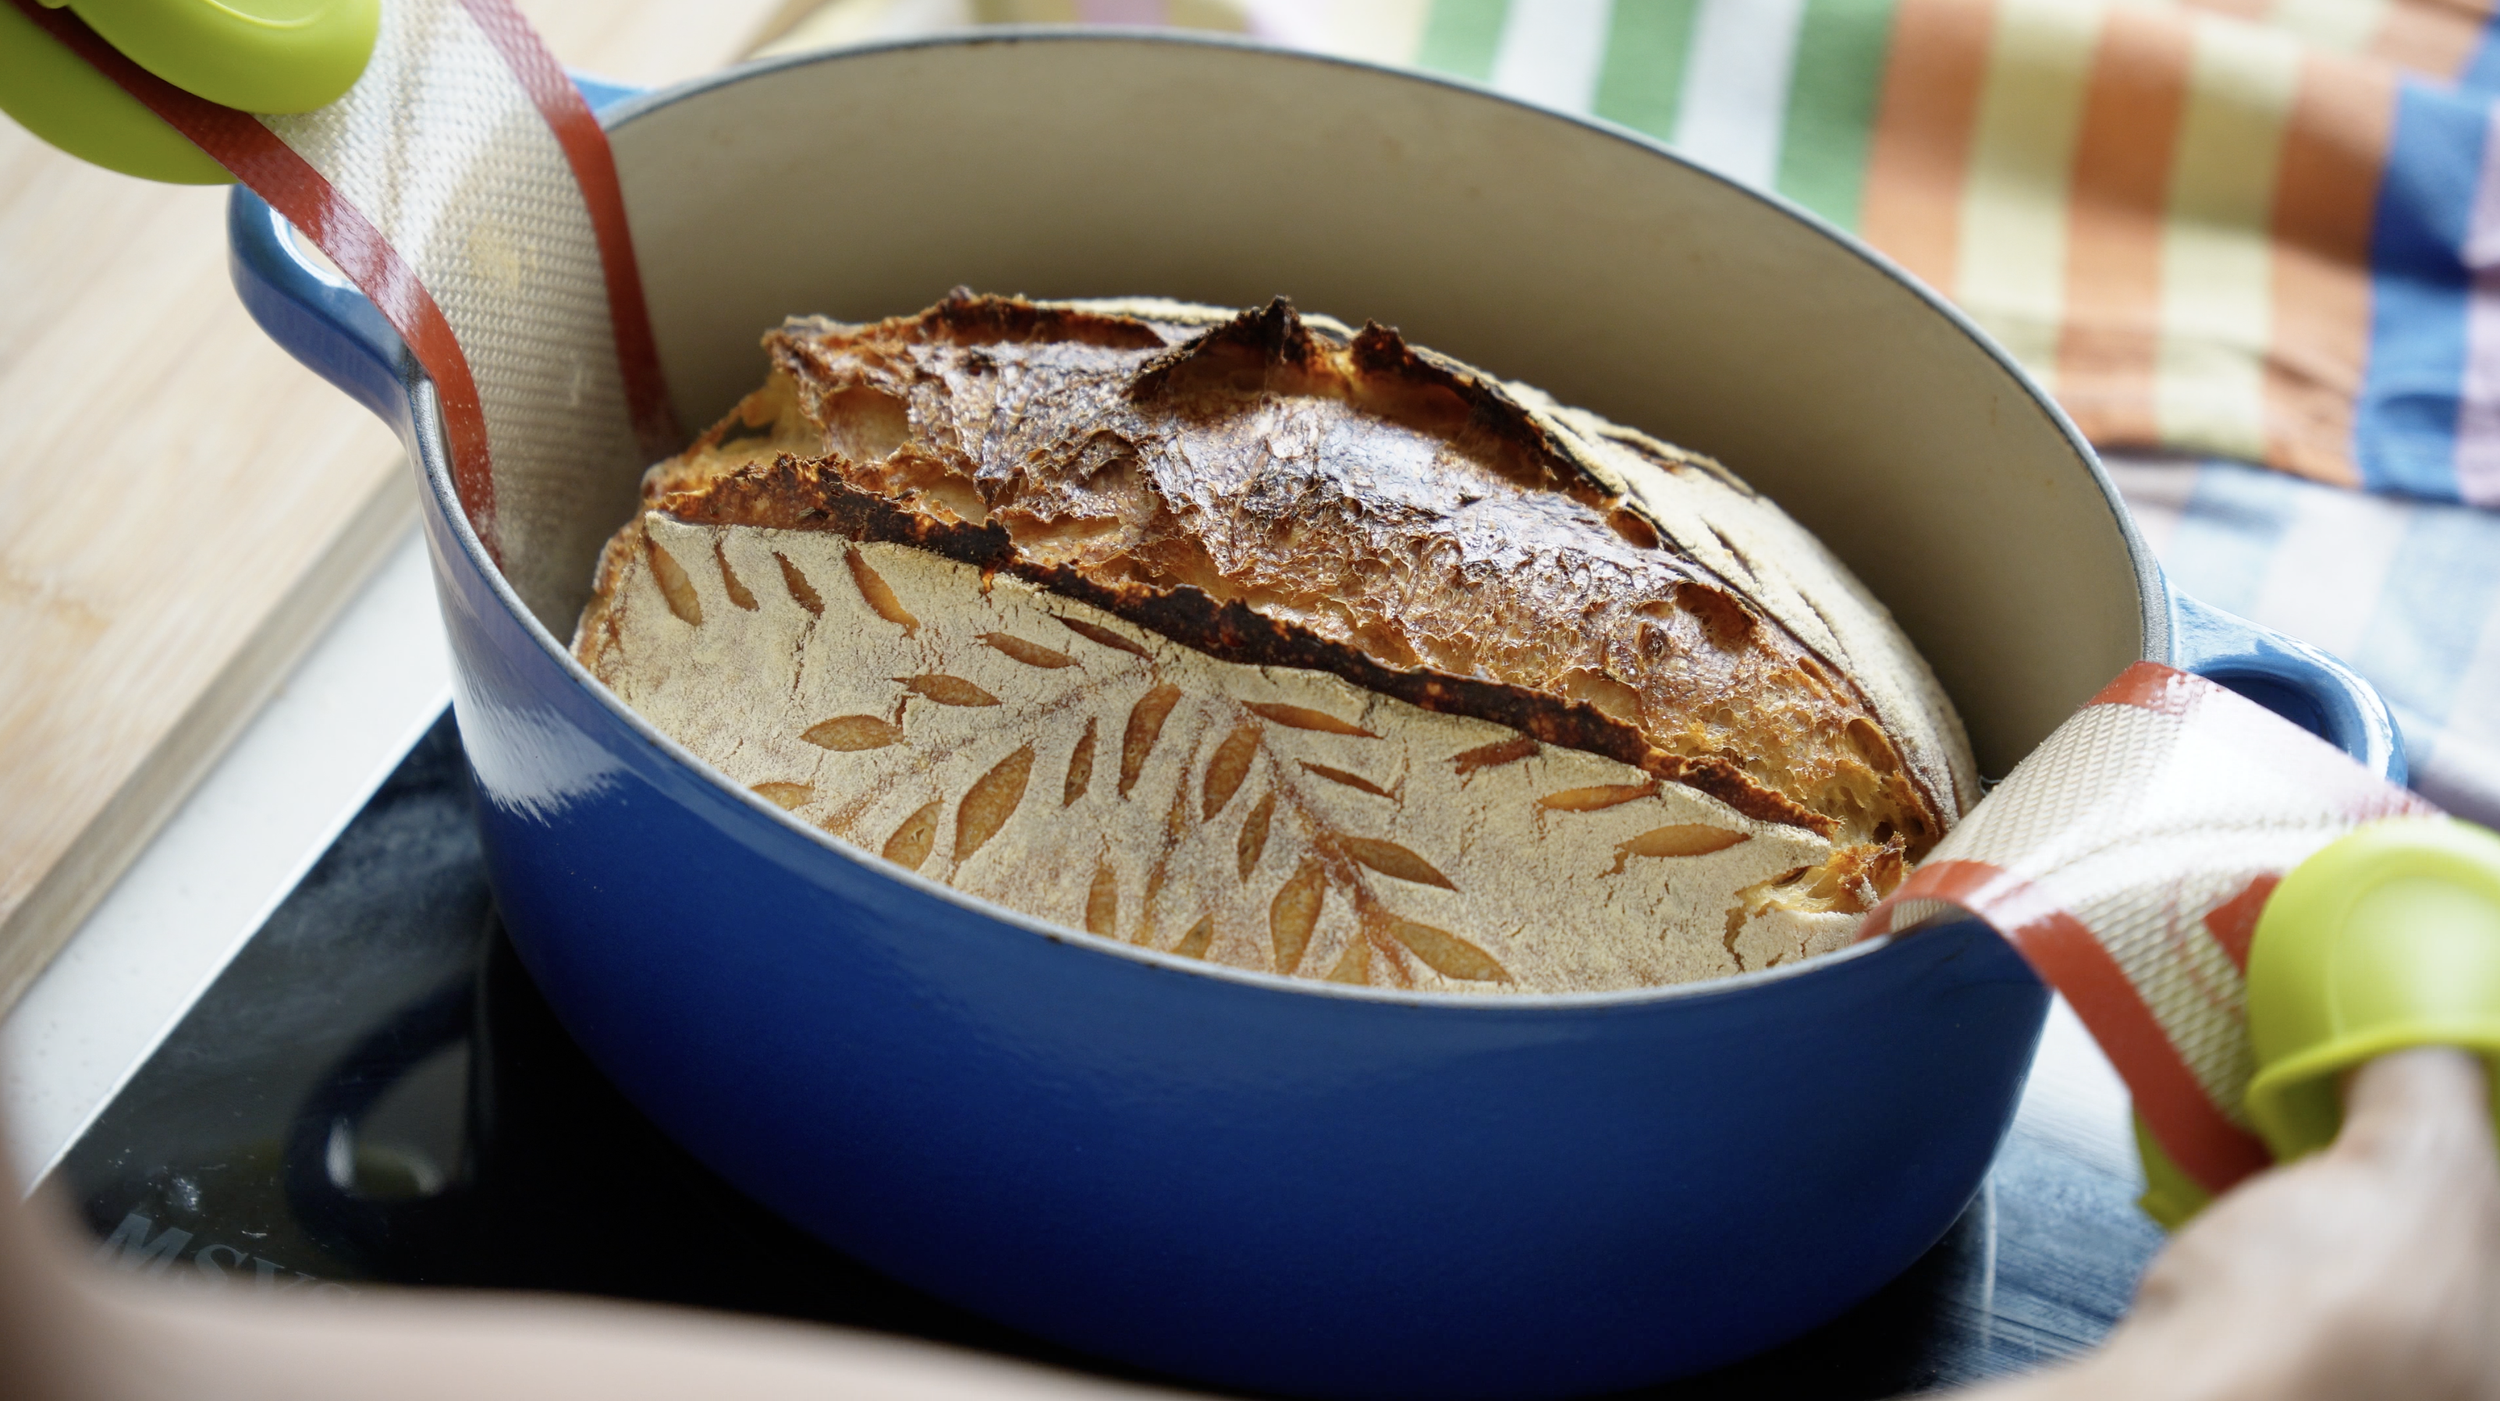
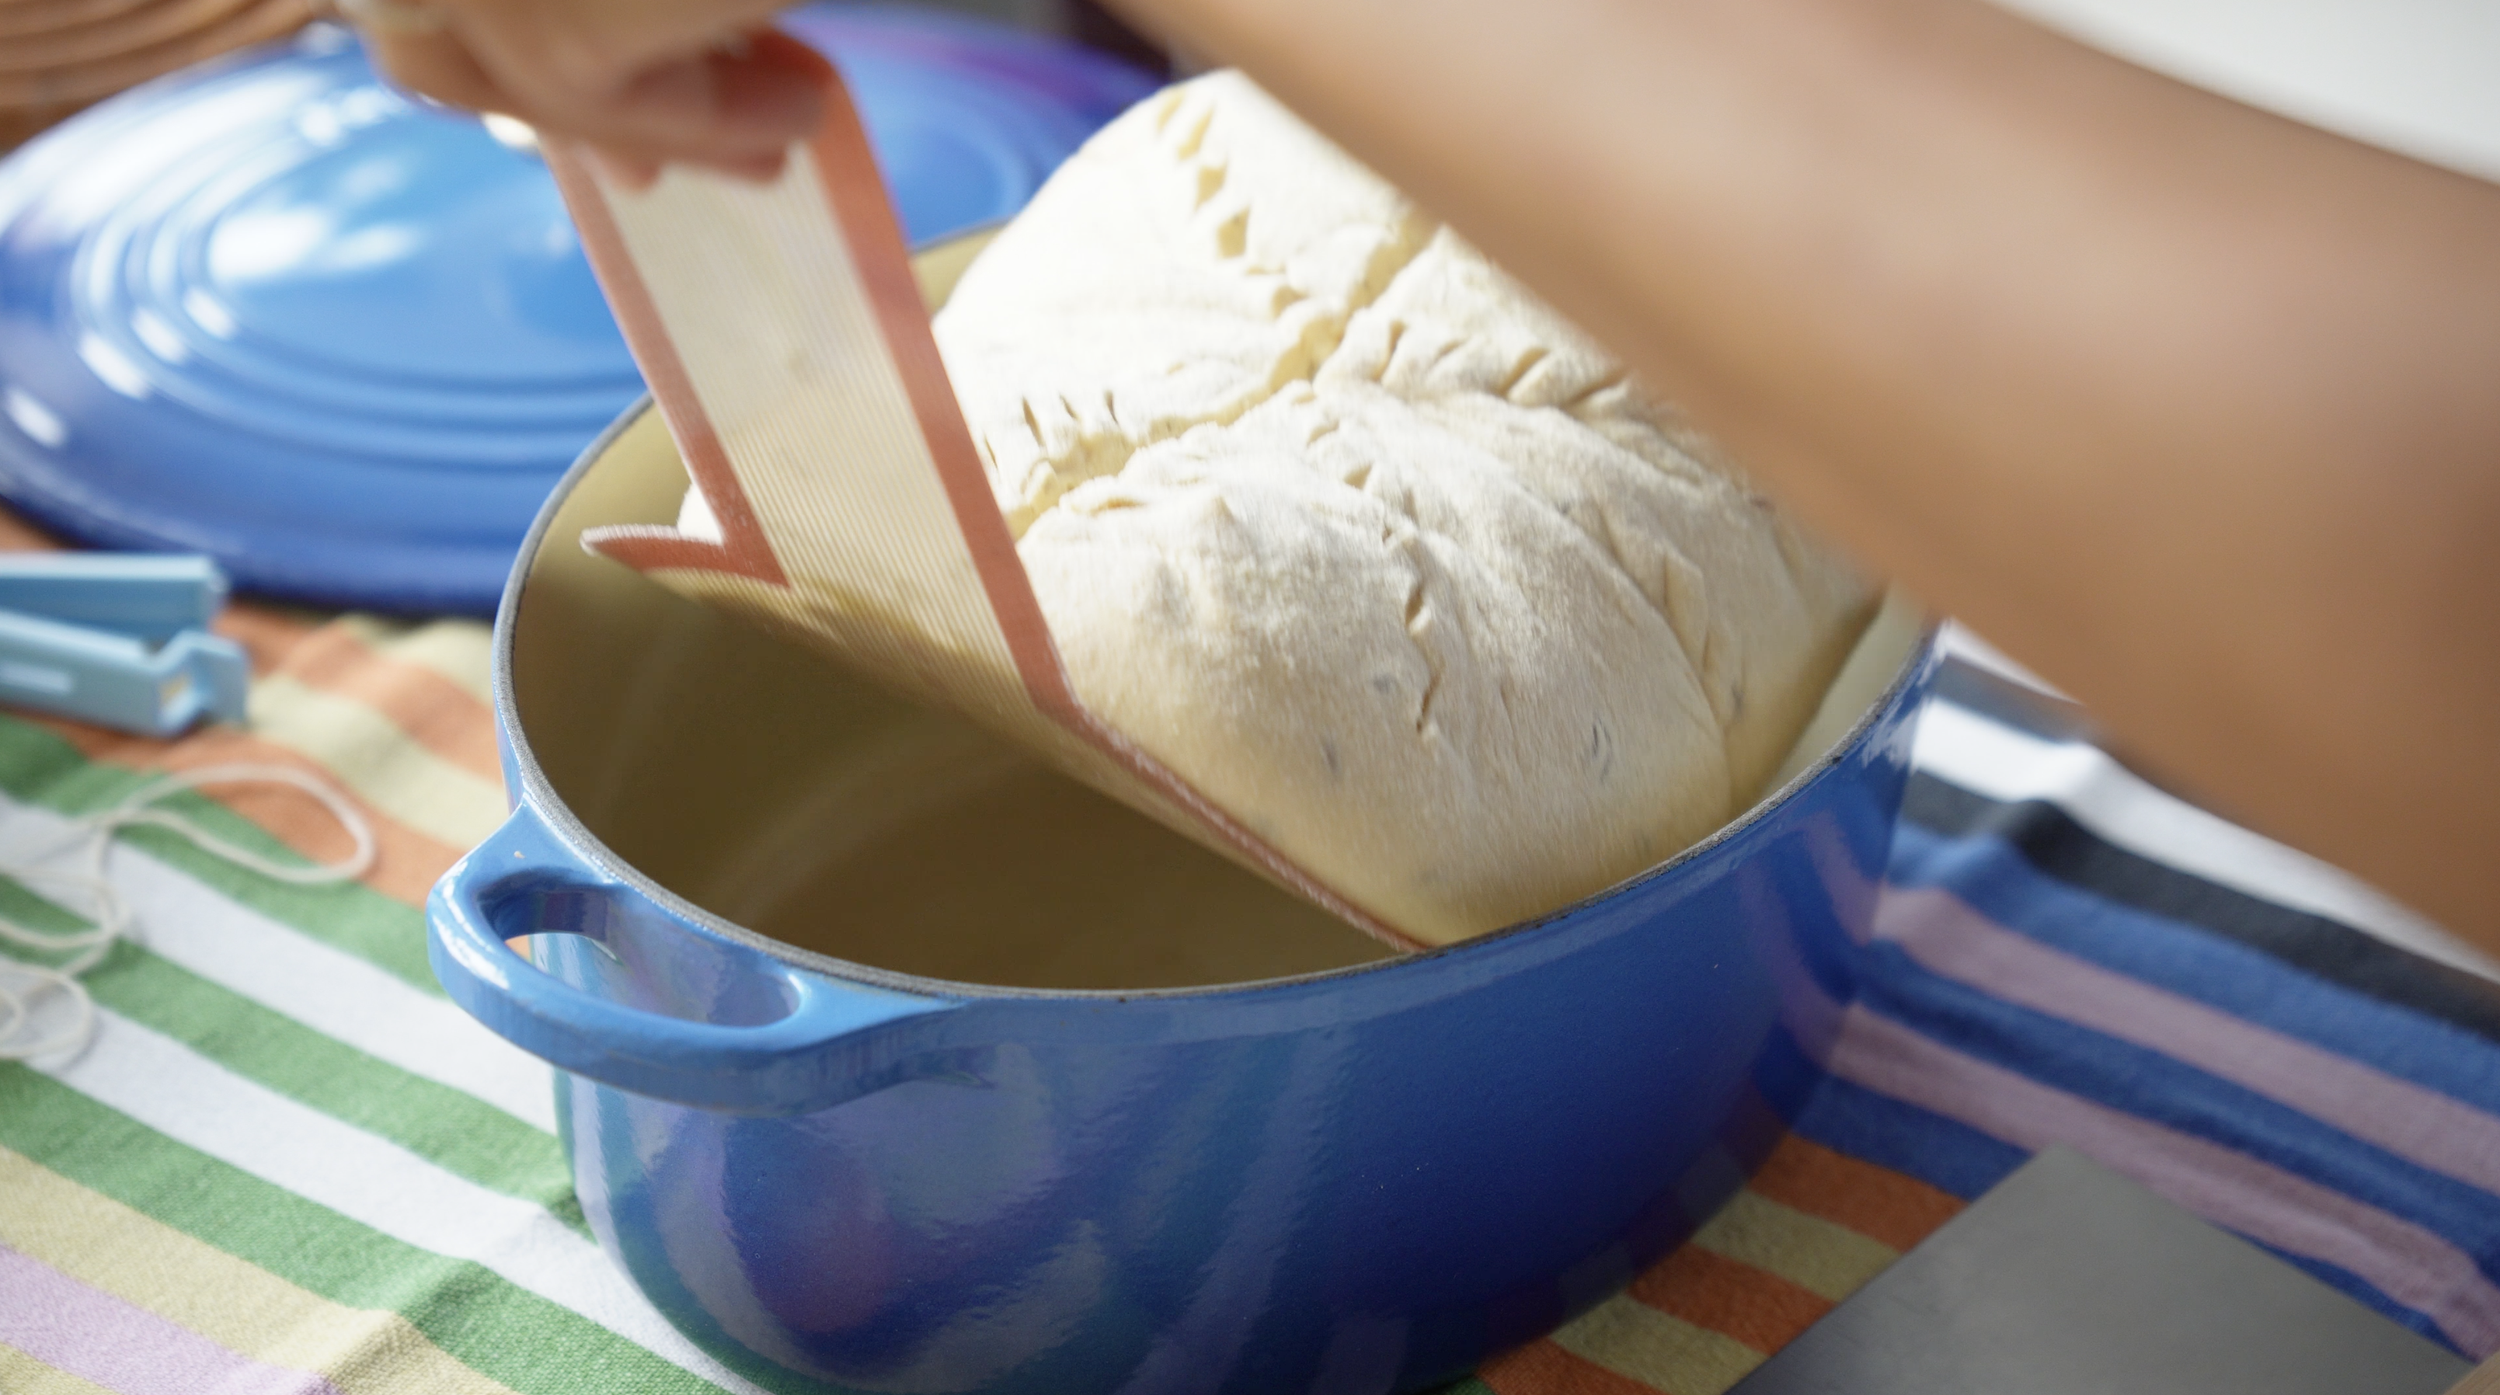
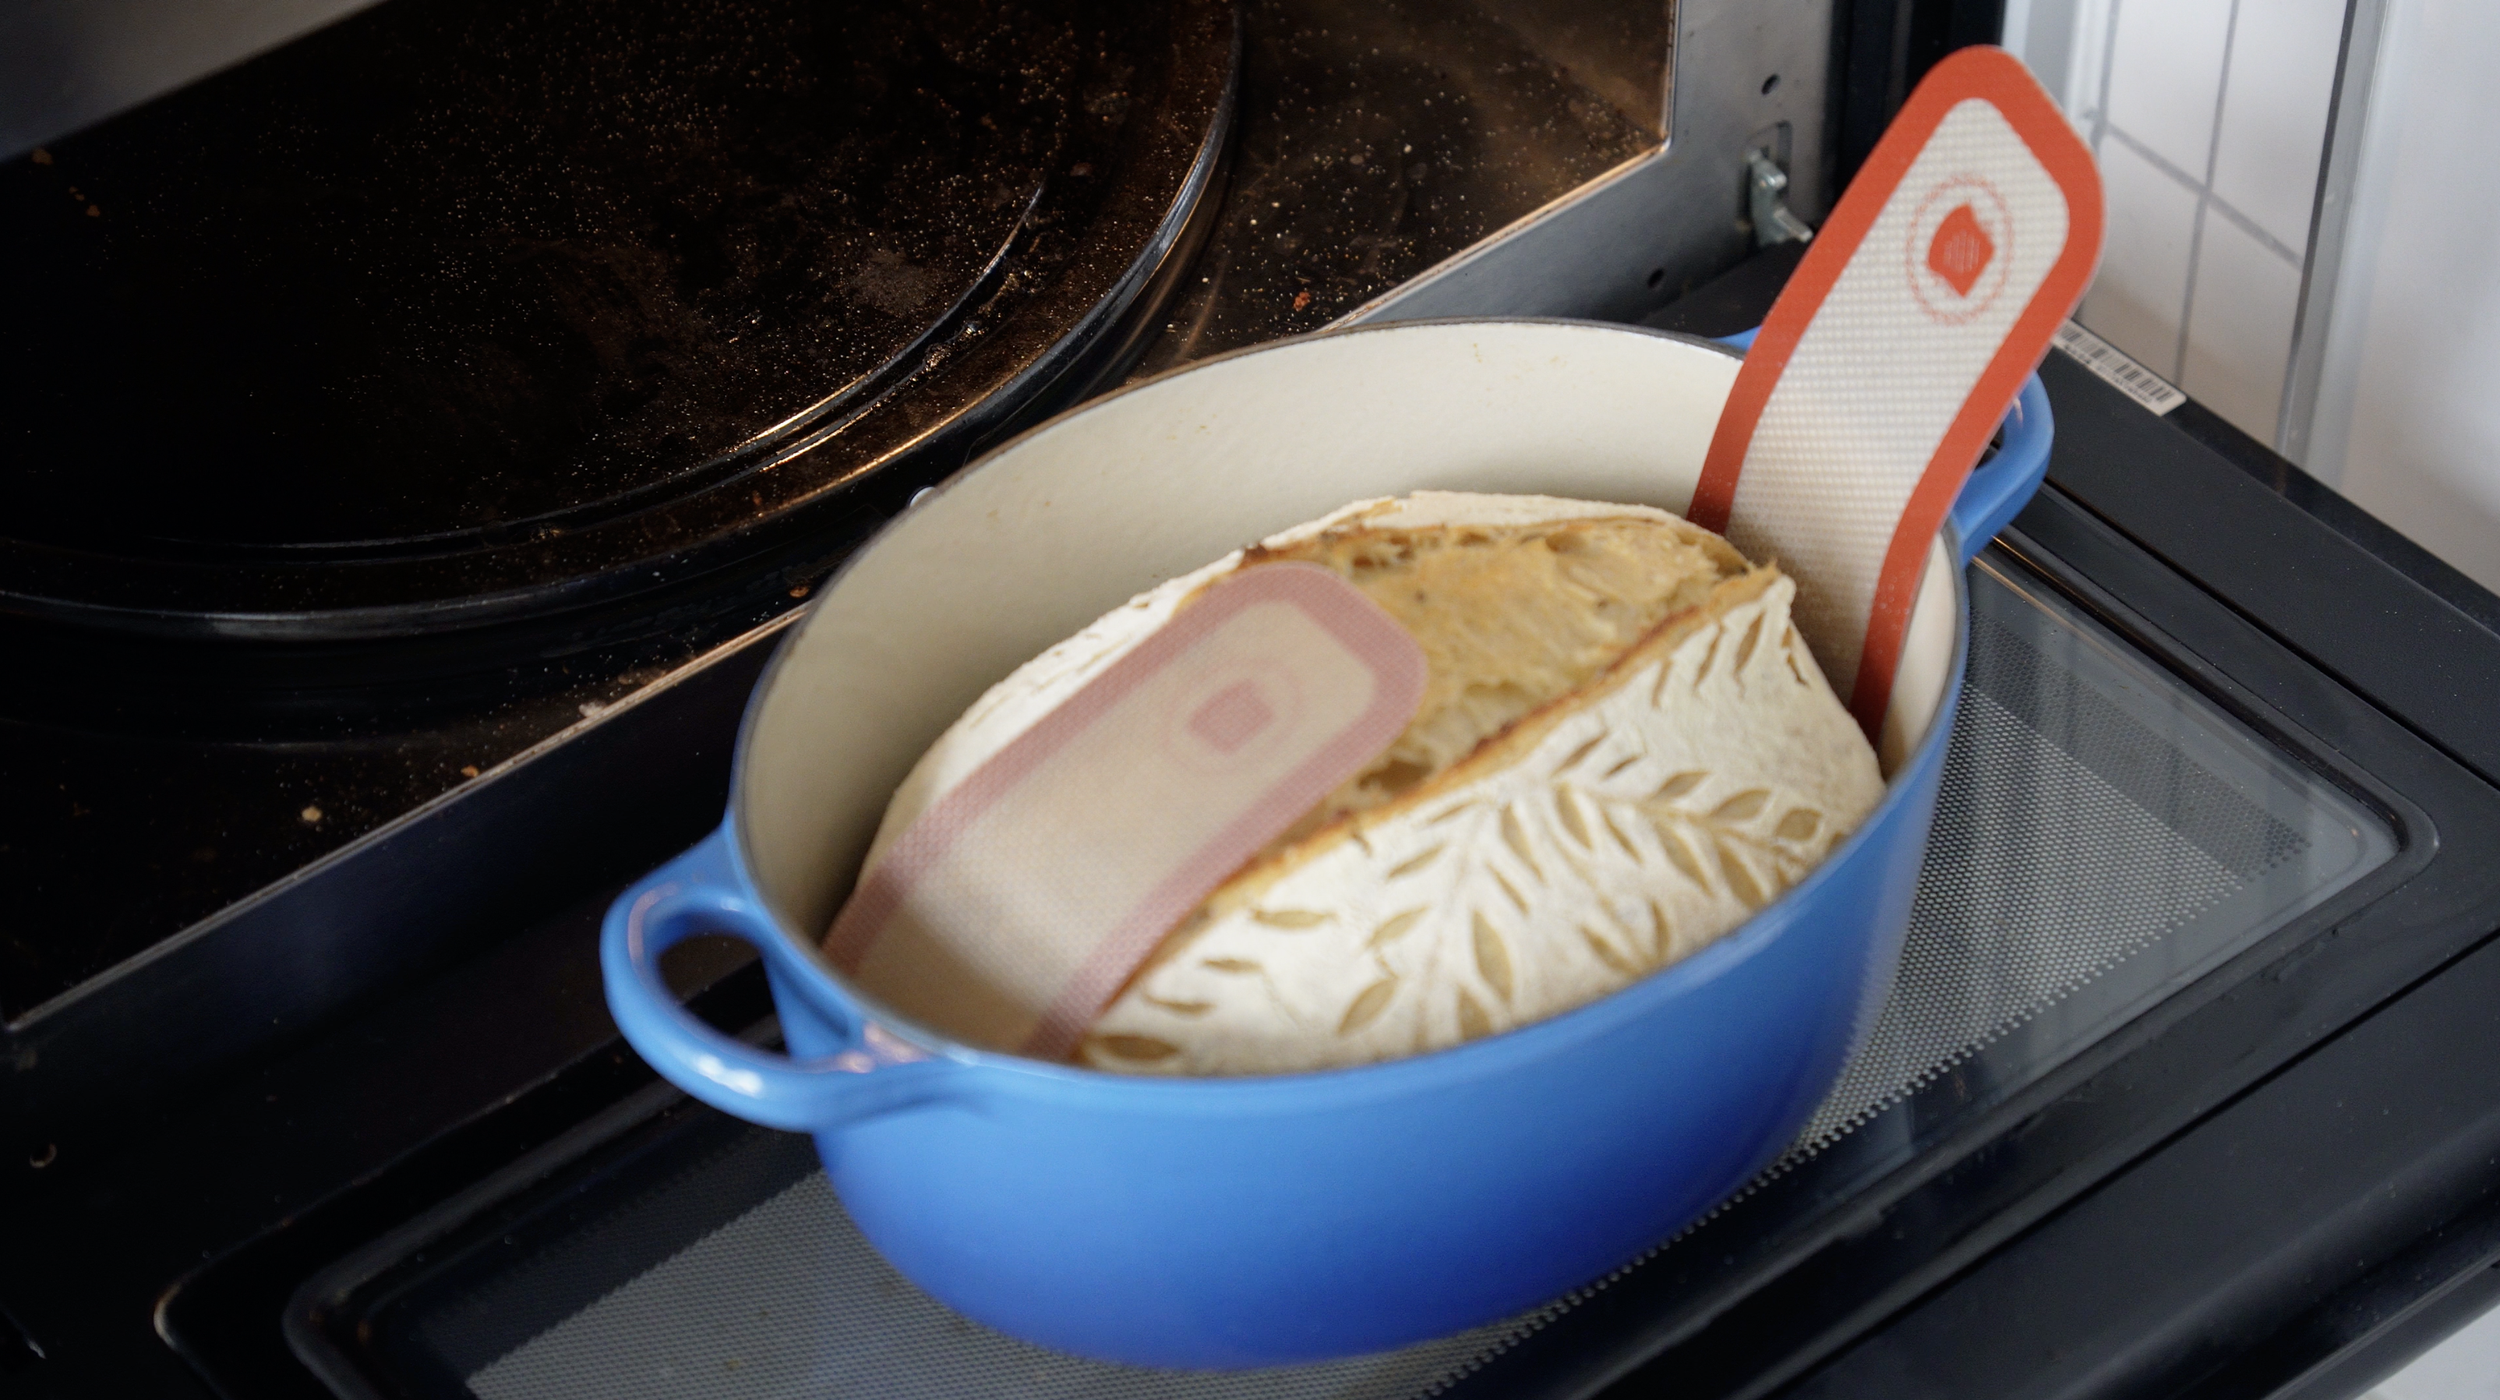
7. Bake
Preheat oven + Dutch oven to 250°C
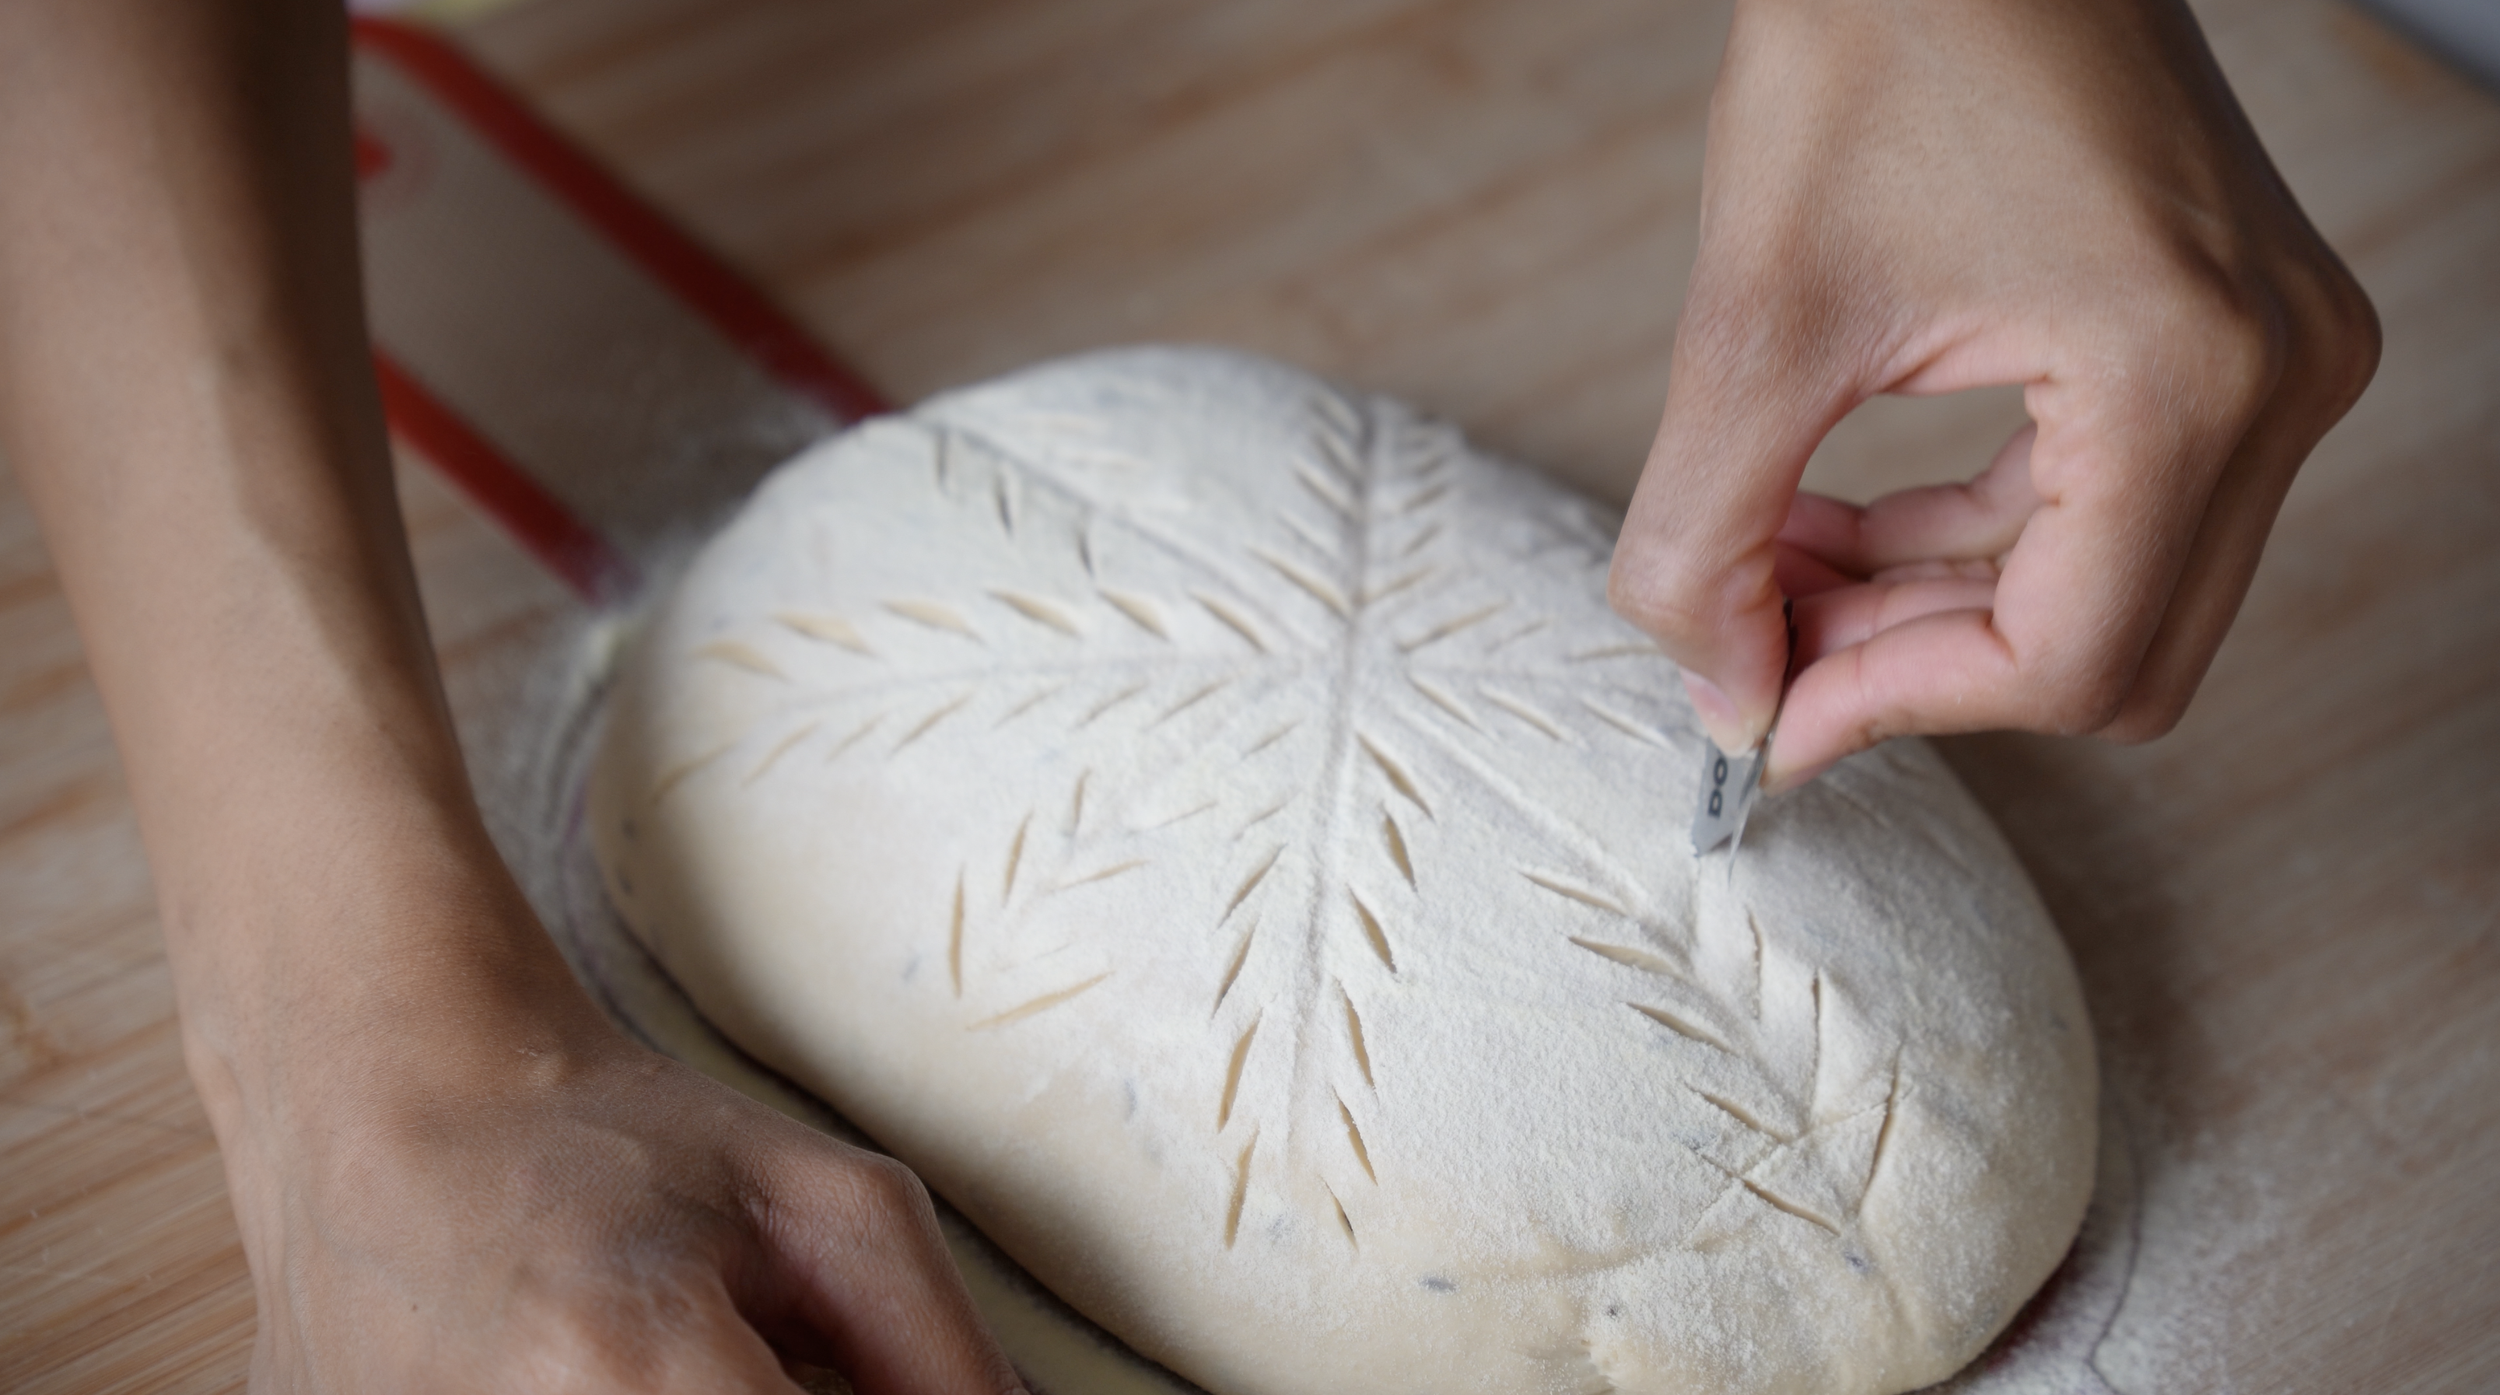
Take dough straight from fridge:
turn out
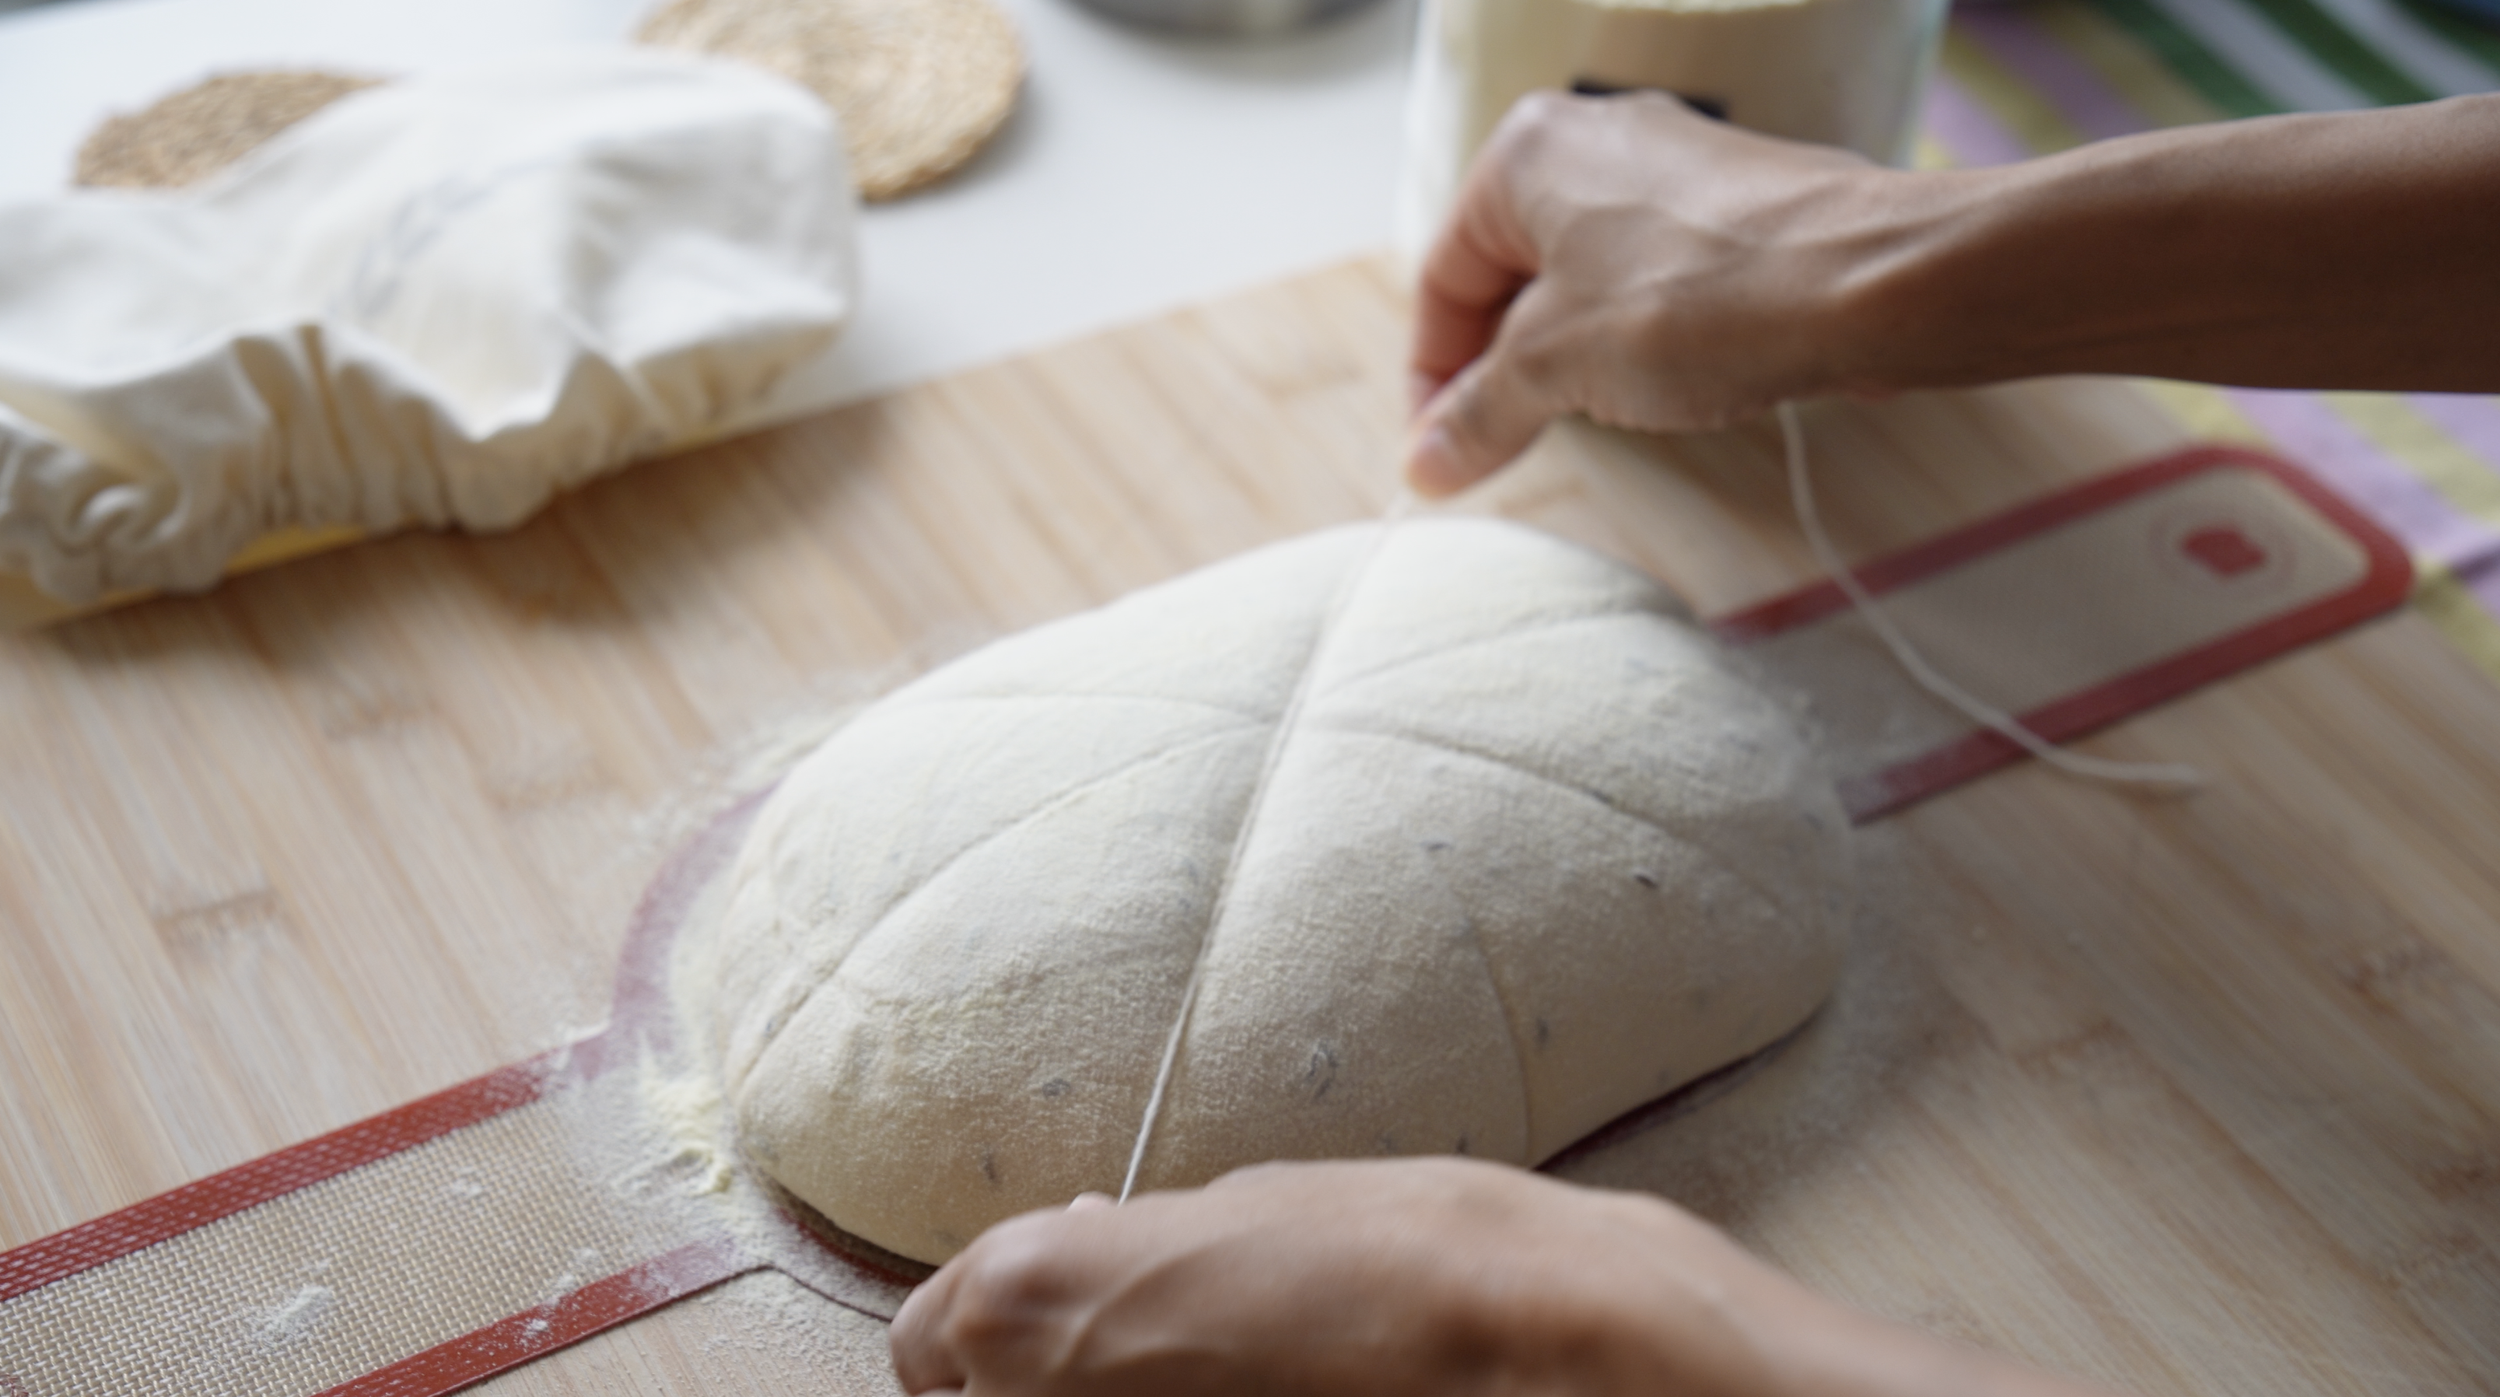
score
Bake:
250°C (lid on) → 30 min
200°C (lid off) → 20 min
Why this matters:
lid traps steam → helps oven spring
removing lid → creates crispy crust
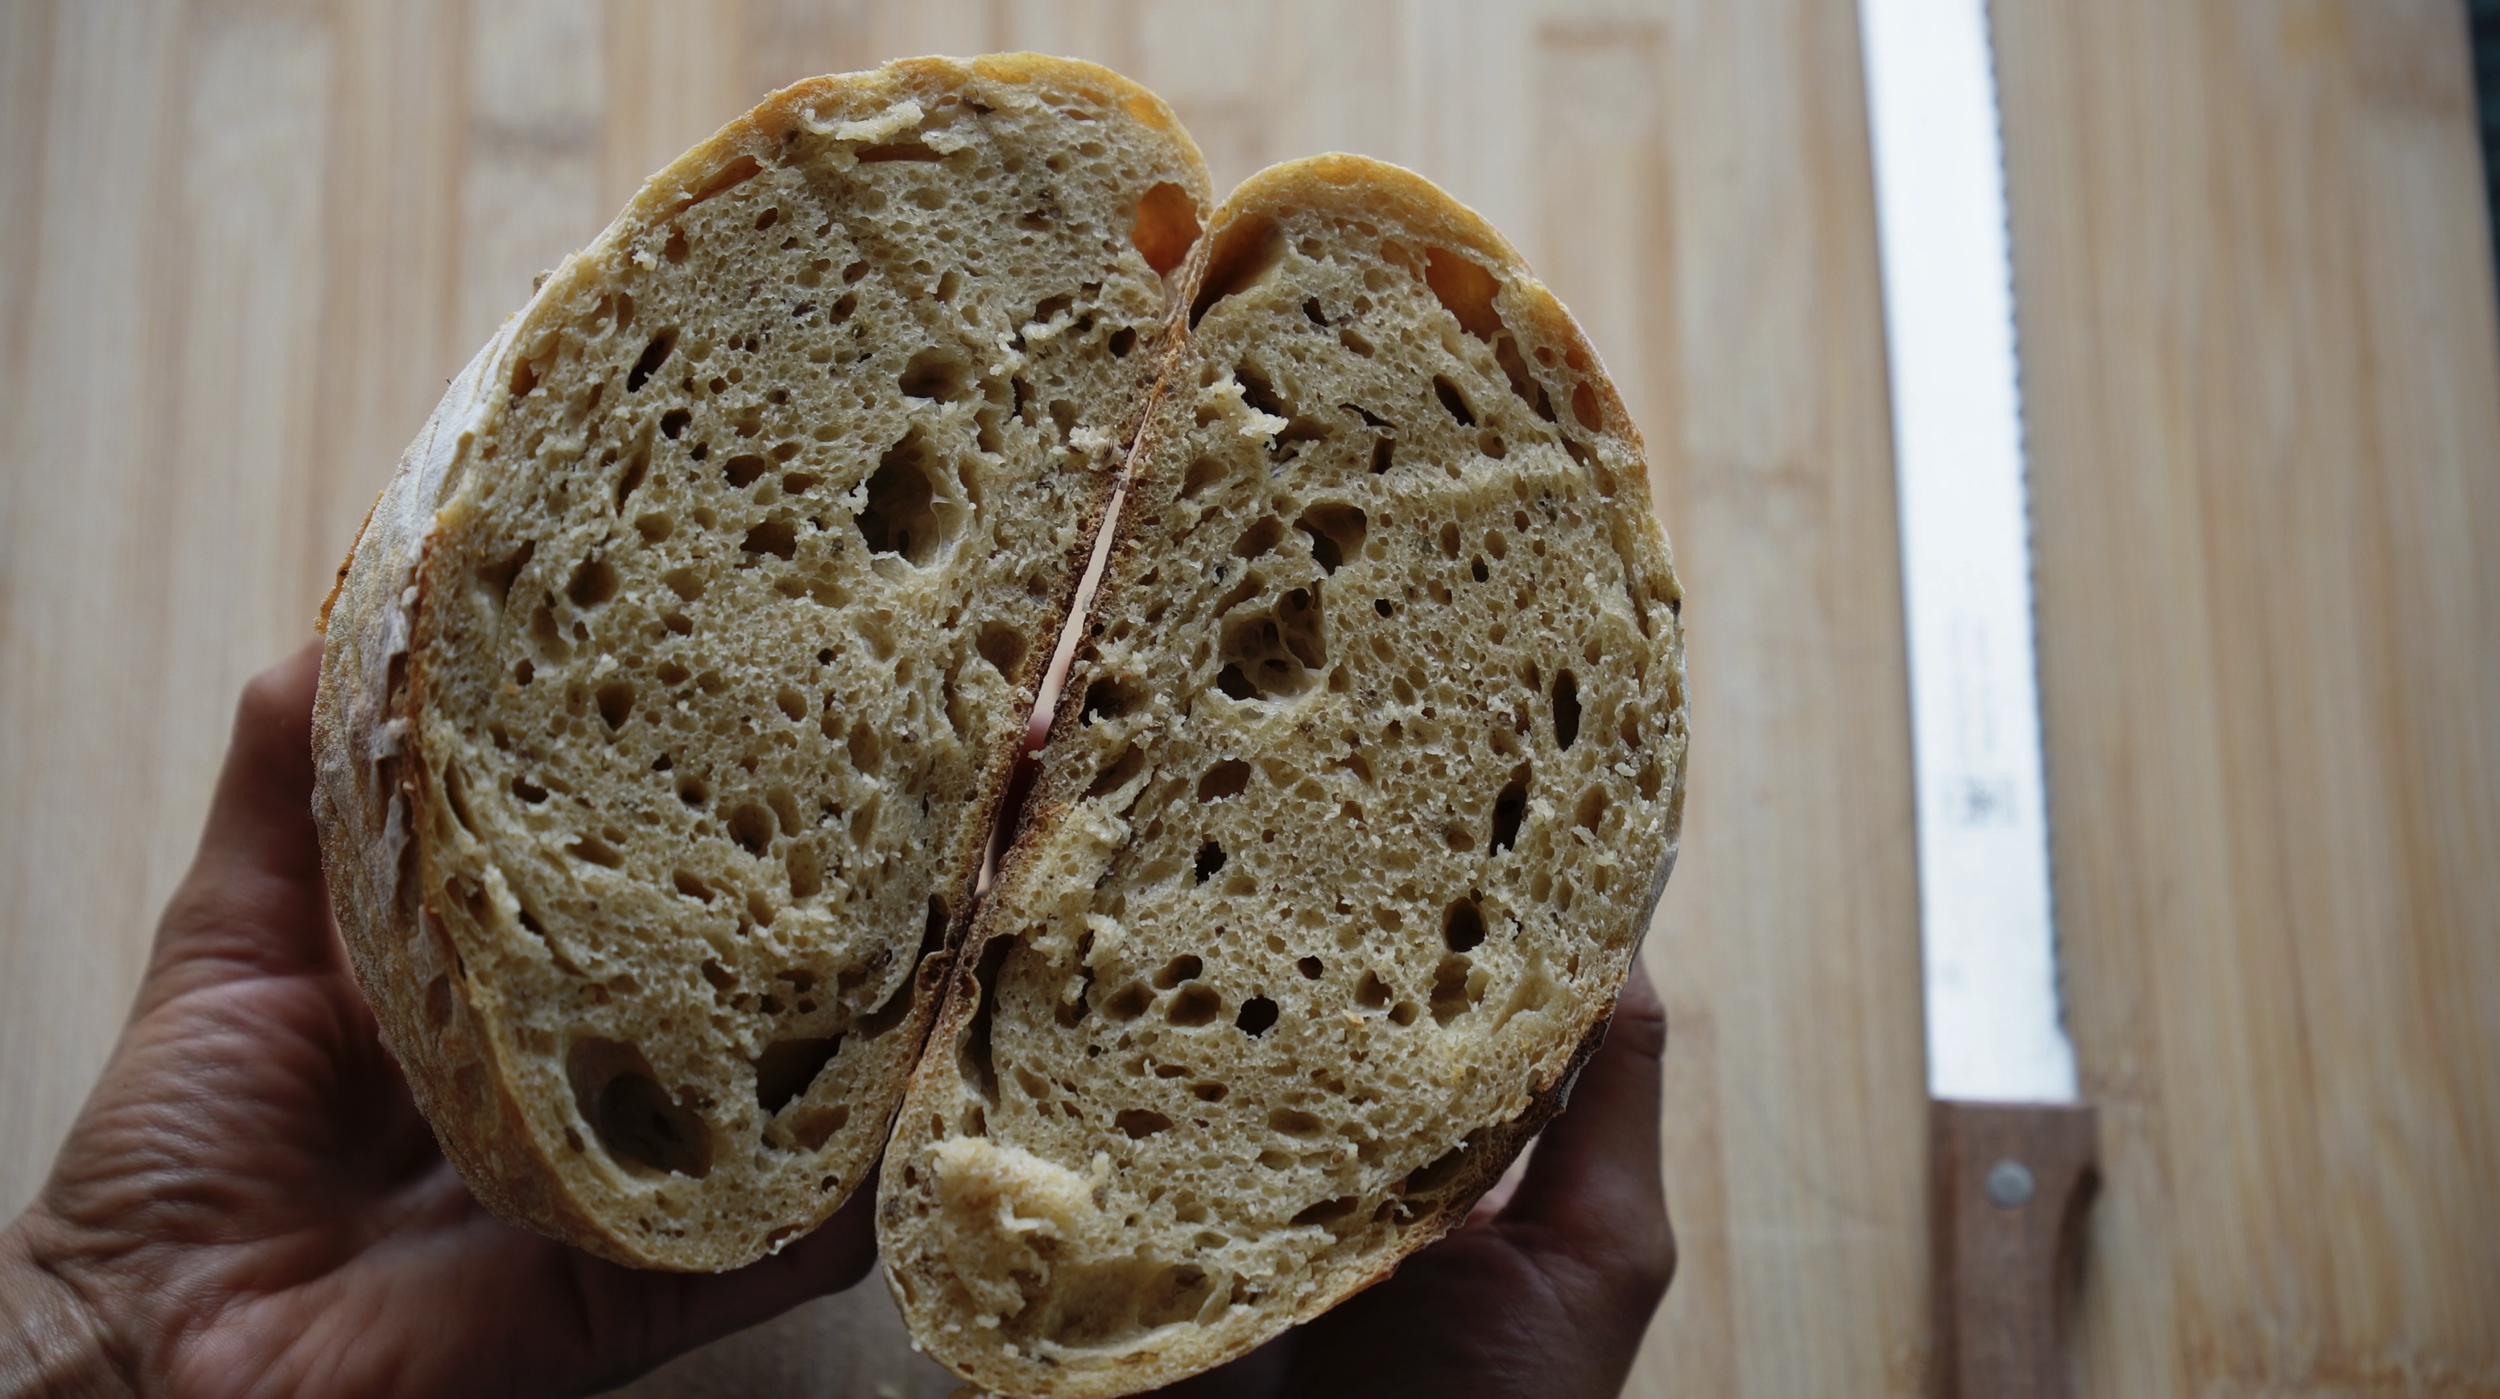
8. Cool (minimum 1 hour)
The inside is still setting after baking. Cutting too early will make it gummy.
Troubleshooting
-
hydration is high → normal
lightly wet hands instead of adding flour
or reduce water slightly next time
-
starter may not have been active
bulk fermentation too short
dough underdeveloped
-
overproofed
shaping too loose
-
baked too long
oven too hot at final stage
-
sliced too early
under-fermented
Tips for consistent results
Use starter at peak activity
Keep dough around ~22°C if possible
Use rice flour for dusting (prevents sticking much better)
Don’t rush fermentation — it’s the heart of sourdough
Storage & freezing
Store the bread in an airtight container at room temperature for up to 3 days
For longer storage, slice the bread and freeze it
To reheat:
1 slice → microwave for about 30 seconds
3 slices → about 1 minute
The texture becomes soft again, almost like freshly baked.
Share & feedback
If you try this recipe, I’d love to see it ♡
You can share and tag me on Instagram @_aisha_ba_ so I can see your bread.
And if you have a moment, feel free to come back here to leave a comment or rating — it really helps others and means a lot to me.

Easy Artisan Sourdough Bread
A simple, reliable artisan sourdough bread recipe with whole wheat and a crispy crust. This overnight method is beginner-friendly and fits easily into a busy daily routine.
Ingredients
- 100g active sourdough starter
- 300g whole wheat flour
- 200g bread flour
- 10g salt
- 360g water
- (optional) 5–7g caraway seeds
Instructions
- In a bowl, combine flours, salt, and optional caraway seeds.
- In a separate bowl, dissolve starter in water.
- Mix everything together until just combined (no kneading needed).
- Cover and let the dough rest for 30 minutes.
- Perform 3 sets of stretch and folds every 30 minutes.
- Let the dough rest until slightly puffy and relaxed.
- Turn onto a lightly floured surface (rice flour or semolina).
- Shape into a tight boule.
- Place in a floured banneton, cover, and refrigerate 12–16 hours.
- Preheat oven and Dutch oven to 250°C.
- Bake with lid → 30 minutes
- Remove lid, reduce to 200°C → bake 20 minutes
- Let cool for at least 1 hour before slicing.
Notes
Dough will feel slightly sticky — this is normal
Use rice flour for easier handling and less sticking
Timing may vary depending on room temperature
Caraway seeds are optional but add a deeper, slightly rustic flavor
Storage
- Store in an airtight container for up to 3 days
- Slice and freeze for longer storage
To reheat:
- 1 slice → ~30 seconds microwave
- 3 slices → ~1 minute

Hi, I’m Aisha
I’m an Italian living in Korea, sharing my everyday life as a homemaker, mother, and creator.
Here you’ll find simple sourdough recipes, slow cooking, and small routines that fit into a real day — not a perfect one.
Baking bread has become one of those quiet moments I always come back to.
Something simple, but grounding.
If you’re here, I hope you feel inspired to slow down a little and enjoy the process.